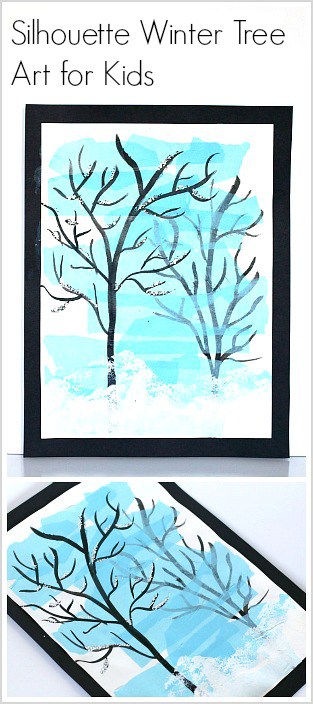
This silhouette winter tree art project uses some really cool art materials and techniques. Kids will love the process of creating this winter tree artwork using tissue paper, starch, and more!
Follow our Winter Crafts and Learning Pinterest board!
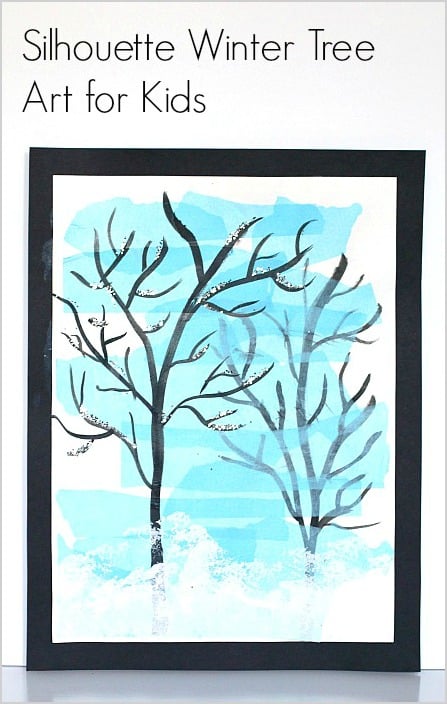
We’ve been on an india ink kick lately when it comes to creating. (We’ve used it to make cool ocean scenes and spooky trees!) This time we combined the use of ink with some of our other favorite art materials to make some super neat looking winter trees. This would be a fun art project for first grade and up! This post contains affiliate links.

Silhouette Winter Tree Art Project for Kids
Materials for Silhouette Winter Tree Art Project
- Black india ink
- Paintbrush
- Art paper
- Light blue tissue paper
- Liquid starch
- White tempera paint (optional)
- Sponge (optional)
- Liquid glue
- Silver glitter
Directions for Silhouette Winter Tree Art Project
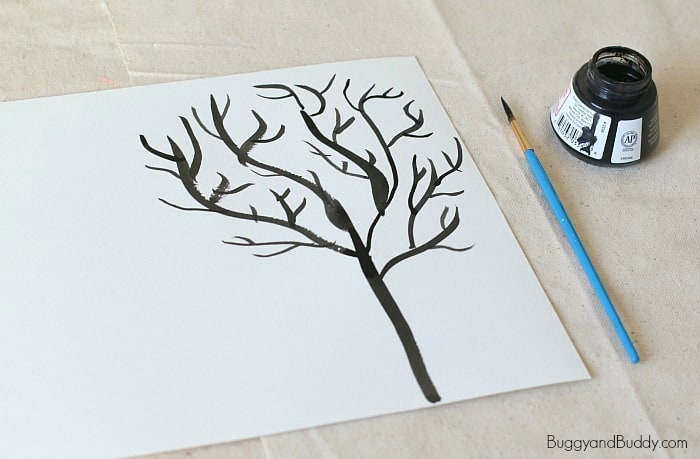
1. Paint a winter tree onto your art paper using a paintbrush and black india ink. (India ink will stain clothing, so be sure to cover up or wear something you don’t mind getting stained.) Let it dry completely.
2. Tear strips of light blue tissue paper. Place them across your art paper, covering your painted tree. Adhere them by painting over them with liquid starch. Let this dry completely. (Some ink may spread. This is okay! It adds to the foggy, silhouette look of the artwork.)
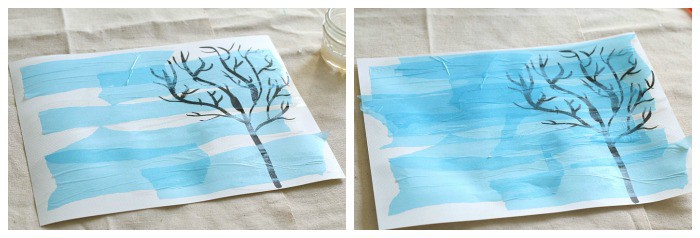
3. Paint another winter tree onto your artwork using india ink. Let it dry.

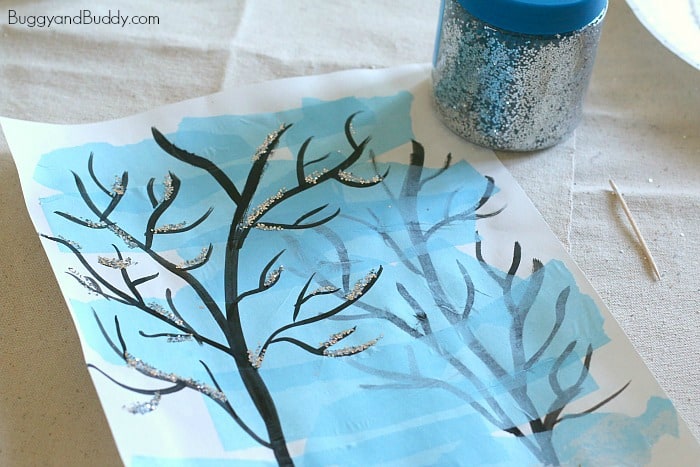
4. Add some glittery, silver snow to your trees using liquid glue and glitter.
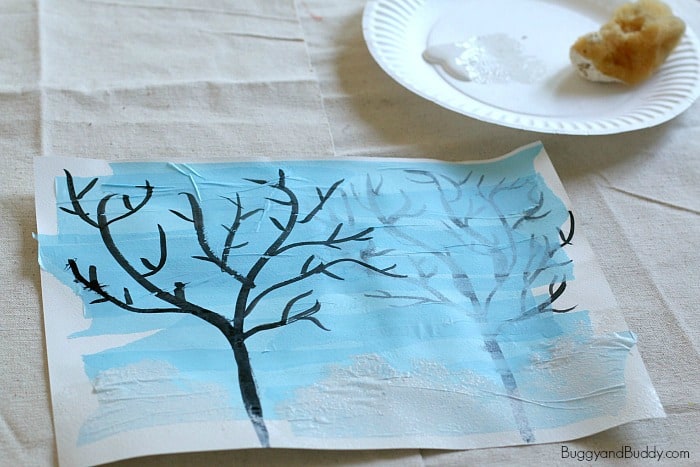
5. Optional: You can add some snow to the bottom of your art using a sponge dipped in white tempera paint.
Display your finished work!

Wondering what else you can do with liquid starch? Check out this collection of over 15 projects for kids using liquid starch!

Looking for the perfect gift? Be sure to check out all our gift guides for kids!