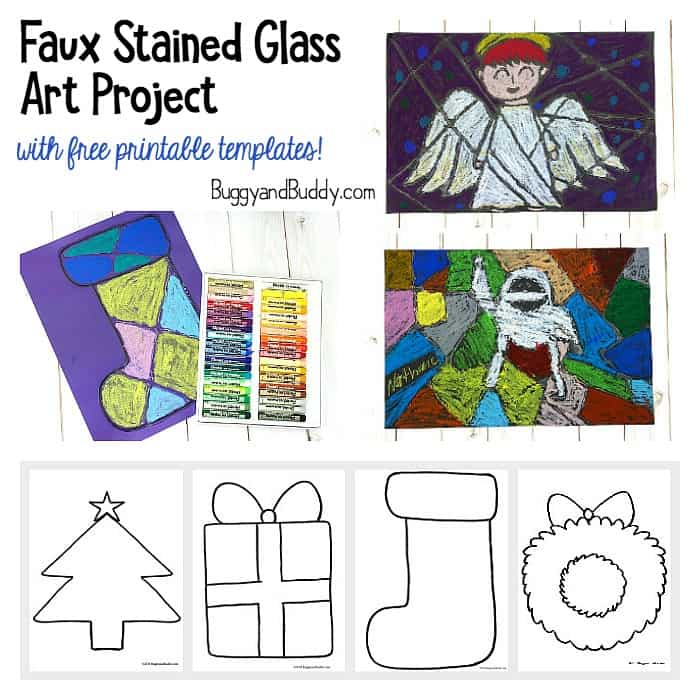
Make this faux stained glass art project for Christmas! It’s a super easy art activity for kids that turns out so vibrant and unique. Older kids can create their Christmas artwork using their own drawings, and younger children can use our free printable holiday pictures (which can also be used as simple coloring pages for Christmas).
This post contains affiliate links.
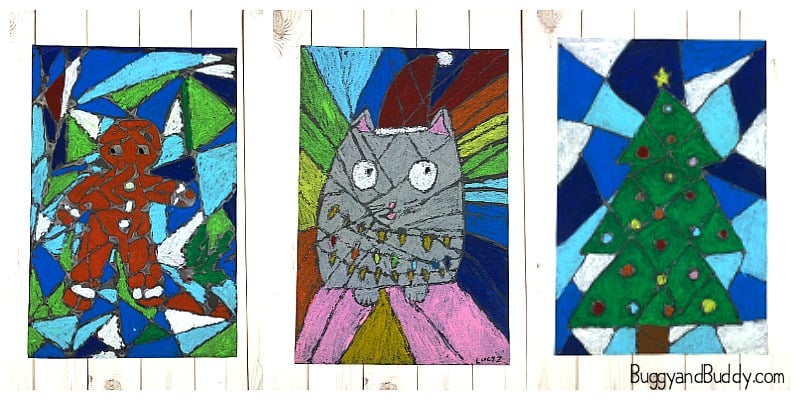
As many of you know if you’ve been following me a while, my husband is a 5th grade teacher. I walked into his classroom the other day and saw these gorgeous faux stained glass Christmas art projects hanging up in his classroom. They looked so vibrant up on the walls, and the kids all said they enjoyed making them. He got the idea from a fellow teacher who generously said she would love to have this project shared on Buggy and Buddy so other teachers, parents, and everyone out there who works with children could share in the fun!
Below, I’ll show how to do this holiday art project using one of our free templates. Many younger children will find this easier. But, you can also do this easy art activity with kids’ own drawings like my husband’s students did. I’ll include photos of these as well in the post!
See it in action here:
Christmas Faux Stained Glass Art Project for Kids
Materials for Christmas Art Project
- Cardstock or construction paper
- Liquid glue
- Pencil
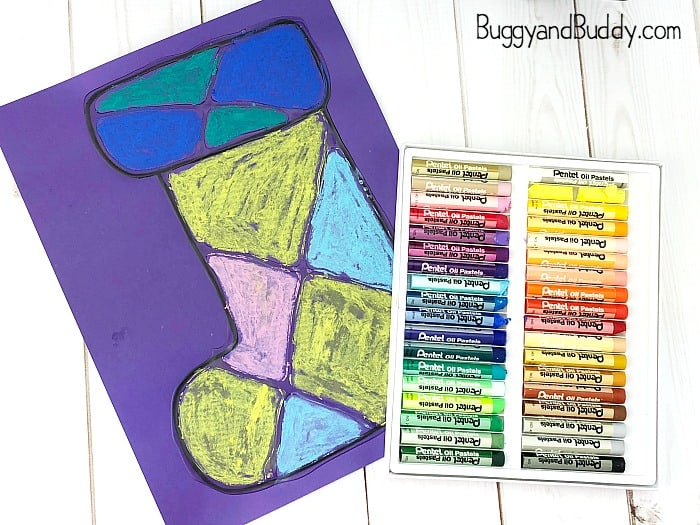
- Oil pastels (Here’s a class set of oil pastels.)
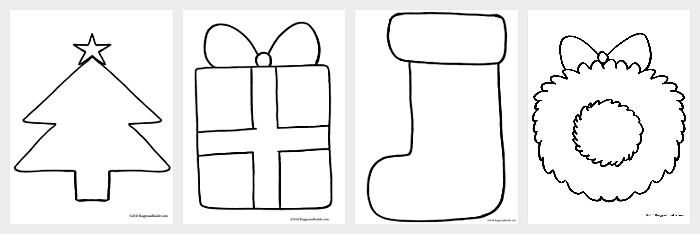
- Optional: Free holiday picture templates (Click on the link or image below. Then scroll down to see all four images to print.)
Directions for Making Christmas Art Project
1. Print out the various Christmas pictures onto cardstock. You can experiment with various colors of cardstock (although the printed image won’t really show well on black.)
2. Let children choose a printed image to use.
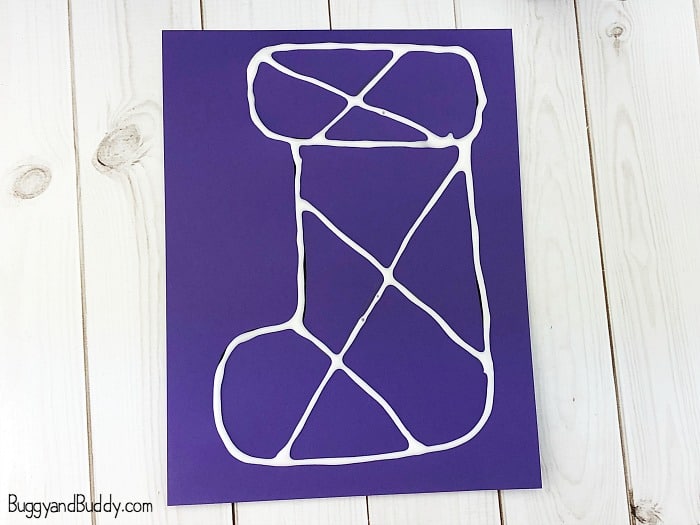
3. To make it look like stained glass, invite the kids to draw intersecting lines across the picture using a pencil.
- Definitely model this process for younger kids.
- The younger the child, the fewer lines you might want to encourage them to use.
- Older kids can even draw lines outside the picture around the border to add more detail.
4. Make sure you have some good working glue bottles (not those clogged up ones we all eventually get) and have children trace every single line (the printed picture as well as the pencil lines) with the glue. Let the glue dry completely.
5. Use oil pastels or chalk to color in the sections between the dried glue lines. Use fingers to smudge the oil pastels.
That’s it! Hang up and enjoy!
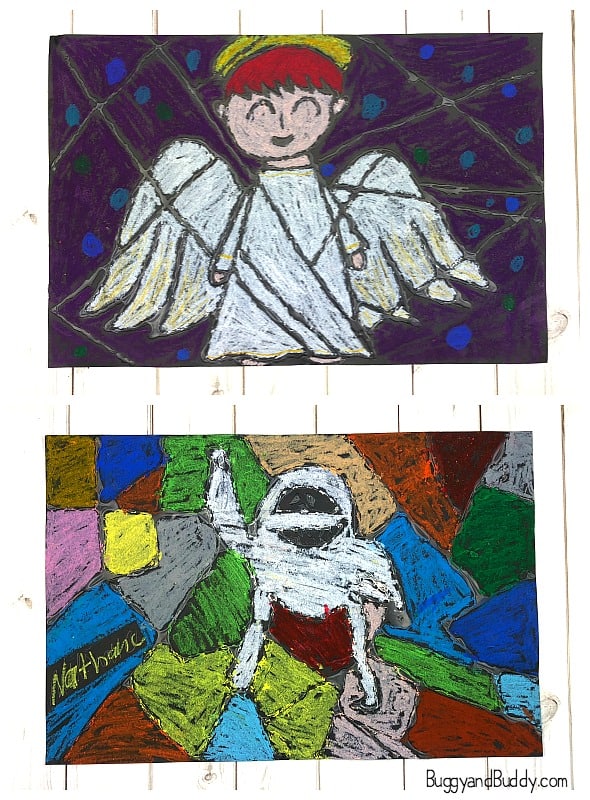
* Older kids would follow the exact same set of directions except draw their own pictures on construction paper using a pencil. Encourage them to draw their pictures quite large so they fill up most of the paper.
Other Ideas
- Use the templates as coloring pages.
- Short on time? Skip the glue step and just color the stained glass design with oil pastels.
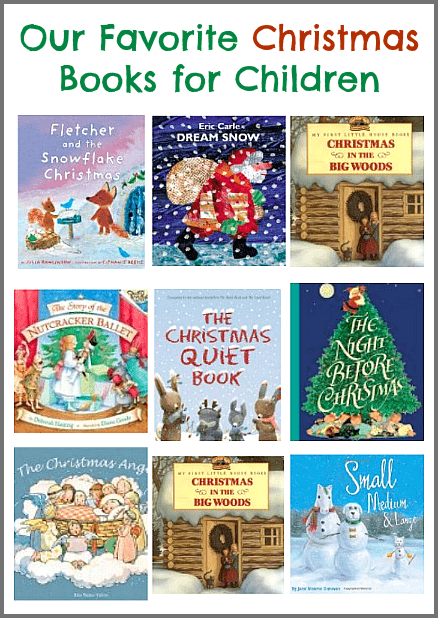
Popular Christmas Books