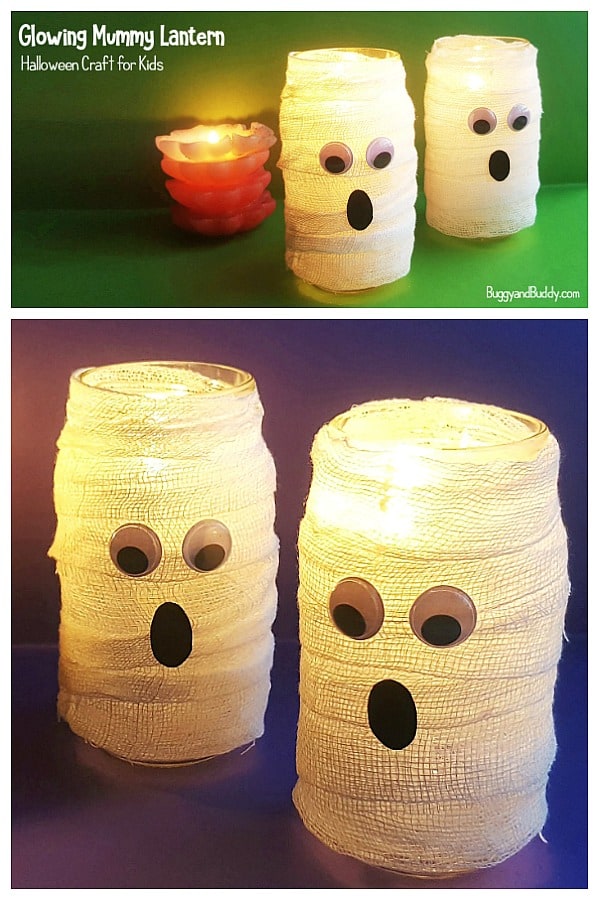
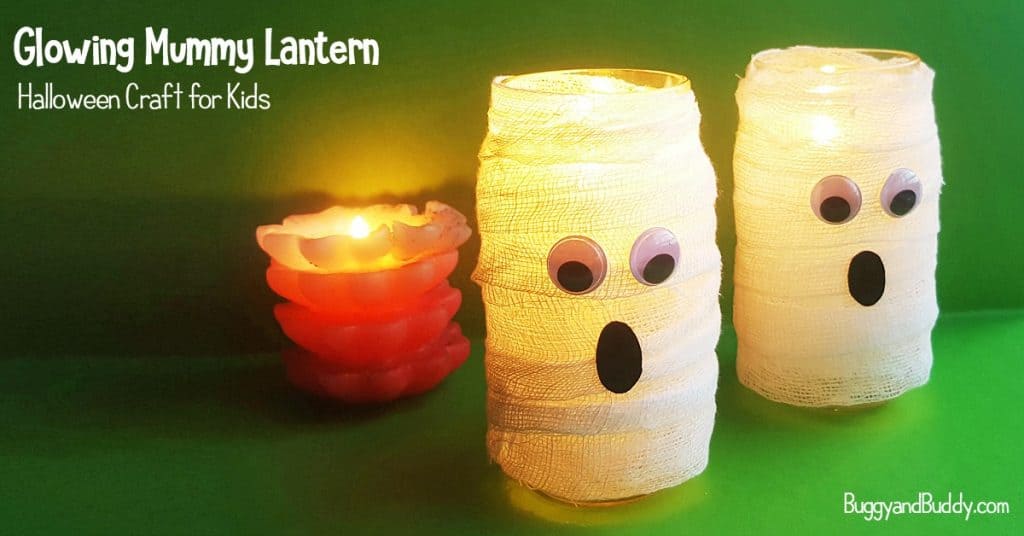
These DIY mummy lanterns using mason jars are perfect for Halloween! You’ll find this mummy craft for kids super easy to make, and it requires very few materials. What a fun and easy Halloween project to decorate your home or to make in the classroom, especially during a Halloween party!
This post contains affiliate links.
I love the simplicity of these mummy lanterns made using glass jars. With just a few materials you can make some glowing decorations perfect for Halloween. (These mummy jars also resemble ghosts to me, so I like to consider them mummy OR ghost lanterns.)
If you enjoy making lanterns be sure to check out our glowing jack-o-lantern cup craft and our colorful mason jar lantern using tissue paper. These are both always a hit and also pretty easy to make. And the mason jar lantern using tissue paper is also made with a colorful, beaded handle so you can take it on walks. One of our favorites!
Be sure to check out some of our favorite books for Halloween!
DIY Mummy Lantern Craft for Halloween
Materials for Mummy Lantern Craft
-
- Clear glass jar – empty and clean (I like using wide mouth jars so it’s easy to get your candle or battery-powered tea light inside.)
- White gauze bandage (I like these 4 inch bandage rolls, but if your jars are smaller, you can cut the rolls in half to make the strips thinner.)
- Scissors
- Craft glue or hot glue gun
- Google eyes (I like having an assortment of googly eyes like these on hand. They even make larger ones depending on the size of your jar!)
- Black craft paper
- Candle or battery-powered tea light
Directions for Mummy Lantern Craft
1. Start with a clear and clean glass jar. (Wide mouth jars make it easy to put your candle or battery-powered tea light inside of easily.)
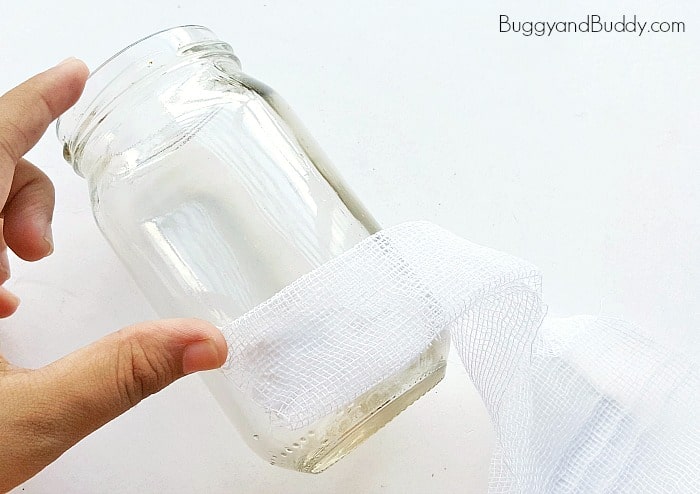
2. Take the glass jar and apply craft glue near the bottom of the jar where you will start wrapping your bandage.
3. Hold the bandage bundle from its open end. (If your bandage is too wide, you can either cut the entire roll before using it or just fold your bandage as you are wrapping it around your jar.)
4. Place the open end of the bandage onto the glued area of your jar.
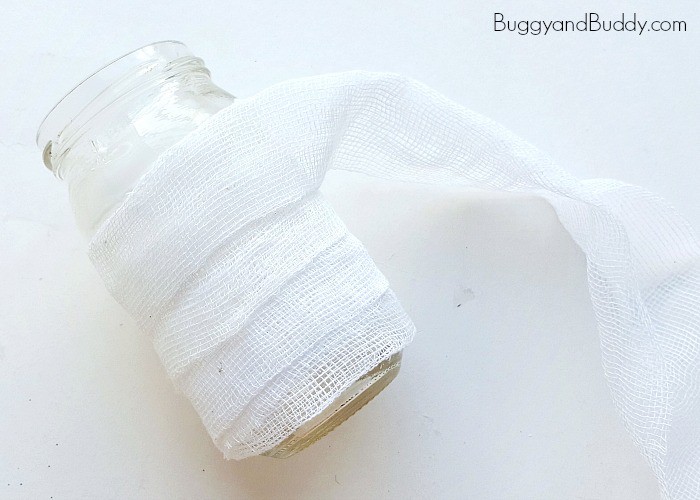
5. Begin wrapping the bandage around the jar, making sure not to leave any gap between the wrap. You can apply glue onto the jar as your are wrapping it to keep the bandage secure.
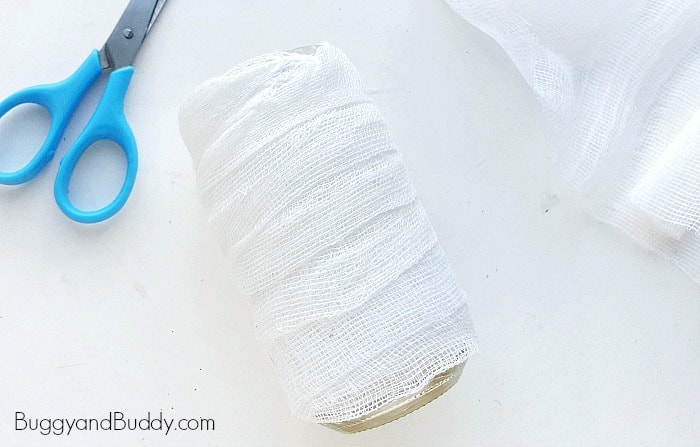
5. Once you are done wrapping the bandage and have reached the top of the jar, cut off the bandage from the bundle and glue the end to the jar to secure the wrapping.
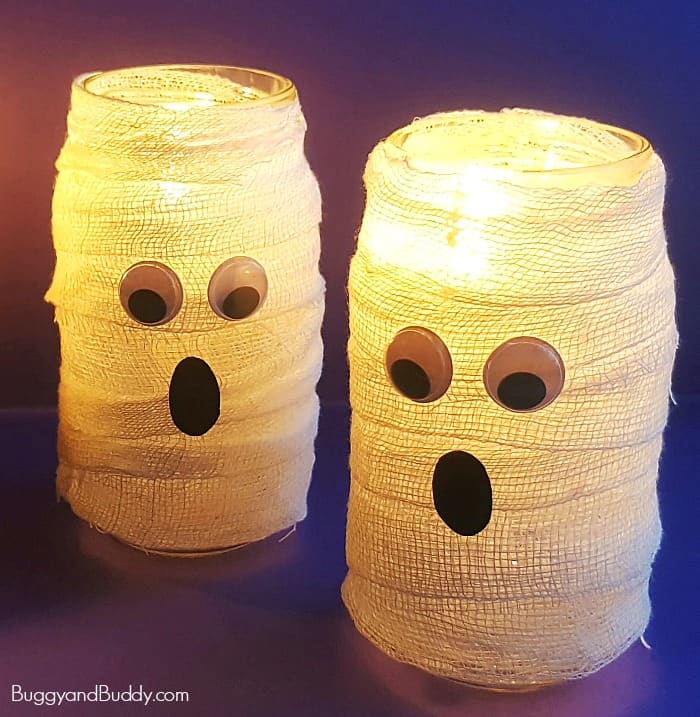
6. Use craft glue to attach the googly eyes on the top part of the jar’s body.
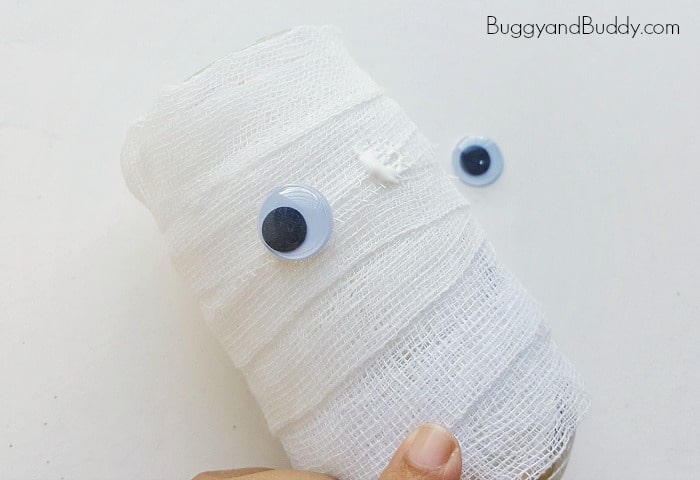
7. Cut out an oval pattern from black colored craft paper to make a mouth and glue it below the eyes. (You could even use black foam or felt.) Allow the glue to dry.
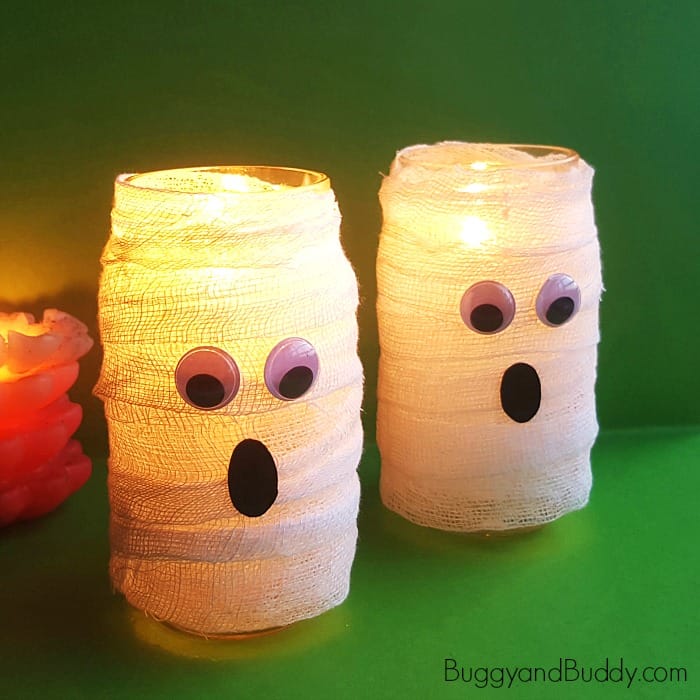
Place a candle or battery-powered tea light inside the jar, light it up and enjoy! You can set these up on your windowsill to be seen from outdoors, use them as a centerpiece on your kitchen table or even use them to decorate your classroom.