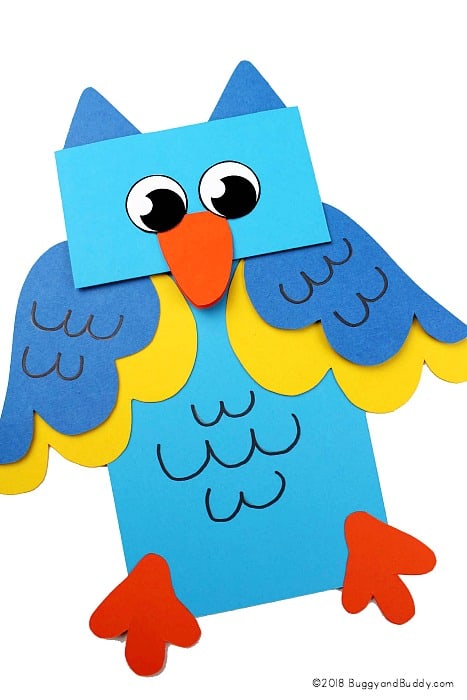
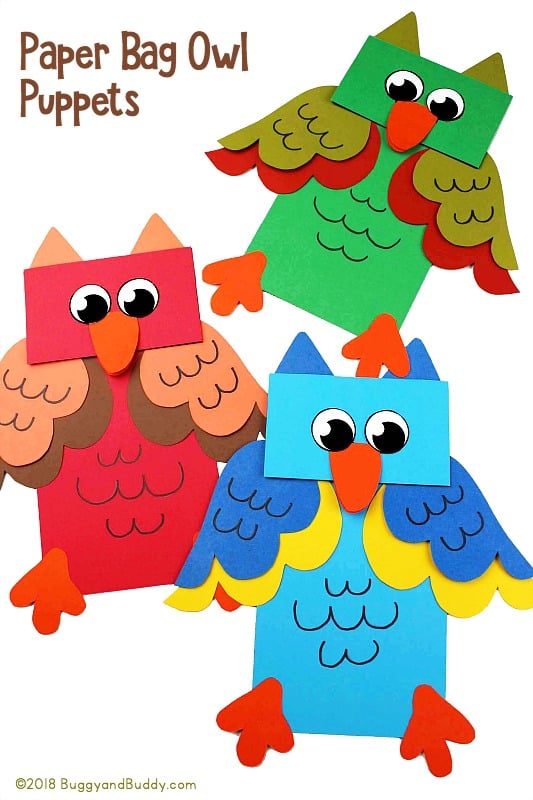
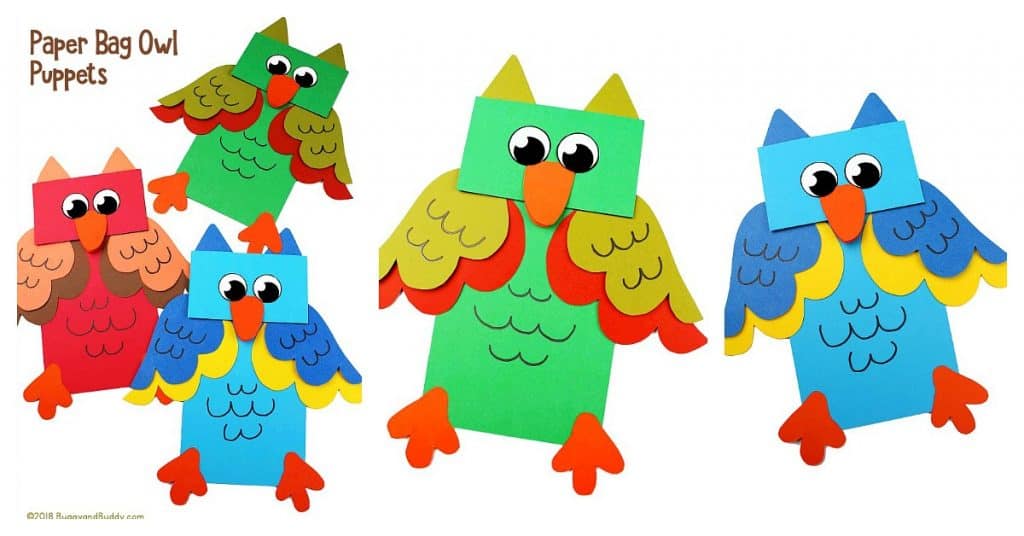
Use our free owl template to make these colorful and fun paper bag owl puppets! Kids can use their completed puppets for creative play or to put on a puppet show. They’re also great for fall and look gorgeous displayed on a classroom wall.
Follow our Fall Crafts for Kids Pinterest board!
This post contains affiliate links.
We have been having so much fun making all kinds of paper bag puppets. (Be sure to check out our sea otter puppets, mermaid puppets, butterfly puppets, ladybug puppets, and even our other owl puppets with an optional writing sheet.) What I love about paper bag puppet crafts is how simple they are to make, and they can be used in so many ways. Obviously you can use them for puppet shows (encourage kids to come up with their own backdrop for their puppet show), but they can also be used in creative play or to retell a story. (Retelling a story with a related puppet is always fun!) These owl puppets are perfect for retelling owl stories or sharing owl facts.
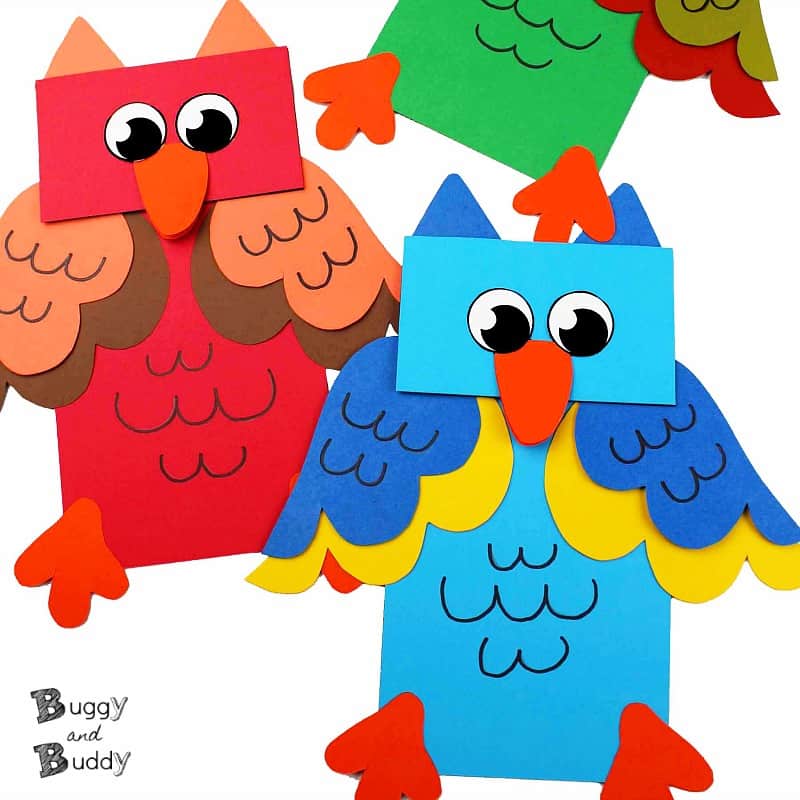
Making these owl puppets is super easy. You’ll just need our owl template, a brown paper bag, some construction paper, scissors and glue. Kids can come up with any color combination they’d like and even add their own details to their puppets.
Be sure to check out these owl books!
Owl Paper Bag Puppet Craft
Materials for Paper Bag Owl Puppet
- Cardstock or Construction Paper
- Paper Lunch Bags
- Liquid Glue or Glue Stick
- Scissors
- Black Marker
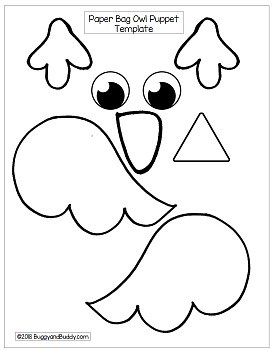
- Free Printable Owl Template
Directions for Paper Bag Owl Puppet
1. Print out the free owl template onto cardstock.
2. Cut out the pieces to be used as tracers.
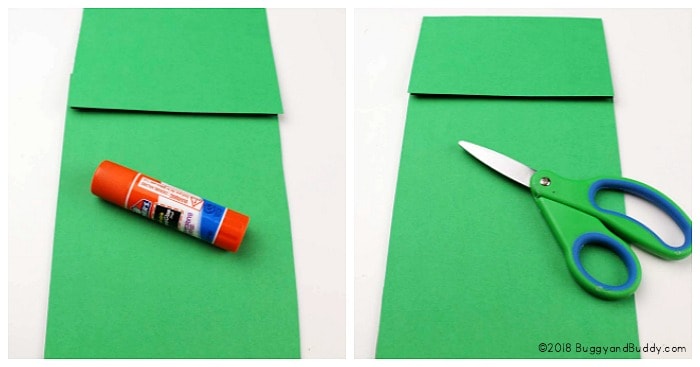
3. Cover a brown paper lunch bag with construction paper. First, cut out a large rectangle to cover the body and then cut out a smaller rectangle to cover the face (or flap of the bag). Glue them onto the paper bag with a strong glue stick or liquid glue. (You could also skip this step and leave the color of the owl brown!)
4. Trim off any excess paper from the sides.
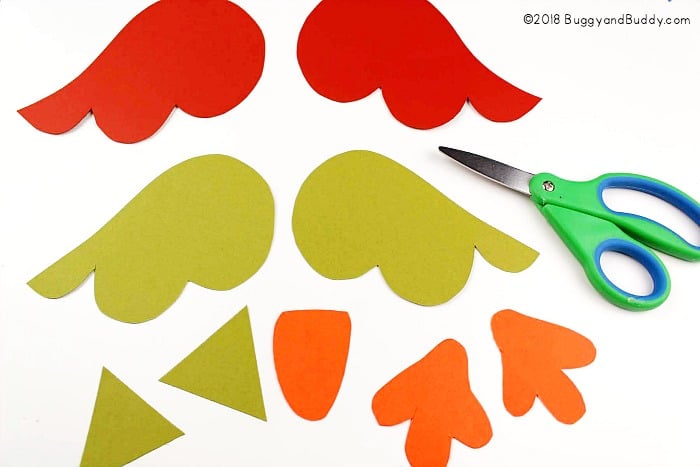
5. Trace the owl piece templates onto colored cardstock or construction paper and cut them out.
- Cut out two beaks.
- Cut out two pointy ears.
- Cut out two eyes.
- Cut the wings out twice, the second one a bit smaller than the first one, so you end up with two sets of wings.
- Cut out two feet.
6. Glue the smaller wings on top of the larger wings.
7. Glue the wings onto the paper bag just under the flap.

8. Glue the ears onto the top of the paper bag.
9. Glue the 2 beak pieces together at one end.
10. Glue the beak and feet onto the paper bag.
11. Cut the eyes out and glue them above the beak.
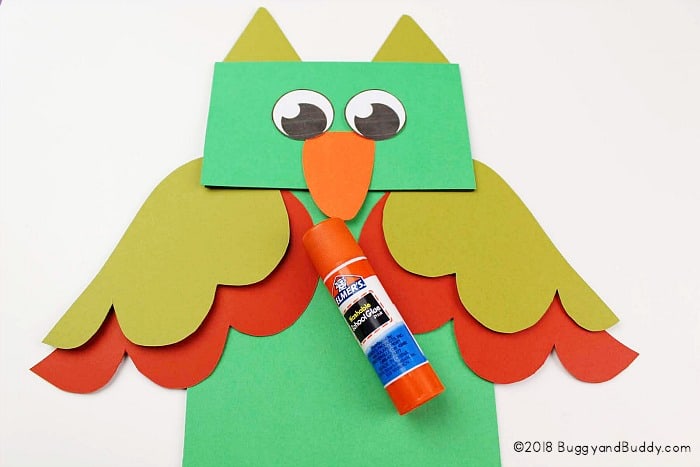
12. Use a black marker to add detail to the wings and other parts of your owl puppet.

Your owl paper bag puppet is finished. Have fun!