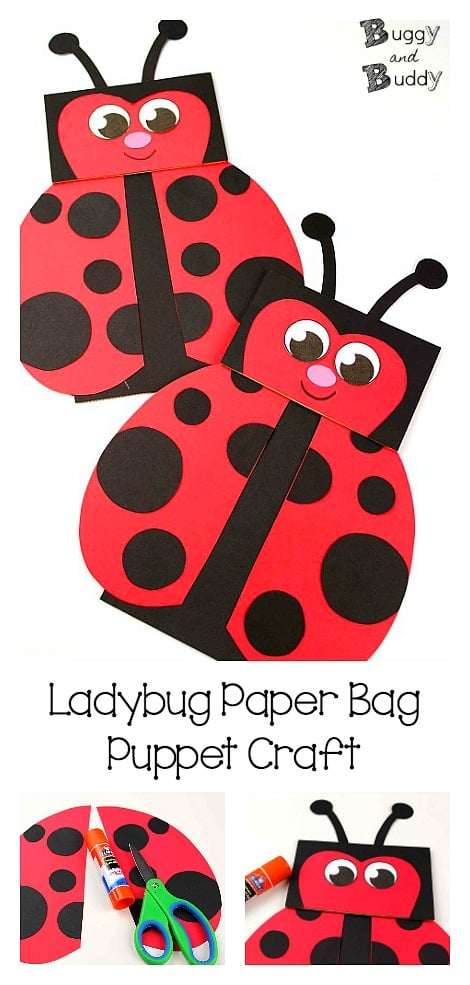
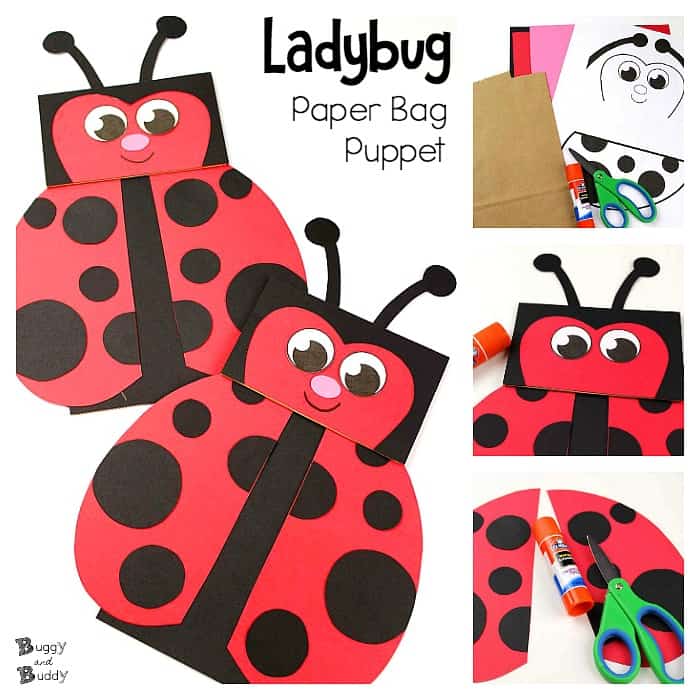
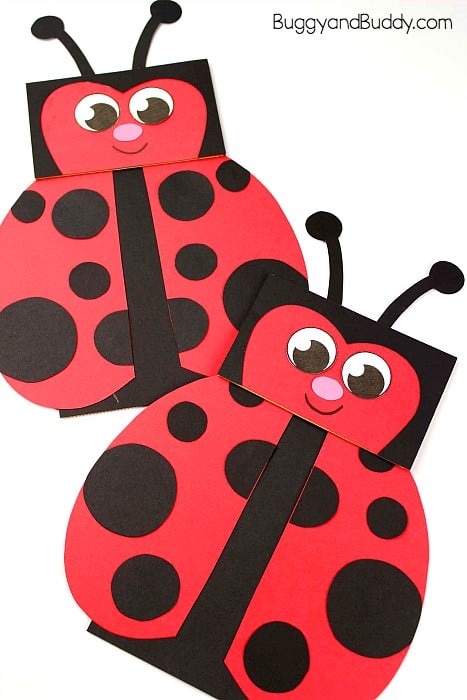
Make a paper bag puppet ladybug craft with our free ladybug template and a few craft supplies! This is a fun spring and summer project for kids and also goes great with a unit on bugs or insects.
This post contains affiliate links.
Kids always love making and playing with puppets! They’re such a fun way to encourage creative and imaginative play or to use for story retelling.
This ladybug puppet craft goes great with some of our favorite children’s books like The Grouch Ladybug by Eric Carle or stories in the Ladybug Girl collection.
Paper Bag Puppet Ladybug Craft for Kids
Materials for Ladybug Paper Bag Puppet
- Cardstock or Construction Paper
- Paper Lunch Bags
- Liquid Glue or Glue Stick
- Scissors
- Black Marker
- Optional: Red Cardstock
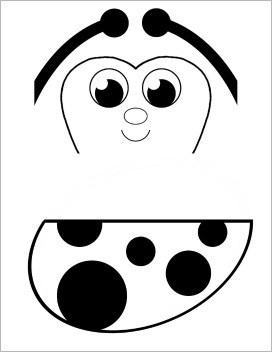
- Free Ladybug Template
Directions for Ladybug Paper Bag Puppet
1. Print out the free ladybug template.
2. Cut out the template pieces.
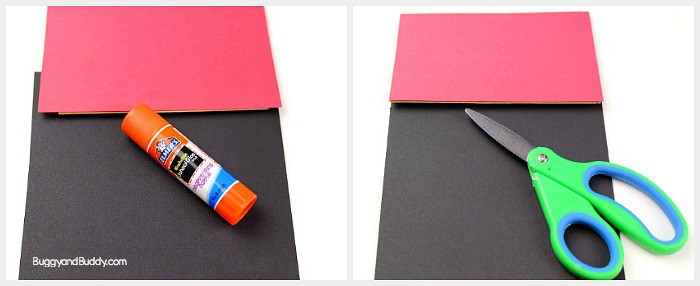
3. Cut large squares/rectangles of cardstock or construction paper (a bit larger than the bag itself) and glue onto the paper bag. (In this photo we used red for the top and black for the bottom. But in the remaining photos below, we used black for both the top and bottom. Do it whichever way you prefer!) Be sure to glue your construction paper to the side of the paper bag that the flap is on.
4. Use scissors to trim off any excess paper from the sides.
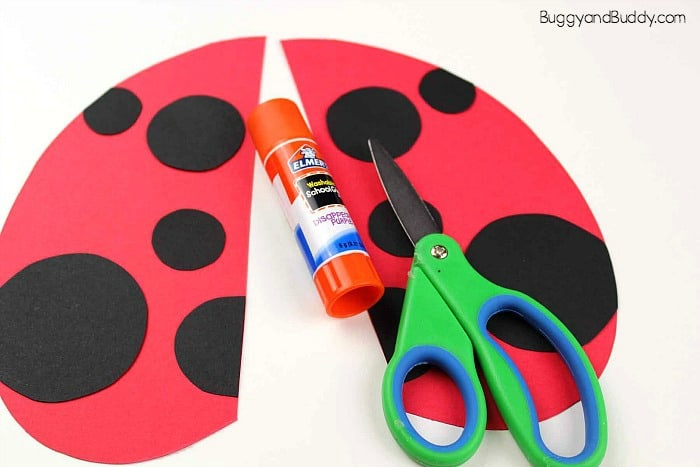
5. Trace the wing template twice onto red paper and cut them both out.
6. Trace the circles for the wings onto black paper and cut out.
7. Glue the circles onto the wings. Use scissors to trim off any excess paper from the sides. (Or, rather than cutting out circles, just draw circles with a black marker directly onto your wings.)
For steps 5-7 you could, instead, just print the template onto two pieces of red cardstock to eliminate tracing and cutting out the black dots.
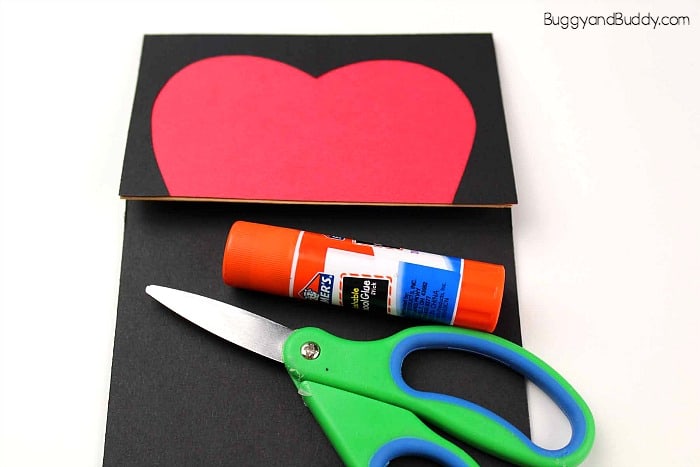
8. Trace the ladybug’s face shape onto red construction paper and cut out. (Again, you could also just print the template onto red cardstock and avoid tracing.)
9. Glue the face shape onto the paper bag. Trim off any excess paper from the sides.
10. Glue the wings onto the paper bag.

11. Trace the antennae template onto black paper, cut out and glue onto the back of the paper bag.
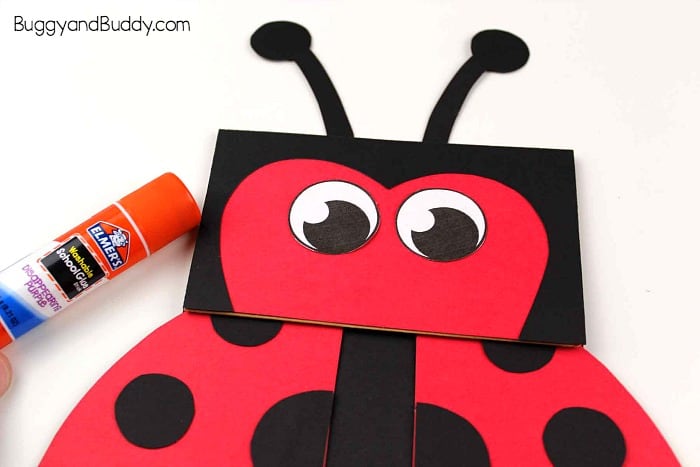
12. Cut the eyes out and glue onto the ladybug’s face.
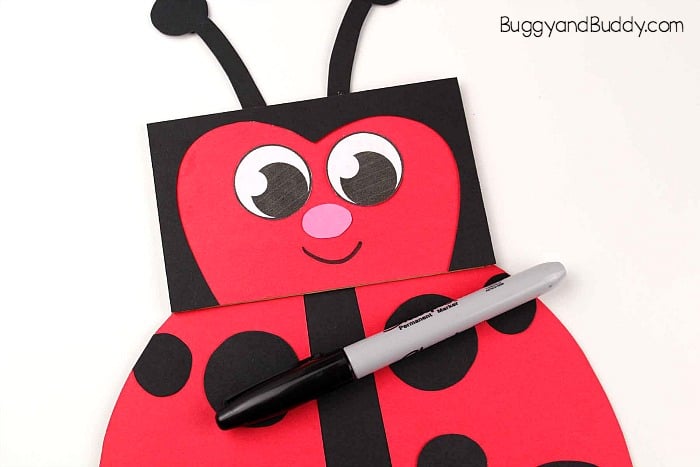
13. Trace the small oval onto pink paper, cut out and glue just below the eyes to create a nose.
14. Use a black marker to add a mouth to your ladybug’s face.
Your ladybug paper bag puppet is finished!
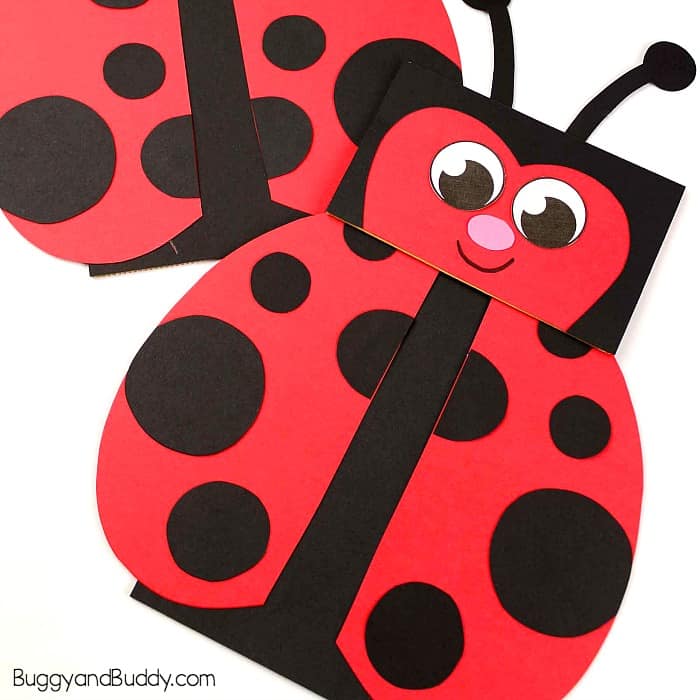
This is such a fun and inexpensive craft for a classroom or to do at home and goes well with so many children’s books! You can also invite children to create other puppets and create their own puppet show.