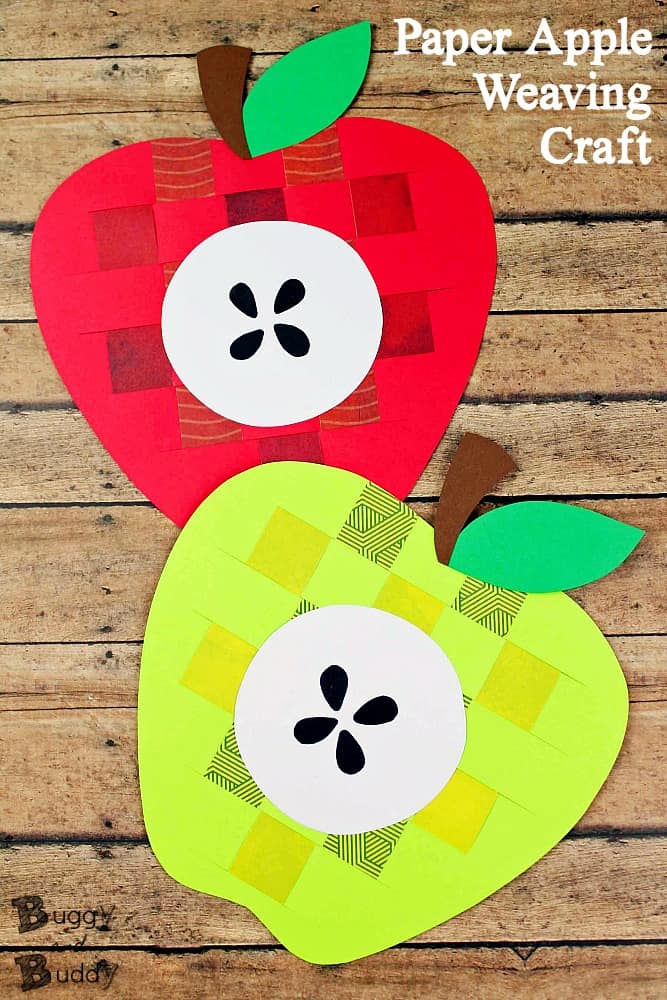
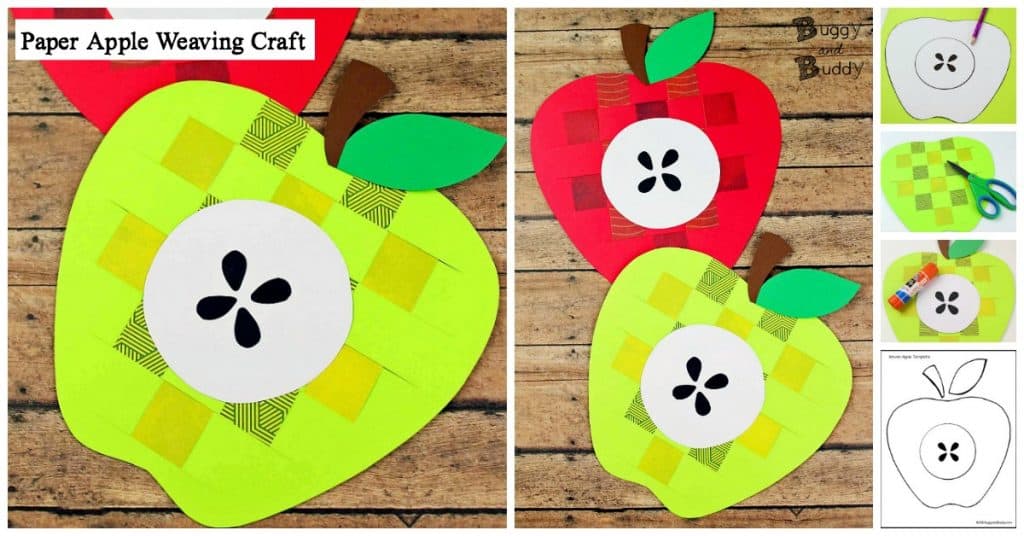
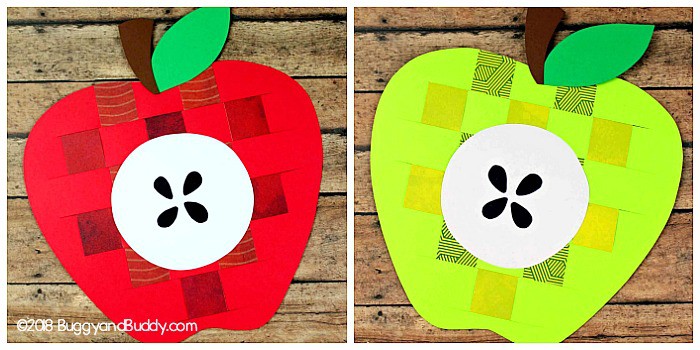
This woven paper apple craft for kids is made by weaving various colored strips of paper into slits cut into a paper apple shape. It’s a great way for kids to practice fine motor skills and to get creative by choosing various colors and patterns to use in their weaving project for fall. This post also includes a free printable apple template to make the apple activity even easier.
Follow our Fall Crafts for Kids Pinterest board for even more ideas!
This post contains affiliate links.
Ready to make an adorable apple craft? This is one of our favorites! I love how each apple comes out differently based on the choices each child makes in selecting paper colors and patterns. They look gorgeous hanging up on the wall. This paper apple weaving project goes great with all kinds of fall and apple themed children’s books. Check out some of our favorites below!
Woven Paper Apple Craft for Kids
Materials for Woven Paper Apple Craft
-
- Cardstock
- Construction Paper
- Optional: Patterned Scrapbooking Paper (You can find all kinds of options at your local craft store.)
- Gluestick
- Scissors
- Optional: A paper cutter to cut your paper strips for weaving. (This is the paper cutter I have at home. It’s great for projects like this!)
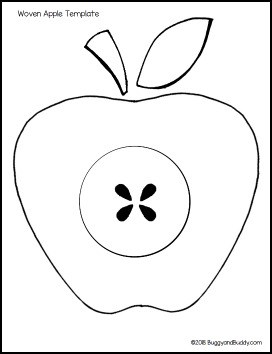
- Free Apple Template
See it in action here! (Along with variations for younger kids!)
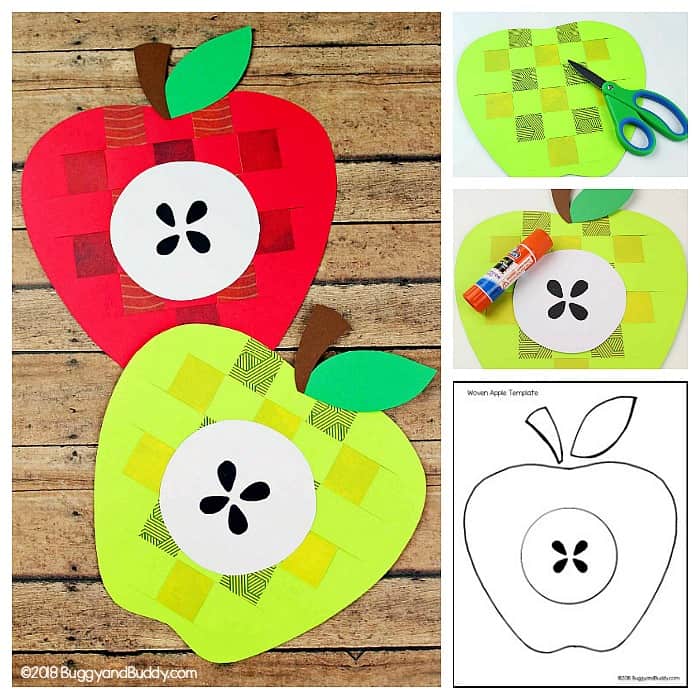
Directions for Woven Paper Apple Craft
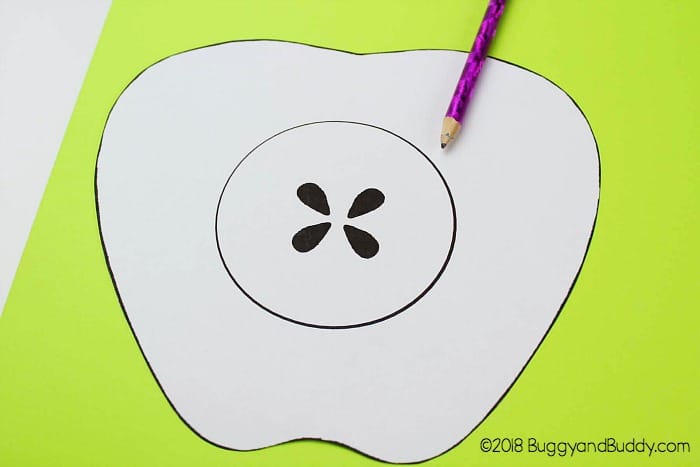
- Print out the free apple template onto cardstock.
- Cut the template pieces out to use as tracers for your apple craft.
- Trace the apple onto green or red cardstock or construction paper. Cut your apple shape out.
4. Trace the stem onto brown paper and the leaf onto green paper and cut them both out.
5. Cut the center core out from the template. Set it aside with the rest of your cut out pieces.
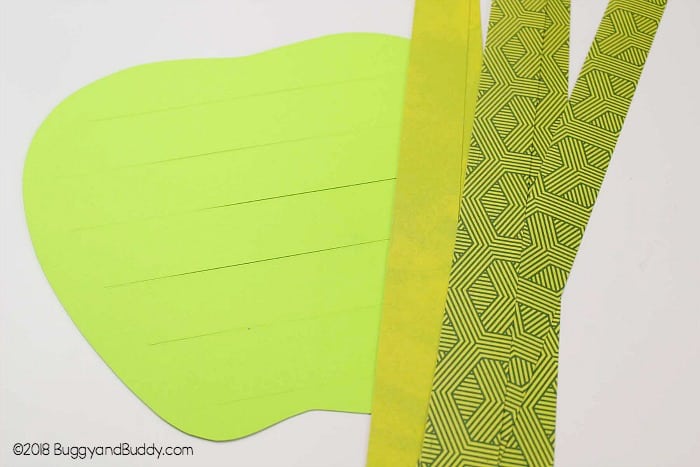
6. Fold the apple in half and cut slits into the paper where paper strips will eventually be woven. Be sure to leave room near the edge to avoid tearing the apple. Unfold the apple.
7. Cut strips of colored and patterned cardstock, construction paper or scrapbooking paper.
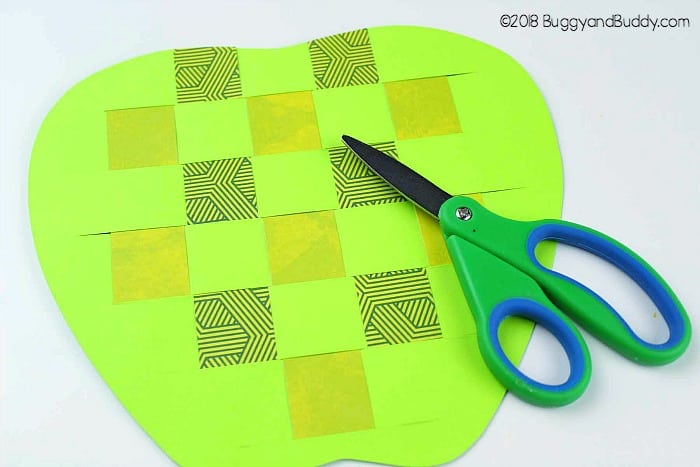
8. Weave the strips into and out of the slits in the apple.
9. Glue the edges of the paper strips down with a glue stick to keep them from moving out of place.

10. Cut off any excess paper around the apple.
11. Glue the core and seeds into the center of the apple.
12. Glue the stem and leaf onto the top of the apple.
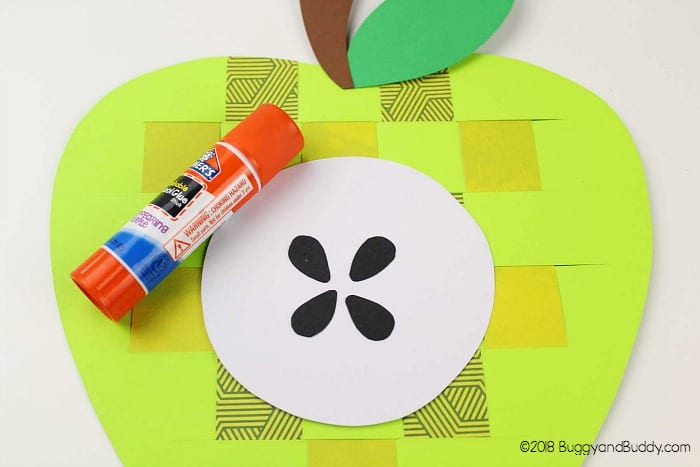
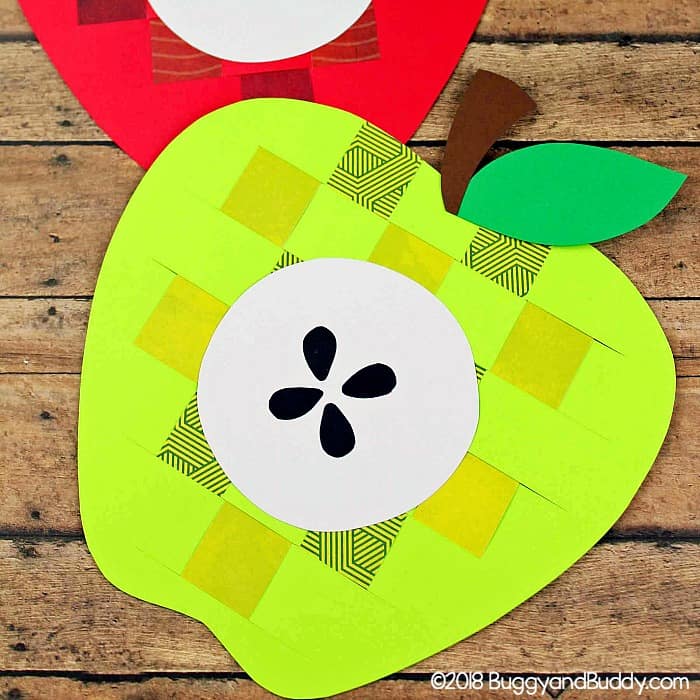
Your paper apple weaving project is finished!
You can use these to display on the wall or bulletin board, and they’d also make cool covers for a handmade books. Children could use the apple books to share what they’ve learned about apples and apple trees or use them as a fall journals or fall gratitude journals.