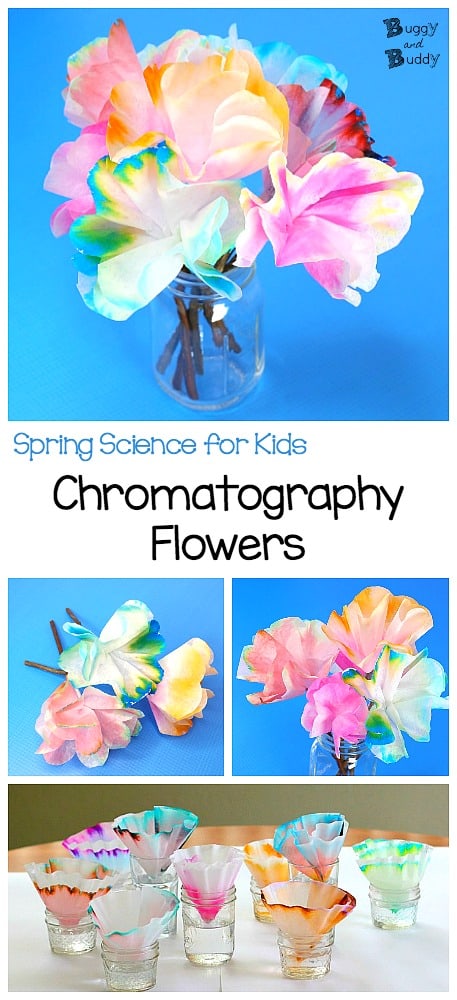
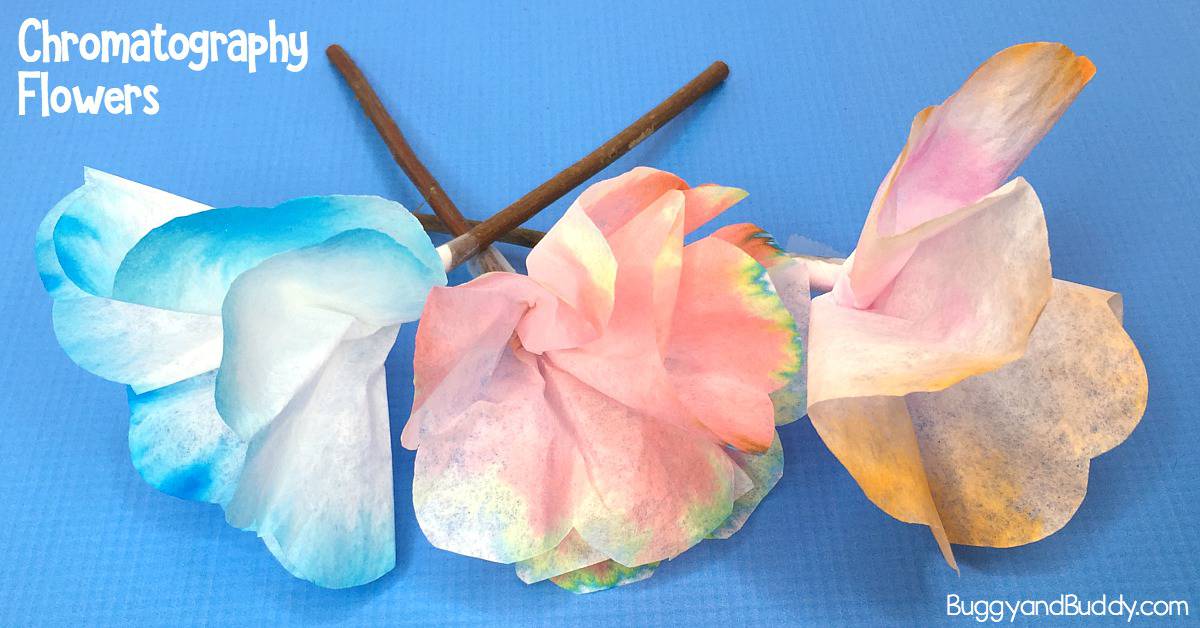
In this spring science activity children will create chromatography flowers using coffee filters! This STEAM activity is a simple way to explore chromatography, and kids love turning the results into a colorful flower craft when they’re finished.
Follow our STEM and STEAM for Kids Pinterest board!
This post contains affiliate links.
This post was originally posted March 9, 2018 and has since been updated.
Chromatography is such a fun science concept to explore! Wondering what it is? Chromatography is the separation of a mixture by passing a solution through a medium. In this case, we’ll be separating the colored ink in markers with water using white coffee filters. (You can also explore chromatography with special chromatography paper like we did in this chromatography artwork activity!)
In this science experiment kids will separate the colors of various markers using coffee filters. After observing the results, they can then create a colorful flower craft using the resulting coffee filters. (You can also do this same activity, but turn the results into butterflies. See how we did that here in our chromatography butterfly post.)
STEAM for Kids: Chromatography Flowers
Materials for Chromatography Flowers
- White coffee filters
- Water based markers (We like our results with Mr. Sketch markers the best.)
- Cups with water
- Scissors
- Clear tape
- Small sticks or twigs
Directions for Chromatography Science Activity Using Coffee Filters
In this activity children will be separating marker inks using coffee filters! The kids love seeing which colors were mixed to make the final color of each marker. Some marker colors will separate into two or more different colors, while other markers won’t separate at all.
1. Choose a marker to try out first.
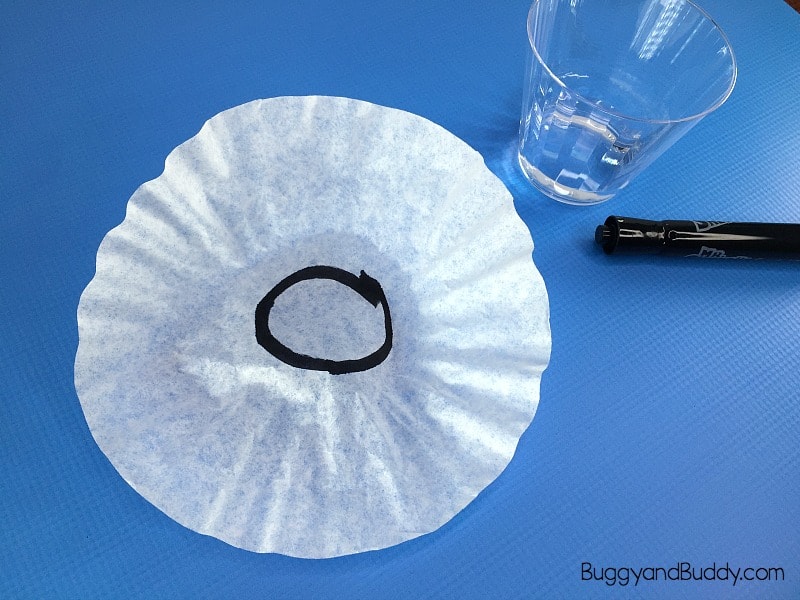
2. Take a coffee filter. Be sure to place it on a sheet of paper since the marker will go through the coffee filter . Draw a thick circle around the center of the coffee filter where the ridged part meets the flat center.
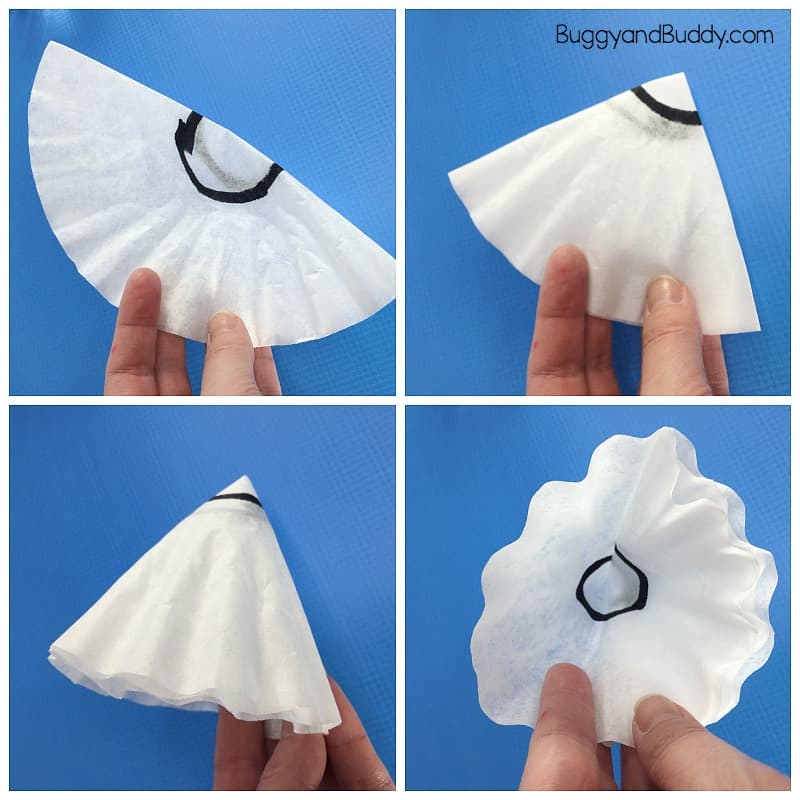
3. Fold the coffee filter in half and then in half again, forming a cone shape.
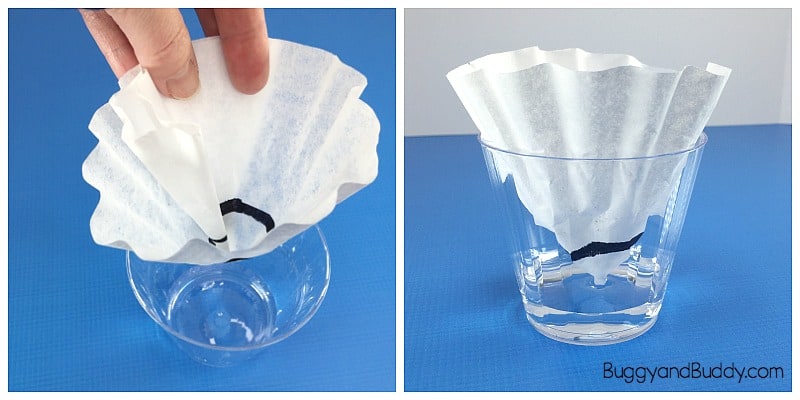
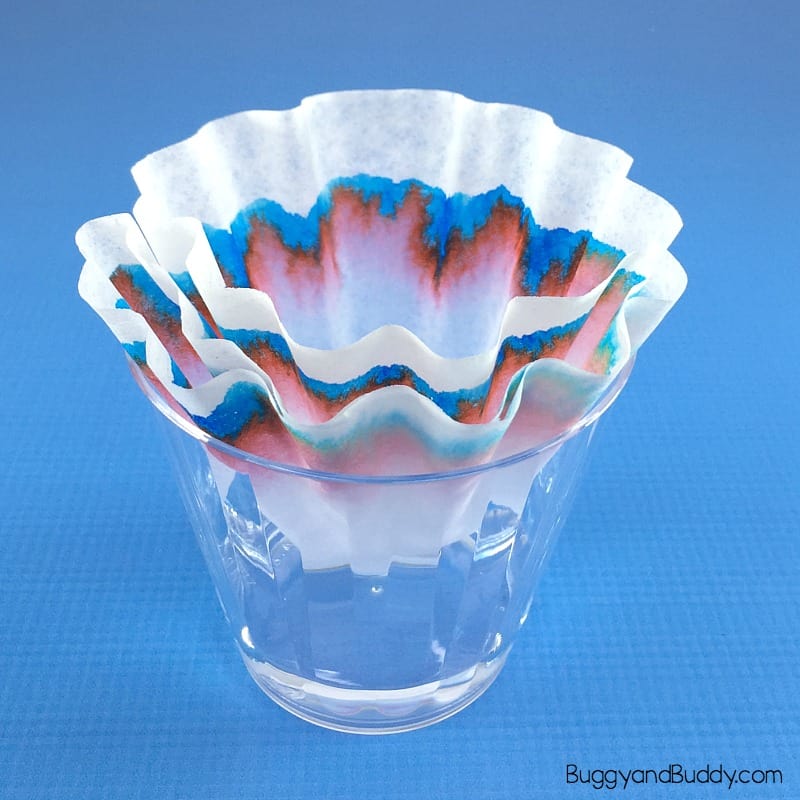
4. Get a short glass or cup and fill it just a bit with water. Open up the top of the cone shaped coffee filter so it balances right on the glass with the tip of the cone just touching the water. (Be sure NOT to let the marker circle go in the water, just the uncolored tip of the coffee filter cone. You’ll know if the marker got into the water because the water will change color. If this happens just start again with a new glass of water and coffee filter.)
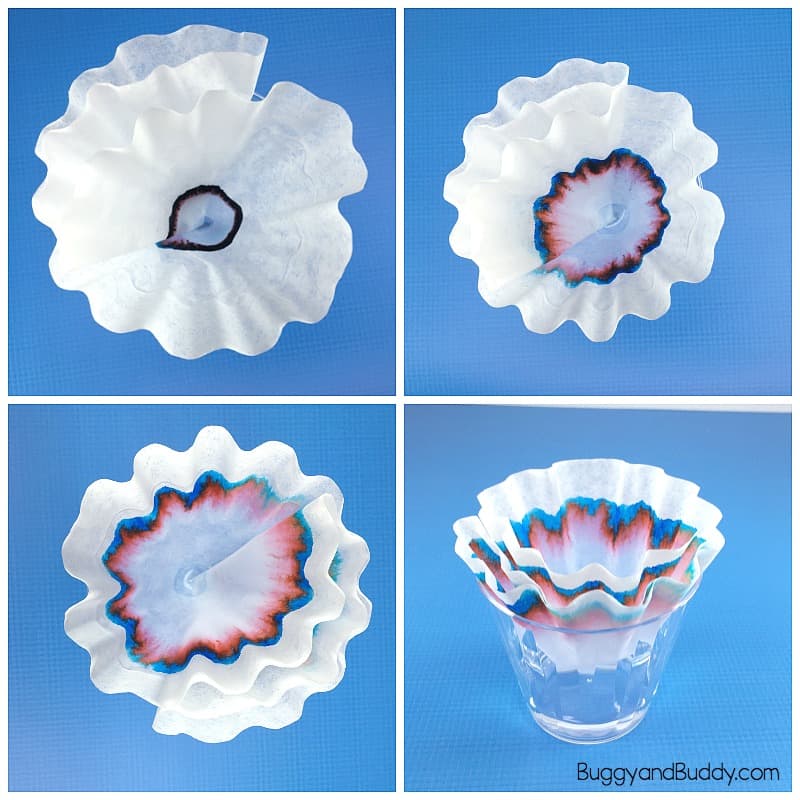
5. Let it sit and watch what happens as the water begins to flow up the paper. It takes about 20-30 minutes for the water and marker to completely filter to the edge of each cone.
6. Repeat the same process with different colored markers and watch what happens.
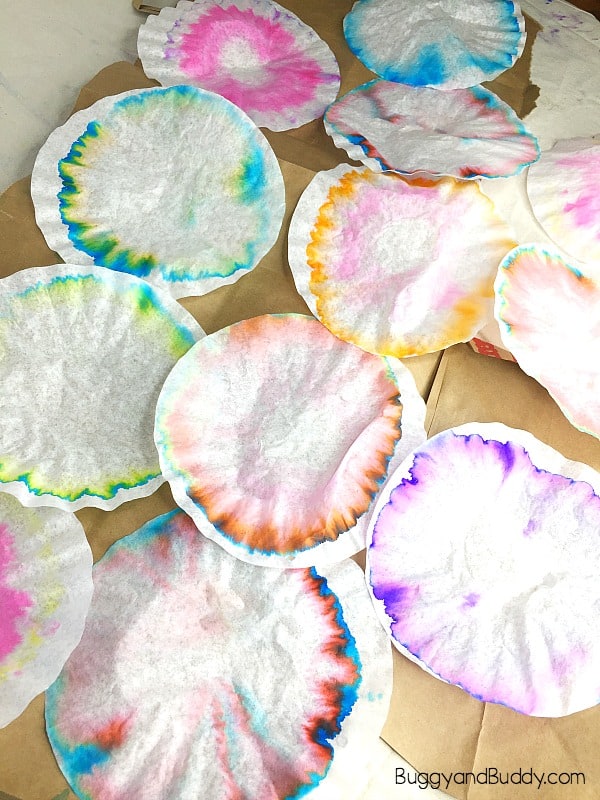
7. After the water has reached the outer edge of the coffee filter, place it on a newspaper or other paper to dry.
8. Once the coffee filters are dry, observe the results. Pretty cool!
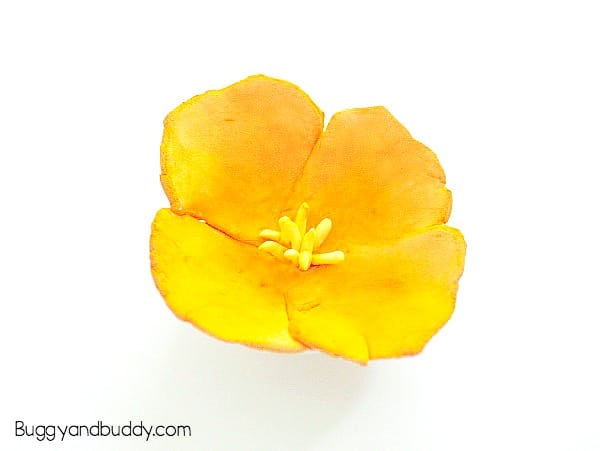
Directions for Making Coffee Filter Flowers
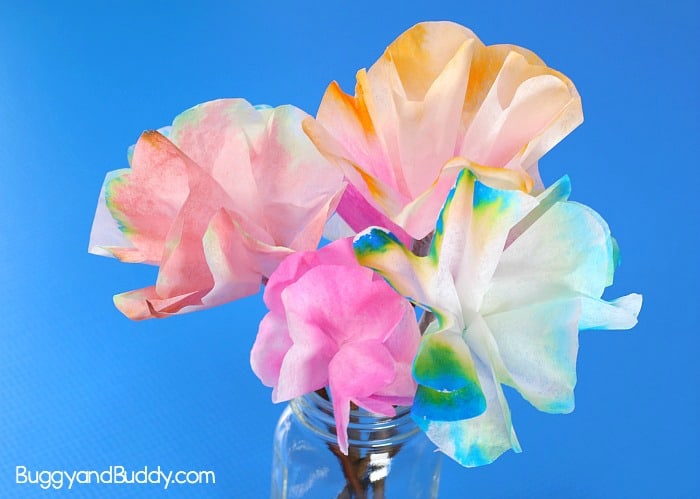
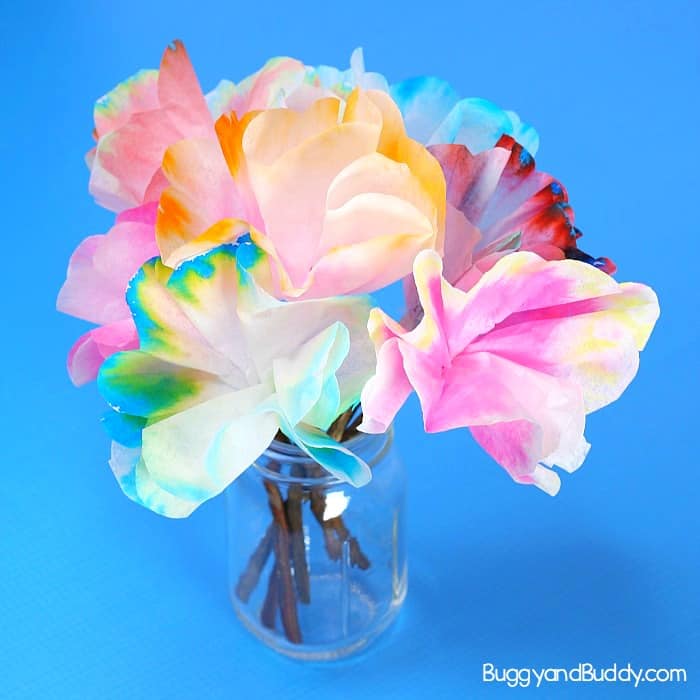
Now you can take your colorful coffee filters and turn them into colorful coffee filter flowers for spring. They would also make a sweet gift for Mother’s Day!
1. Take a coffee filter and trim off any white edges.
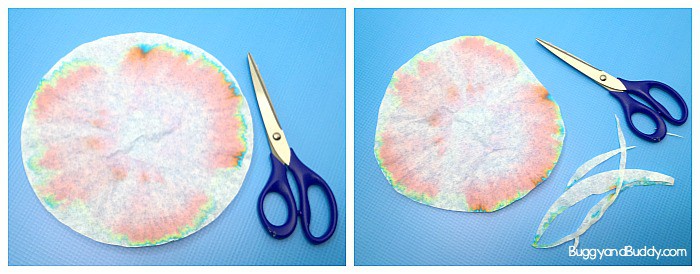
2. Fold the coffee filter in half four different times.
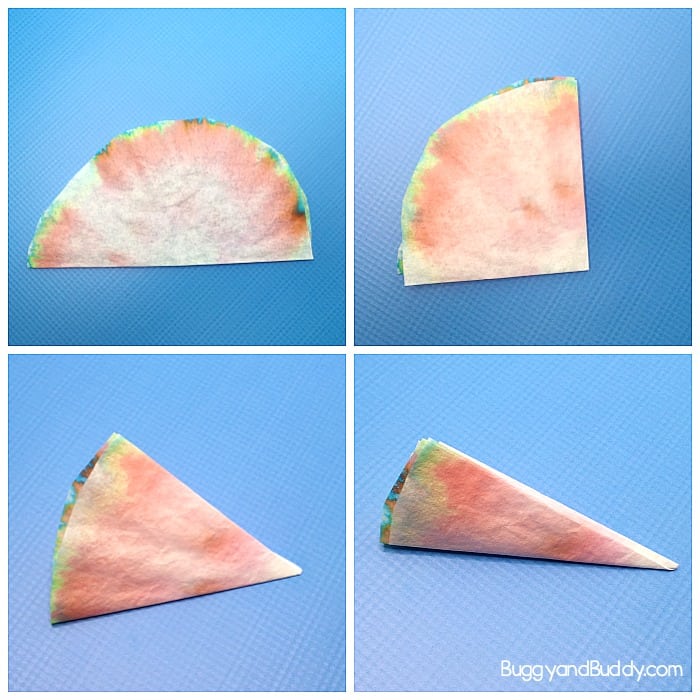
3. Use scissors to round the edge.
4. Open up your coffee filter.

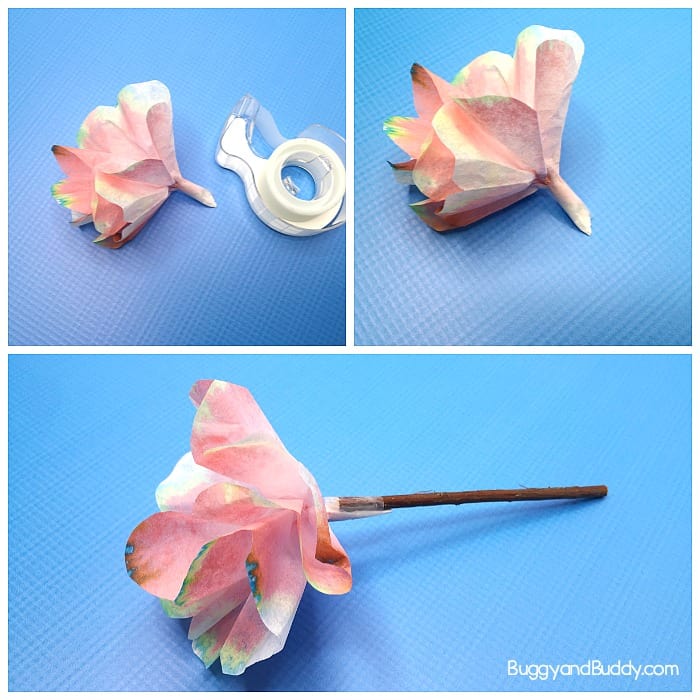
5. Bunch it up and press the center together to form a mini stem. Wrap it with clear tape.
6. Use clear tape to tape your flower to a stick or twig. (We actually purchased these twigs, but you could collect your own on a walk outside.)
7. Make a whole bouquet to display or give it to someone special!
See more science activities from Buggy and Buddy!
Be sure to check out our STEAM Kids book and ebook for even more creative STEM and STEAM ideas!