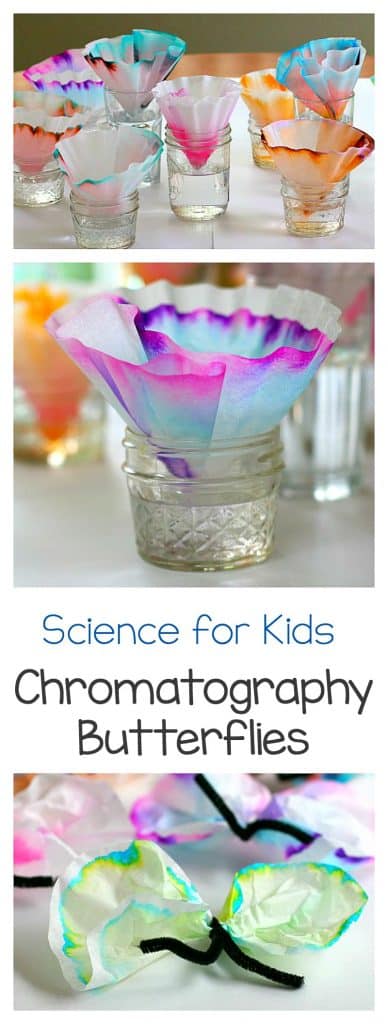
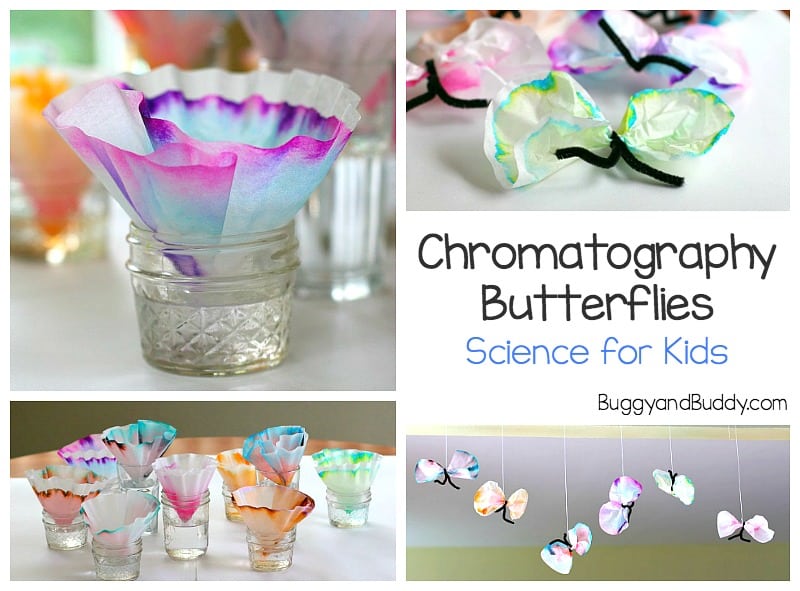
Looking for some spring themed science for kids? You’ll definitely want to explore chromatography using coffee filters and markers. The results from this science experiment can even be used to create a colorful butterfly craft for kids!
Follow our Science for Kids Pinterest board!
This post was originally posted February 26, 2014 and has since been updated.
Most kids are used to mixing colors with paints or play dough, but have your children had the chance to try separating color mixtures? In this science experiment for kids we’ll be exploring chromatography (separating mixtures). We’ll use coffee filters to separate the various pigments in markers to see how each color was created! (This post contains affiliate links.)
Be sure to also check out: Chromatography Flowers and Chromatography Artwork
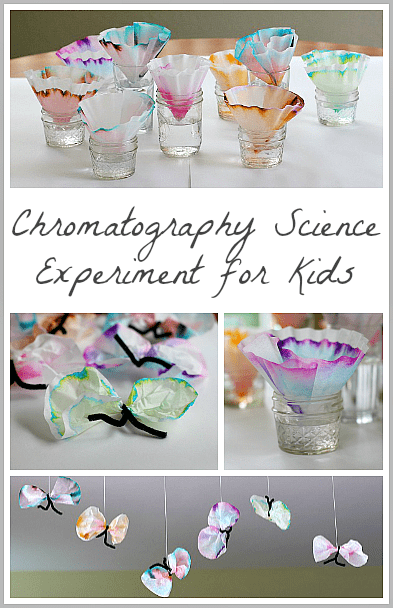
Science for Kids: Chromatography Butterfly Craft
Materials for Science Experiment & Butterfly Craft
- Non permanent markers (Over the years I’ve found Mr. Sketch markers work the best in this experiment.)
- White coffee filters
- Pencil
- Cups of water
- Black pipe cleaners
- String
- Scissors
Procedure to Chromatography Science Experiment
1. Choose one marker to experiment with first. (Hint~ black and brown are the most exciting!)
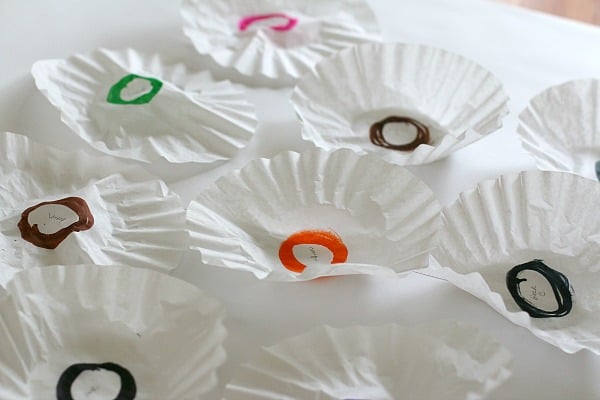
2. Take one coffee filter. Put it on a newspaper or some kind of material to protect your table. Draw a thick circle around the center of the coffee filter where the ridged part meets the flat center. Use a pencil to write the color of the marker being used right in the center. (You’ll want to know what the original color was being used, and the pencil won’t smear and will remain intact after the experiment.)
3. Fold the coffee filter in half and then in half again, resulting in a cone shape.
4. Get a short glass of water. Pull apart the cone shaped coffee filter so it balances right on the glass with the tip of the cone just touching the water. (Be sure NOT to let the marker circle go in the water, just the uncolored tip of the coffee filter cone.)
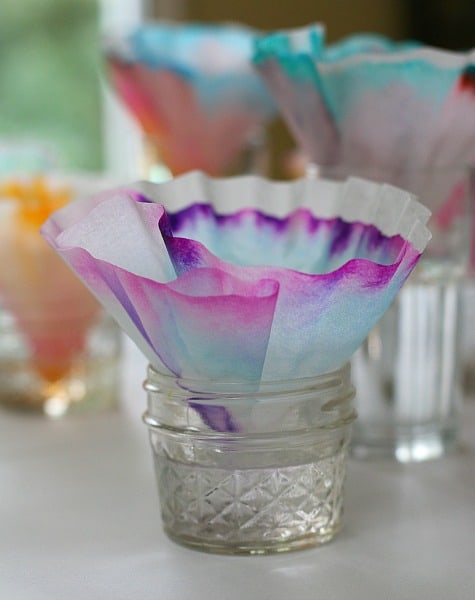
5. Let it sit and watch what happens as the water begins to flow up the paper.
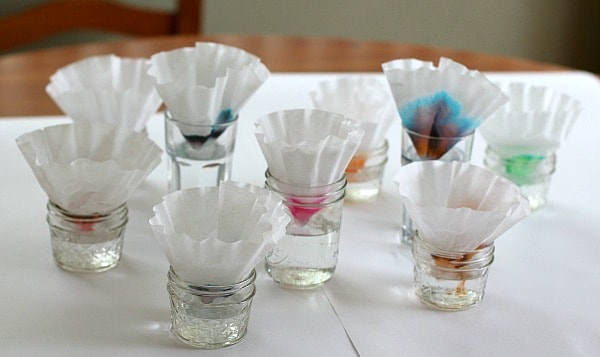
6. Repeat with different colored markers. Here are ours starting out…
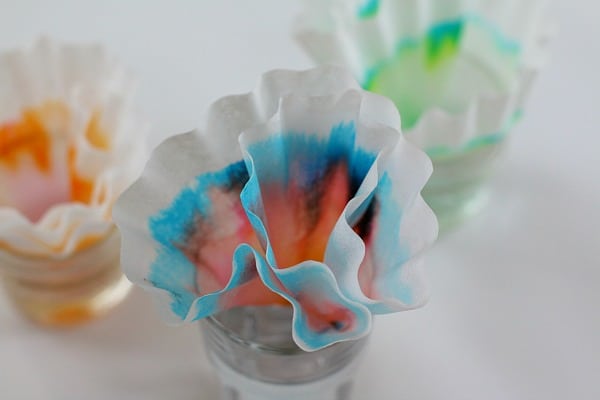
… and just about done!
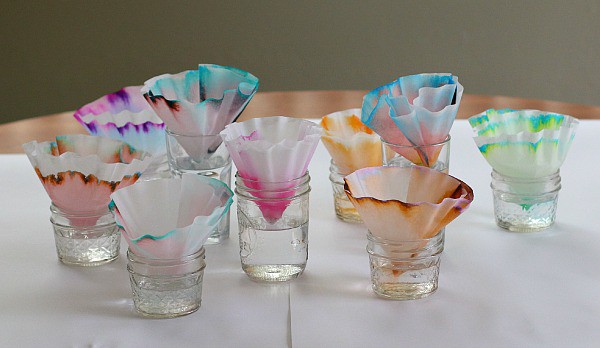
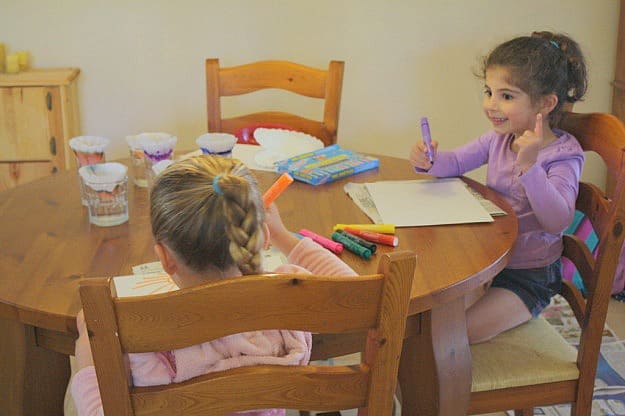
7. After the water has reached the outer edge of the coffee filter, place it on a newspaper to dry. (Lucy and her friend enjoyed illustrating their predictions on paper while waiting for each color to finish separating.)
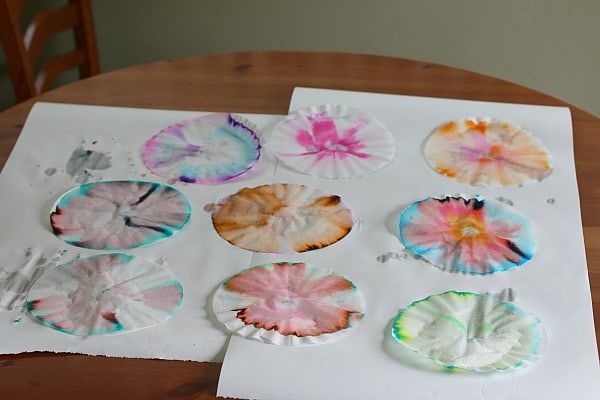
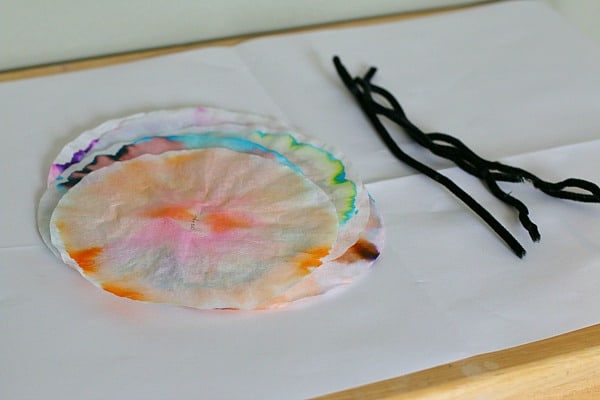
8. Once the coffee filters are dry you can observe the results.
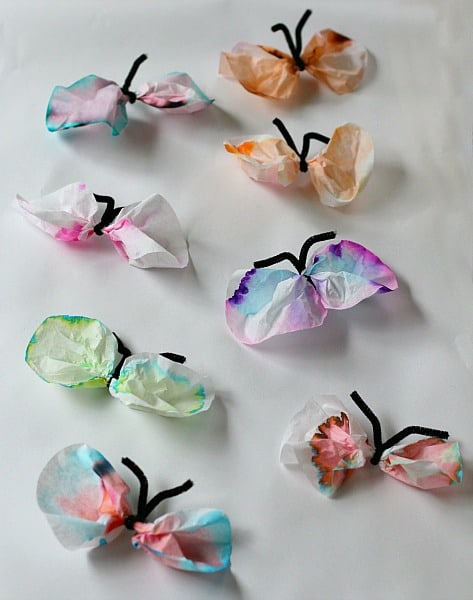
Directions for Using Coffee Filters to Make the Butterfly Craft
1. Cut your black pipe cleaners in half.
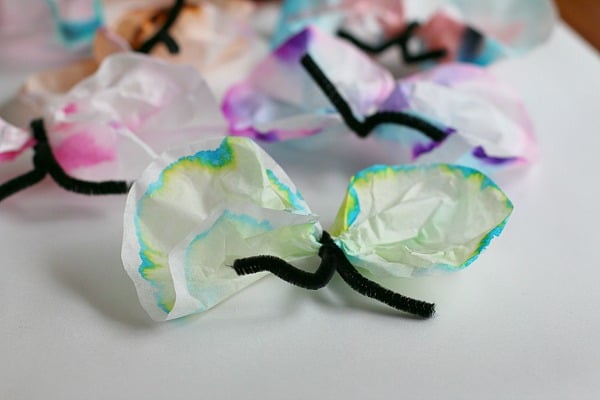
2. Take one coffee filter and scrunch it up in the middle.
3. Wrap a black pipe cleaner around the center.
4. Shape the ends to form antennae.
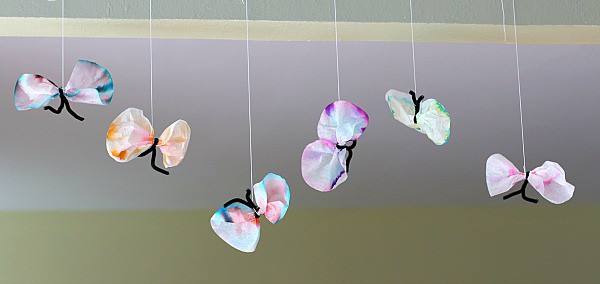
5. Tie a string to the center and hang!
Watch it in action!
Question to Spark More Curiosity & Critical Thinking
What colors do you see? How many colors do you see? Which one do you find most interesting? Why?
Don’t forget to follow your child’s lead and let your him/her explore some more! Lucy and her friend wanted to try all the different colors to see if they’d separate. They wondered if the marker would separate on just regular paper and came up with a way to try it out.
After the experiment was complete, the thinking continued! Lucy’s friend was determined to have the butterflies balance just right when tied on the string. We tried different placements of the string to see the different ways we could get the butterflies to hang.
Want to go even further?
Even more activities to inspire creativity and critical thinking for various ages.
- Collect black markers from different brands. Complete the experiment with each. Compare the results.
- Record your observations by creating a picture or chart showing what you discovered.
- Make a list of more questions you came up with as you completed this experiment.
- Some related books: White Rabbit’s Color Book
, Little Blue and Little Yellow
, Mouse Paint
Be sure to check out our STEAM Kids book and ebook for even more creative STEM and STEAM ideas!