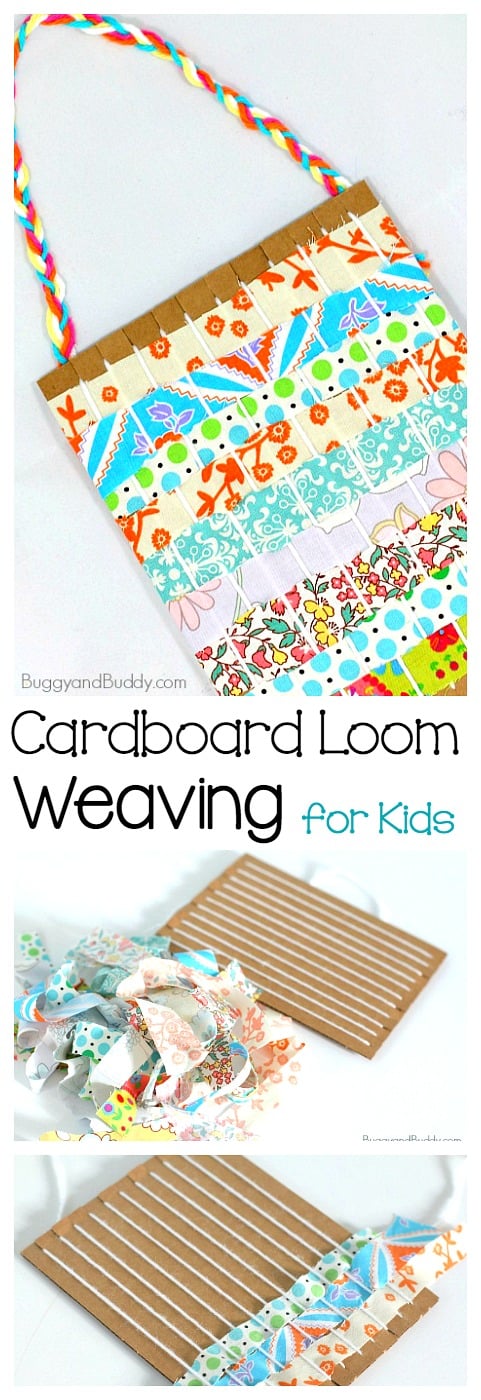
Learn how to do weaving on a cardboard loom using fabric strips in this easy tutorial. Weaving is a great way for kids to work on fine motor skills and hand-eye coordination!
Follow our Crafts for Kids Pinterest board!
I am a huge fan of teaching children to weave! No matter the age of the child, weaving activities provide practice in fine motor skills, hand-eye coordination, pattern recognition and allow children to express their creativity. (This post contains affiliate links.)
Previously, I’ve shared a paper weaving project that’s perfect for first and second graders, and I’ve also posted a tutorial on making your own weaving loom out of popsicle sticks. Children of any age can use scraps of ribbons and yarn to practice on these mini homemade looms.
And, when I was a classroom teacher, I had a large classroom loom available for students to use at their leisure. It was a great opportunity for kids to cooperate and create together!
Weaving on a Cardboard Loom Using Fabric Strips
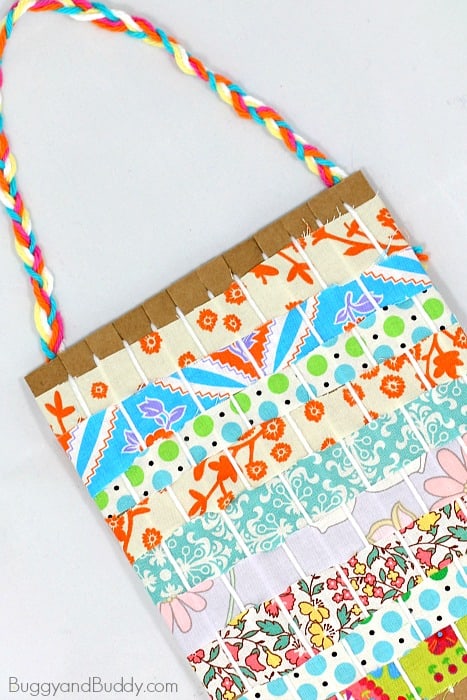
When I recently found two pieces of cardboard in some packaging, I knew we’d be using them for our next weaving project. Below I’ll share how we made some colorful, woven fabric artwork to display in our home. These finished fabric weavings would also make a wonderful classroom activity!
Materials for Weaving on a Cardboard Loom Using Fabric Strips
- Sturdy piece of cardboard
- Scissors
- Ruler and pencil
- Yarn
- Strips of fabric
- Glue or hot glue gun
- Yarn or string for hanging
Directions for Weaving on a Cardboard Loom Using Fabric Strips
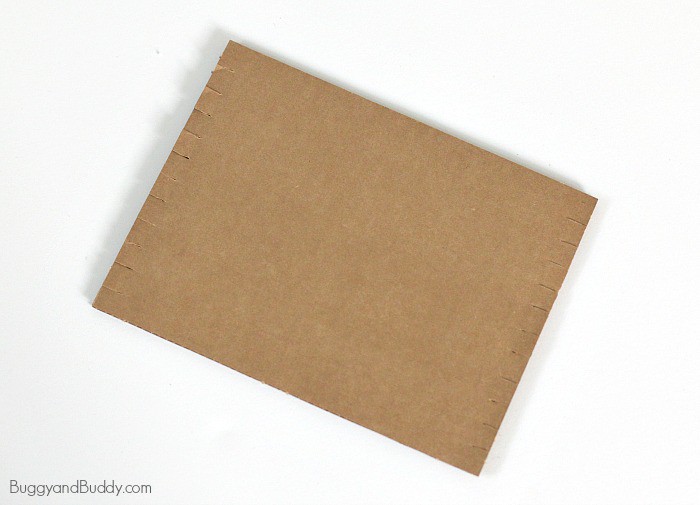
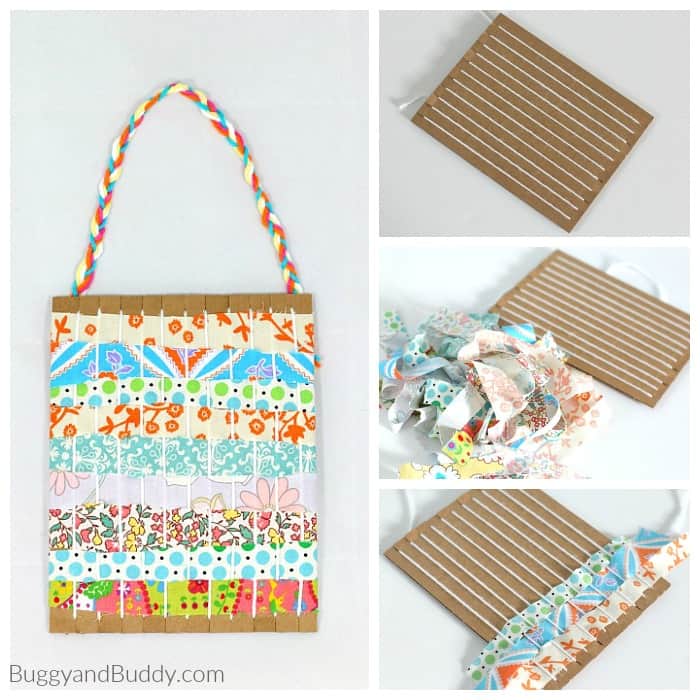
1. Start by making your cardboard loom. Use a ruler (I like using a see through ruler) to mark where you’ll make notches along the top and bottom of your cardboard. (We spaced ours about every half inch.)
2. Use scissors to cut slits along the top and bottom of your cardboard (where you made your pencil marks).
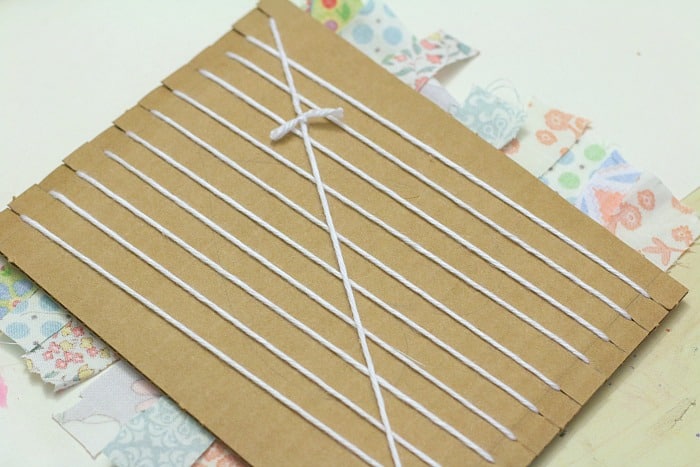
3. Take your ball of yarn (worsted or sport weight works well) and wedge the beginning of the yarn through the first slit. (Leave about a 3-4 inch tail.)
4. Wrap the yarn through the bottom slit, then back up again through the next top slit. Continue until you’ve strung your entire loom. Snip off the yarn.
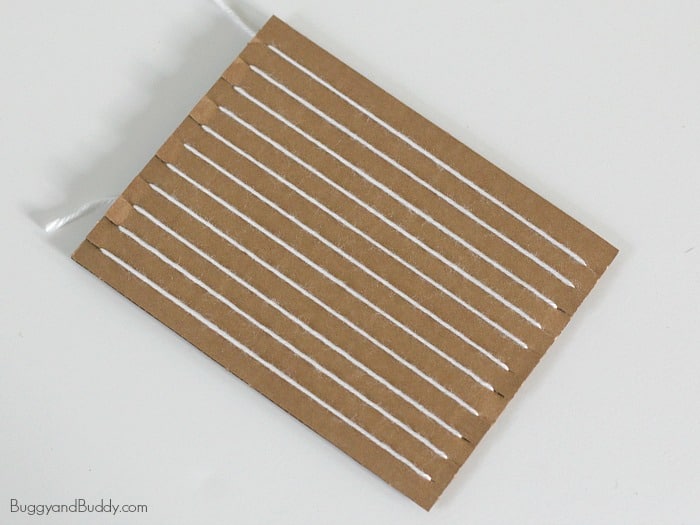
(I tied the beginning and ending of my yarn together in a knot behind my loom to secure the yarn in place.)
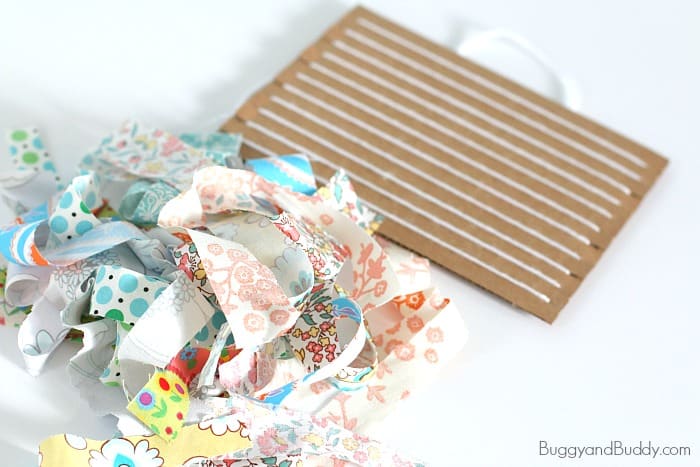
5. Grab some scraps of fabric and tear or cut them into strips about one-inch wide. (These are my favorite scissors for cutting fabric and felt!)
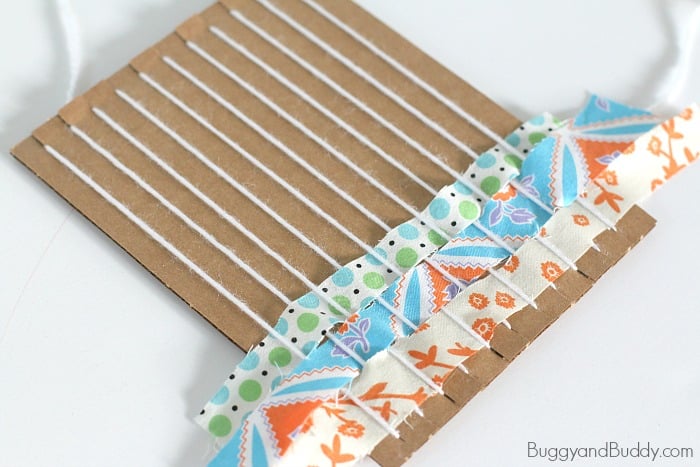
6. Weave the scraps of fabric through the yarn on the cardboard loom.
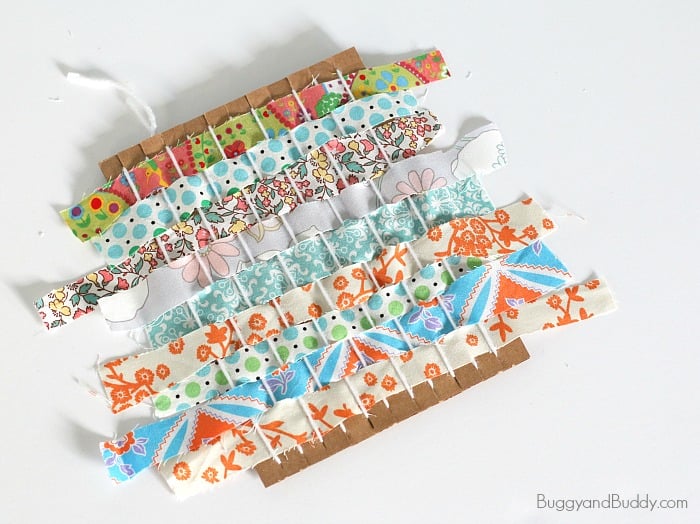
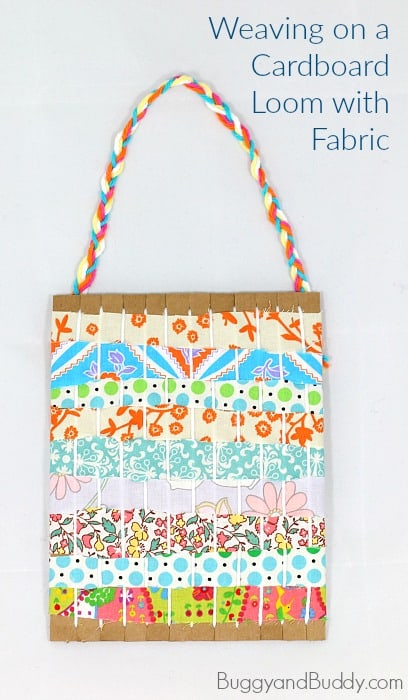
7. Once you’re finished with your weaving, glue the ends of each fabric strip to the back of the loom to hold them in place. (I used a hot glue gun, but you could also use regular liquid glue.)
8. Glue some yarn, ribbon, or string to the top of the cardboard for hanging.
Other Weaving Options
- If you’re interested in creating a finished weaving piece you can actually remove from the loom to display, be sure to check out this weaving tutorial from Art Bar.
- Here’s all kinds of other unique ways to create homemade looms for kids. You’ll find ways to turn things like paper plates, boxes, and even cups into weaving looms!
Be sure to check out STEAM Kids book and ebook for all kinds of creative STEM and STEAM ideas!