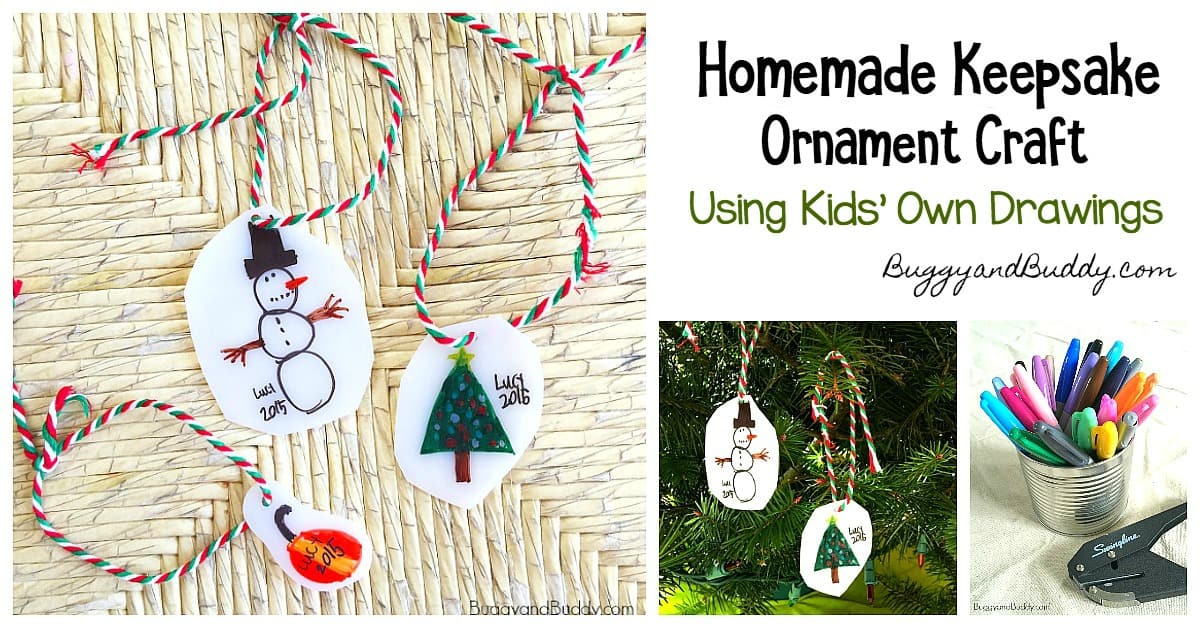
These kid-made ornaments using shrink film are one of the easiest we’ve done yet, and they make wonderful keepsakes! What a wonderful way to save your child’s artwork to enjoy year after year!
Follow our DIY Christmas Ornaments Pinterest board!
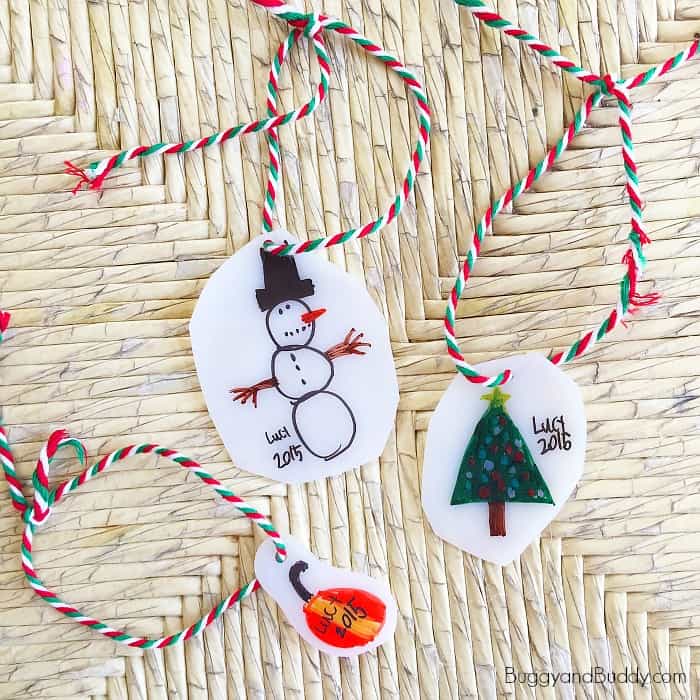
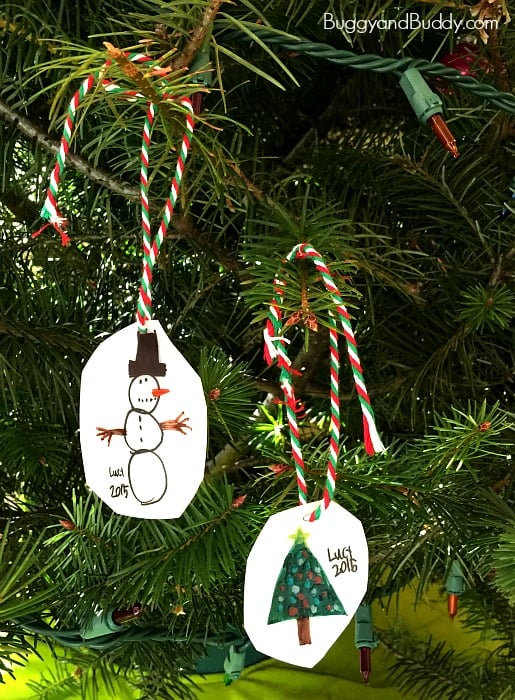
After making these adorable silhouette Christmas ornaments, I gave the extra shrink film from the project to the kids to use.
They had such a blast creating their very own ornaments. I loved seeing their excitement as their drawings transformed into tiny, little ornaments to hang on the tree. I know I’ll cherish these for years, such a cool way to save and display your children’s drawings!
Kid-Made Ornaments Using Shrink Film
Materials for Shrink Film Ornaments
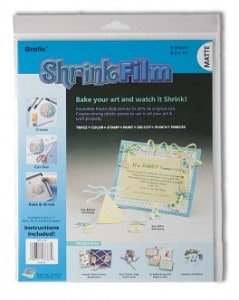
- Shrink Film (We used this shrink film by Grafix. The package contained 6 sheets, and we cut each sheet into fourths.)
- Sharpies in various colors
- Scissors
- Single hole punch (This is my absolute favorite!)
- String or yarn for hanging
Directions for Shrink Film Ornaments
1. Cut your shrink film sheets into fourths.
2. Use Sharpies to draw a picture on your piece of shrink film. They are going to shrink a lot, so be sure to use up most of the space!
3. Punch a hole above the picture your drew.

4. Cut around you picture.
5. Place your finished drawings on a cookie sheet covered with parchment paper and bake according to your shrink film package directions.
6. Remove them from the over and let cool.
7. Tie a string through the hole in your ornament and hang on the tree or wrap to give as a gift to someone special.
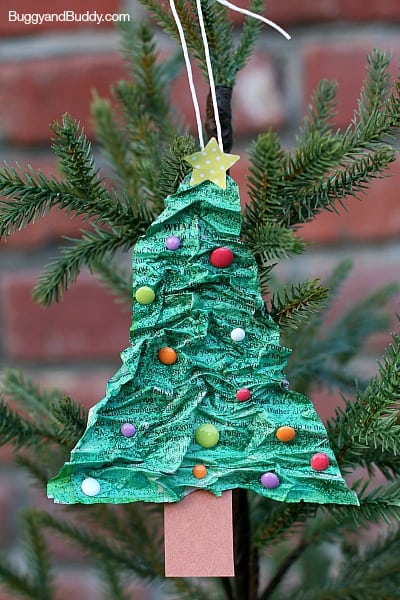
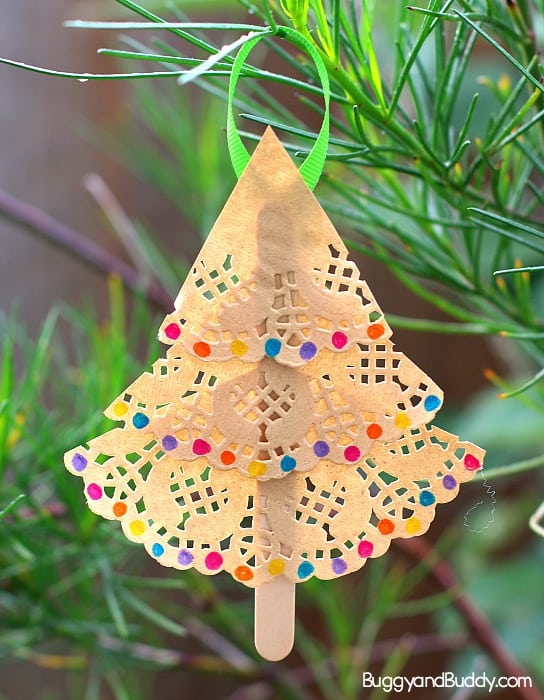
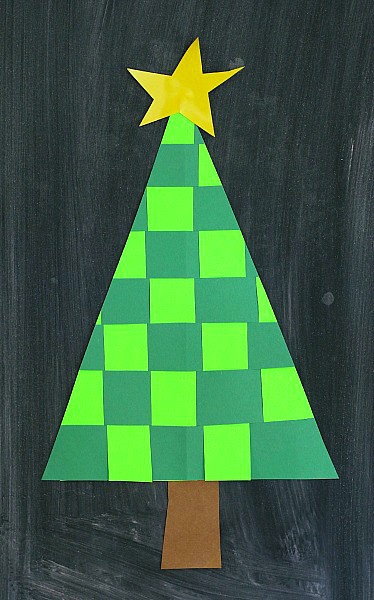
Looking for some more fun Christmas activities?
Check out our STEAM Kids Christmas Ebook for all kinds of science, technology, engineering, art, and math activities for kids all centered around Christmas!