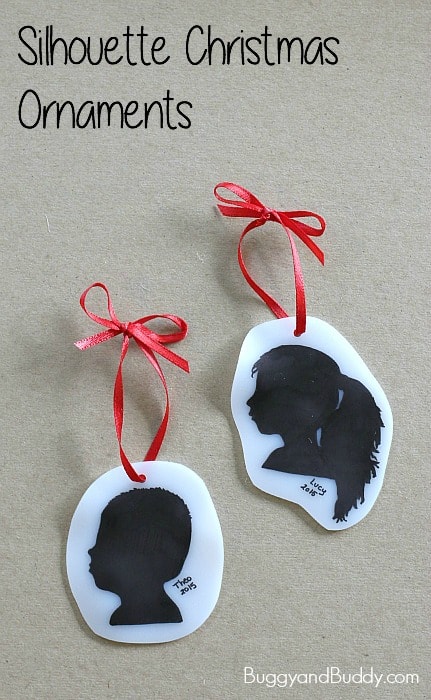
This homemade silhouette Christmas ornament is super easy to create and makes such a special keepsake. This simple ornament is definitely worth making with your child, and older children can even make it completely on their own. (These homemade Christmas tree ornaments make wonderful homemade gifts.)
I absolutely adore having keepsakes that are pictures of my children, especially around the holidays. Hanging up ornaments with pictures of my kids always bring back such special memories, and the kids always feel so proud when they see them on the tree.
This silhouette Christmas ornament is simple to make and is one I know I’ll cherish every year. It would also make a special gift to give grandparents and other family members.

Silhouette Christmas Ornament Craft
Materials for Silhouette Christmas Ornament Craft
- Shrink film- We used this matte shrink film. You can buy it in a larger quantity here.
- Black Sharpie
- Scissors
- Single hole punch (This hole punch is a lifesaver for your hands!)
- Thin, red ribbon or yarn
- Spatula
- Parchment paper and cookie sheet
- Photo of your child
Directions for Silhouette Christmas Ornament Craft
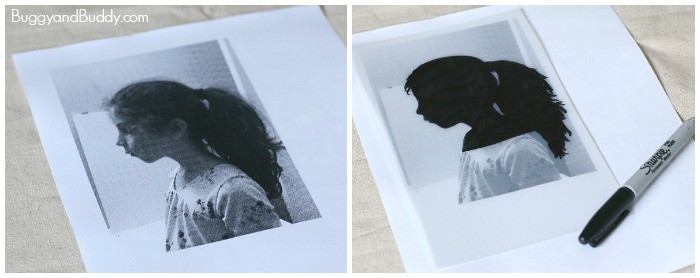
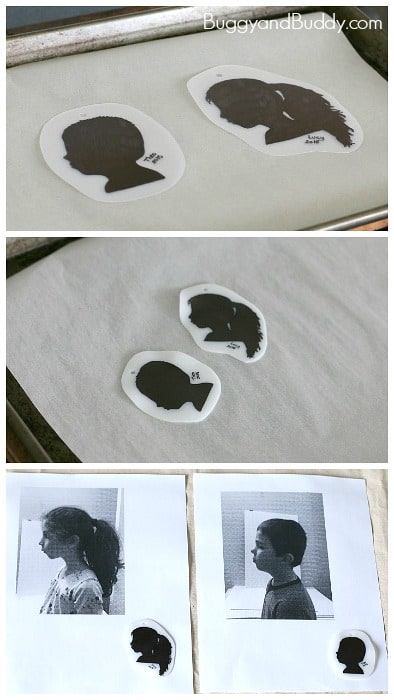
1. Find or take a picture of your child’s profile. I snapped a quick picture on my phone and printed it out on white paper.
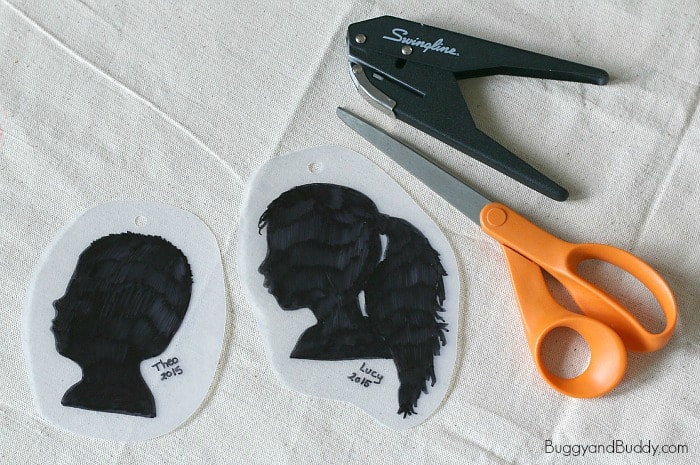
2. Place a sheet of shrink film over the photo. (We used matte shrink film to really make the silhouette stand out on the white background. My husband did use translucent with his class, and they turned out pretty too.) Trace the outline of your child’s face with a Sharpie and color it in. Write your child’s name and the year near the drawing. (I used a half sheet of shrink film for each child.)
3. Cut out your profile drawing from the shrink film. Punch a hole in the top of the film.
4. Place your shrink film drawing onto a cookie sheet covered with parchment paper. Bake according to the directions on your shrink film’s package. (We baked ours for about 3 minutes at 335 degrees.)
5. Once it shrinks completely, press it down flat with a spatula before it completely hardens.
6. Let it cool.
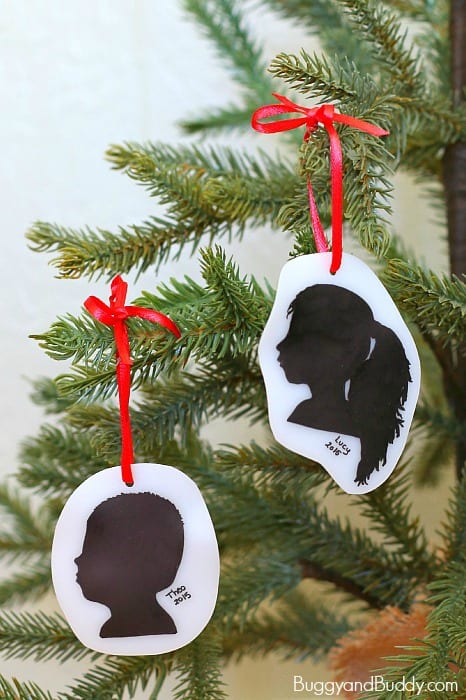
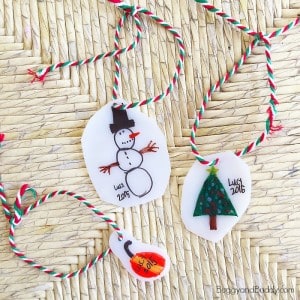
7. Tie some red or festive ribbon through the hole for hanging. That’s it!

Want to make some more ornament keepsakes with your leftover shrink film? Try these kid-made ornaments!
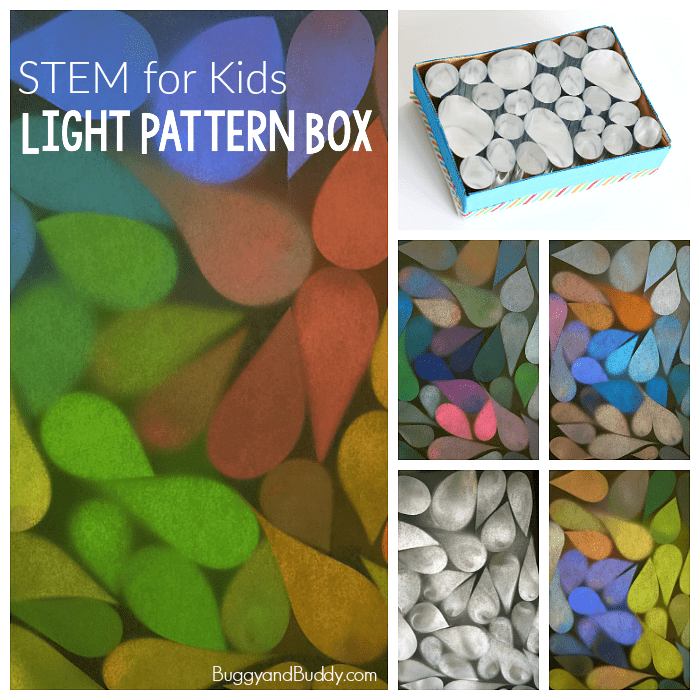
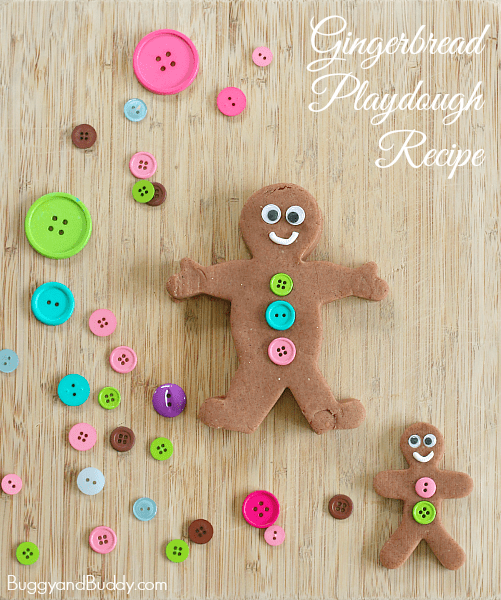
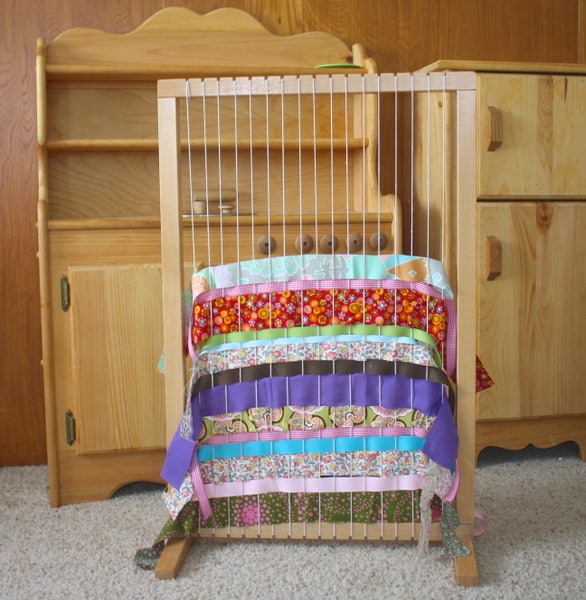
Looking for some more fun Christmas activities?
Check out our STEAM Kids Christmas Ebook for all kinds of science, technology, engineering, art, and math activities for kids all centered around Christmas!