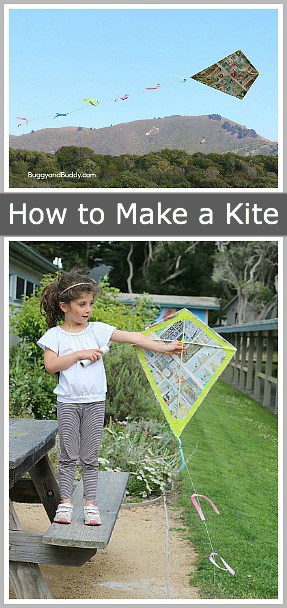
Making a kite together with your kids is such a wonderful learning experience and flying it together is tons of fun and SO rewarding! If you’ve been wondering how to make a kite, it’s really not as hard as it seems, and it’s definitely worth the time. Here’s how we made our own kite using newspaper!
Follow our Outdoor Play and Learning Pinterest board!
(This post contains affiliate links.)
Flying kites is one of our favorite things to do as a family. (We actually have this little pocket kite we keep in our bag of beach toys to use when we’re at the beach.) I love watching the kids try to get their kites up in the air and seeing the joy in their faces as they fly their kites!
Since my kids have been so into creating this summer, I decided to see if we could make our very own kites! I cannot even put into words how much fun we had building them together and taking them to a nearby field to fly them. It was literally hours of running around and laughing and FUN!
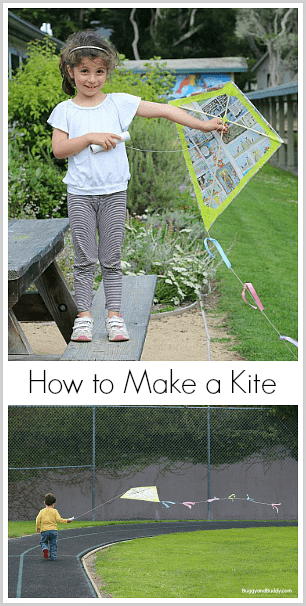
How to Make a Kite
Materials for Making a Kite
- A full sheet of newspaper
- Two 1/4 inch round wooden dowels (one 24 inches, one 20 inches)
- Scissors
- Pencil
- String
- Masking tape or packing tape
- Ruler or yardstick
- Yarn and/or ribbons
- Little handsaw
Directions for Making a Kite
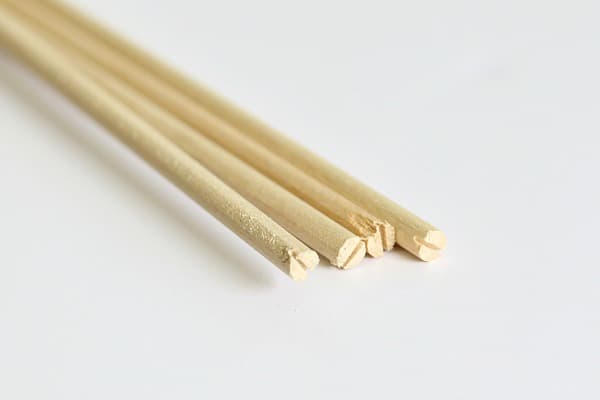
1. Start by cutting your wooden dowels to the correct lengths- 24 inches and 20 inches. (The kids helped me measure the dowels with a yardstick, and I cut them myself with the saw.)
2. Use your handsaw to make notches in both ends of your two wooden dowels. (For safety reasons, I did this myself.)
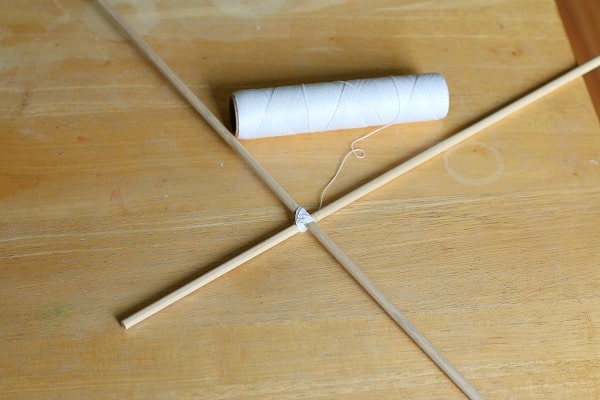
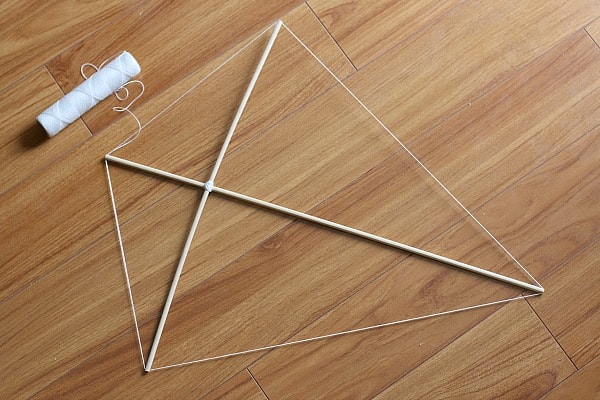
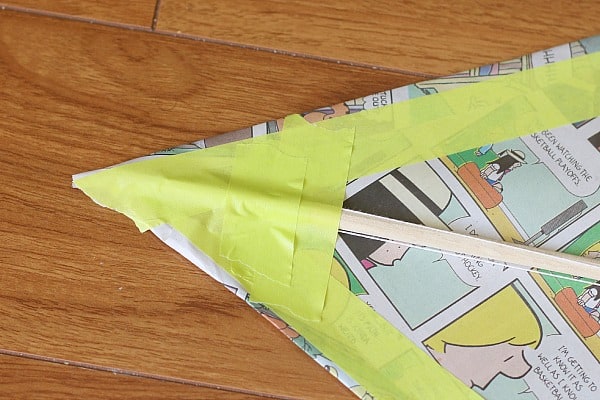
3. Lay the 24 inch dowel vertical and measure 6 inches from the top. Mark it with a pencil. Place the smaller dowel across this mark to form a ‘t’ shape. Use your string to wrap the dowels together where they meet. Pay attention to the notches at the end of each dowel. You’ll want them all parallel to the floor your sticks are on so that you can later wrap string around the frame.
Place some masking tape over the string to secure your dowels.
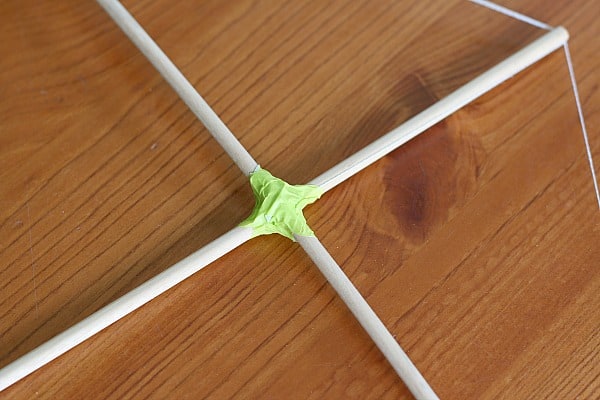
4. Wrap string all the way around the kite, making sure it goes right into the notches.
Now that your frame is done, it’s time to add your newspaper. (You can also use a plastic trash bag.)
5. Place a large sheet of newspaper on the floor. Place your frame on top of it. Cut about one inch outside the frame to make your newspaper the same shape.
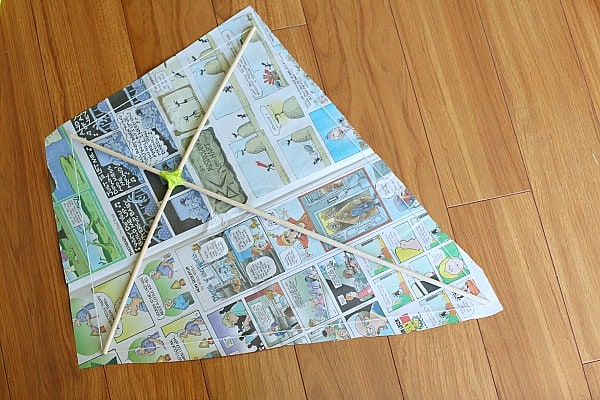
6. Fold the edges of the newspaper over the string and tape them down securely.
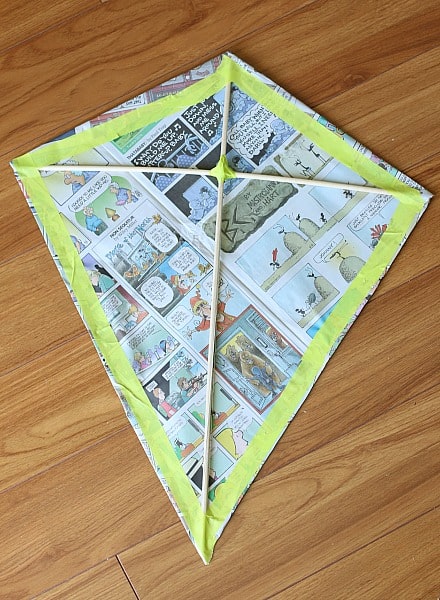
7. Cut a piece of string 24 inches long. Poke holes into the top and bottom points of the kite. Tie one end of the string into the top hole and one end into the bottom hole. (Use some tape to keep it secure.) This is the brindle of your kite. Tie your flying string to this brindle string to fly your kite. (We started by tying the string about 1/3 of the way down the brindle and adjusted it as we flew our kite.)
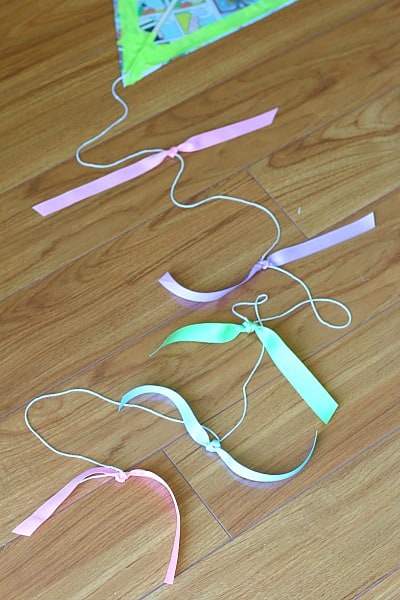
8. Use ribbon to create a tail for your kite.
Now you’re ready to go kite flying!
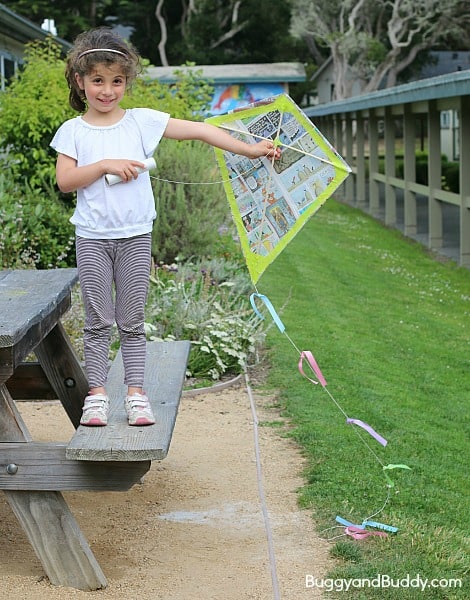
Flying Our Homemade Kite
Tip: Be sure to bring some scissors, tape, and string with you when you go out to fly your kite. We made all kinds of adjustments to get our kites into the air!
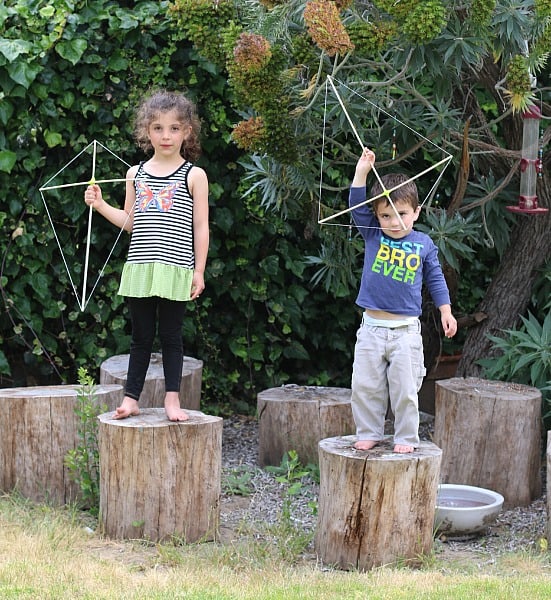
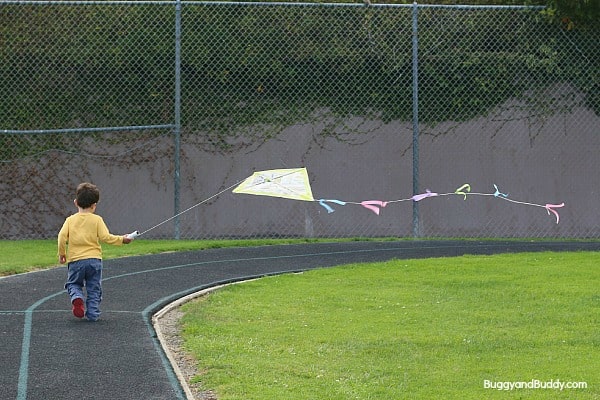
Flying our homemade kites was one of my favorite memories from this summer! We literally ran around for hours working on getting our kites up in the air!
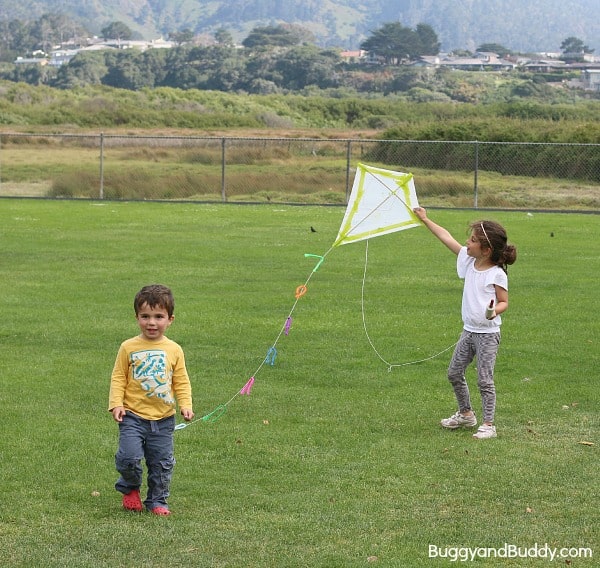
Kite flying required all kinds of teamwork. Here’s Lucy and Theo about to try to get Lucy’s plastic trash bag kite up!
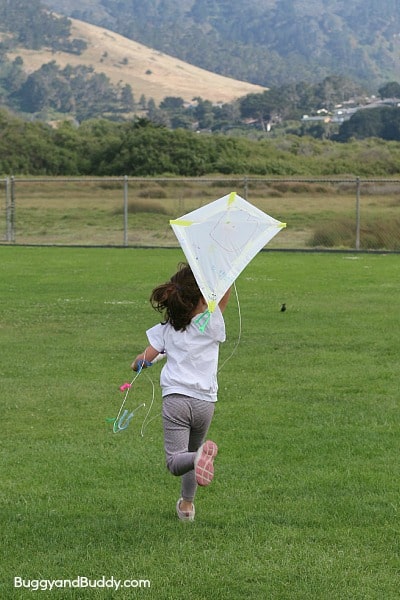
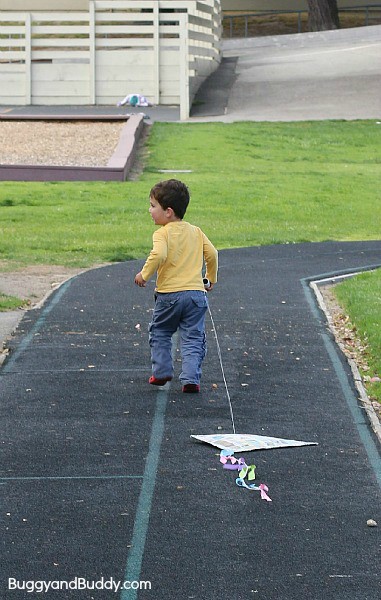
Somehow our newspaper kite survived crashing and being dragged around the ground many times. It was a lot stronger than it seemed!
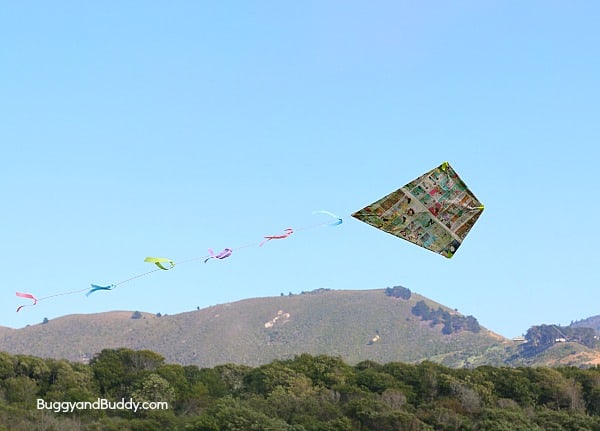
Perseverance paid off! Theo was SO proud when he finally got it off the ground!
This really was such a fun family activity. It would be a great way to end your summer or a fun way to reconnect on the weekends! This would also be a great science activity for homeschoolers or upper grade classrooms!
Find more STEM activities in our ebook! Learn more about it here, or buy it now here!