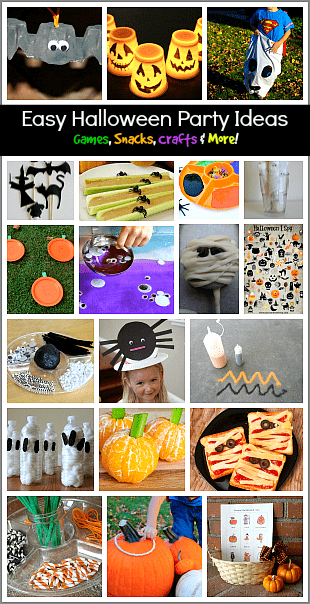
I finally decided it was time to venture in to paper mache! I have not done it since I was a kid, and I remember loving it back then! So I figured the perfect paper mache project this time of year would be treat holders for trick-or-treating!

Paper Mache Treat Holders for Halloween
1. First, I gathered together our supplies:
- newspaper
- balloons
- liquid glue
- cookie sheet, foil, and wax paper (surface to work on)
- disposable container to hold the glue mixture
- art mat
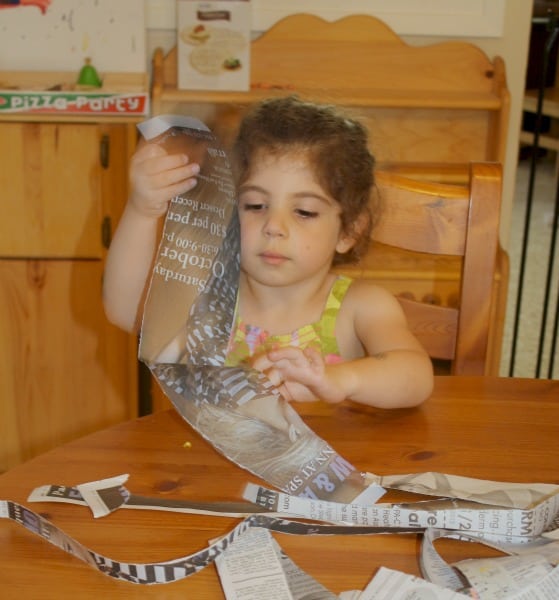
2. Next we tore up old newspaper into strips. We continued tearing paper until Lucy declared, “I think we have enough for today.” (Apparently, this first step had gotten old, but she actually ended up being right. We had a lot left over after day 1!)
3. Lucy then helped me cover the kitchen table with our art tablecloth.
4. Next, we got two cookie sheets and covered them with foil. (I figured this would allow us to eventually be able to easily transport the paper mache somewhere to dry.) I also ripped off two sheets of wax paper and placed them nearby for when we were finished.
5. Lucy I then mixed our glue solution. We did about 3 parts glue to 1 part water.
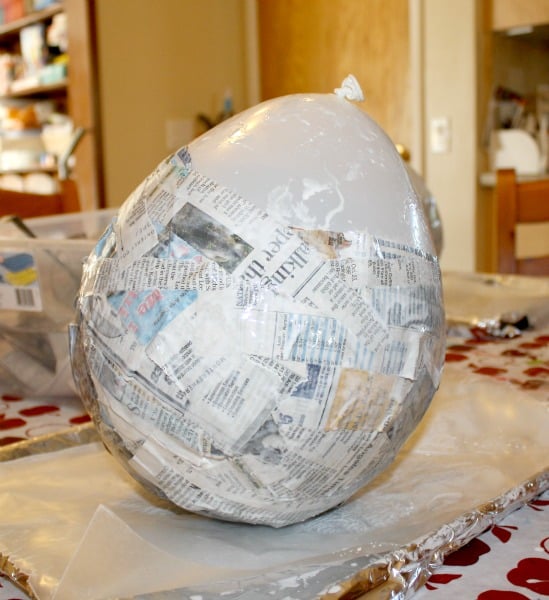
6. Finally, it was time to blow up the balloons. Lucy really wanted to do this herself, but I told her I’d let her practice after we were done. So, Mommy blew up two balloons~ one for each of us. I drew a black line with a Sharpie around the top to kind of gauge where we’d have the hole and wouldn’t need to cover that area.

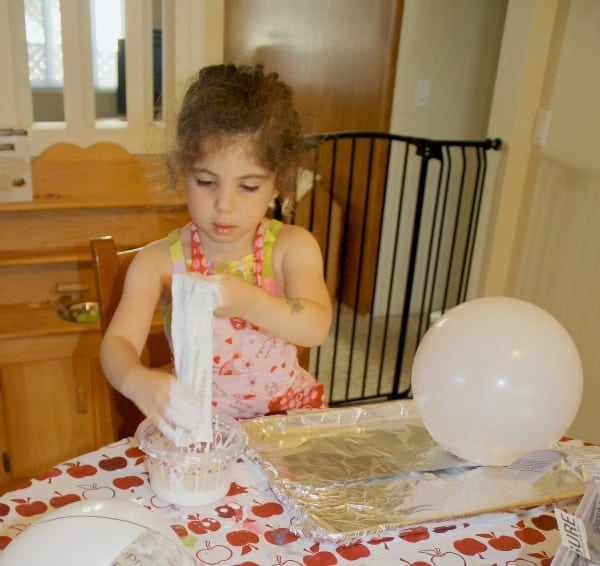
7. Then it was time to get started. I explained the process to her~ how we’d do a layer today, let it dry, do another layer tomorrow, let it dry…. until finally, we could paint them! I showed her how to dip the strips of paper into the glue solution, use two fingers to wipe off the extra glue, and then smooth it onto the balloon. It was a bit tricky for Lucy at first, but she finally got the hang of getting it smooth. We both continued working on our balloons….and working….and working… until they were all covered.
8. We lifted up each balloon, put a piece of wax paper between it and the foil covered cookie sheet, and went off to wash our hands. I had forgotten how glue doesn’t really wash off. I’m still peeling pieces of dried glue off my hands~ totally reminds me of being a kid!
The project definitely took a lot more energy on my part than I had anticipated, but it was well worth it seeing how excited Lucy was~ “I LOVE paper mache!!”
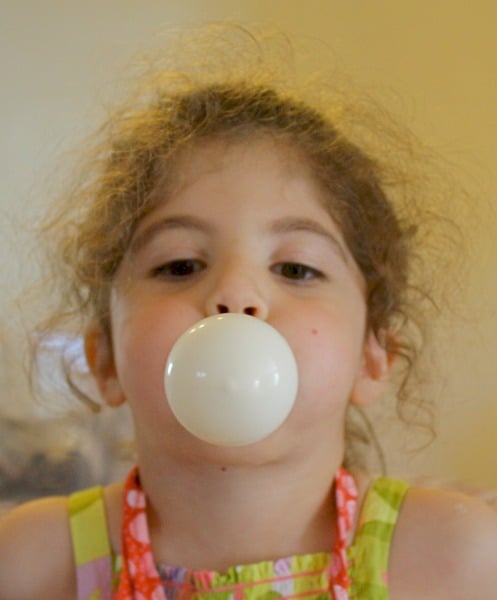
After we had cleaned up, I finally let her practice blowing up a balloon. She worked on it for a good 15 minutes, making many comments along the way~ “Why are balloons so hard to blow up? How much air is in my body? Why are they called balloons? I hope I don’t run out of air. Why is my cheek hurting?”
9. The next day Grandmommy and Lucy also did a second layer of paper mache using newspaper again. I was not there, but apparently one of the balloons popped during the process (which did not please Lucy). So it sounds as if Grandmommy, rather than Lucy, actually did lots of paper mache that day! (After the balloon popped, I just blew up another one right back into the space the other one had left.)
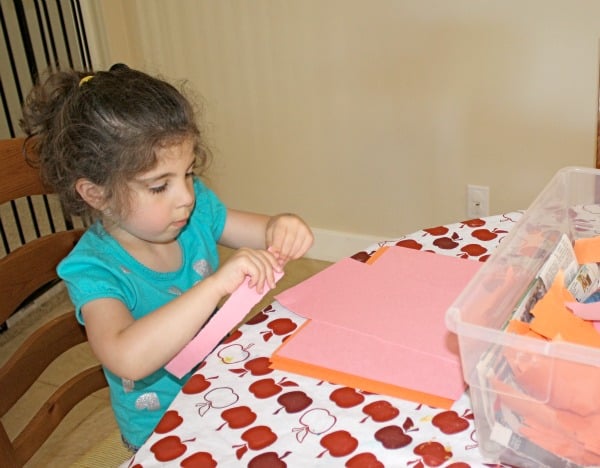
10. After that second layer dried, we finally decided it was ready for the construction paper layer. Lucy helped me tear the orange and pink construction paper into strips and pieces. Because this paper was so much thicker than the newspaper, it was actually much easier to use when it was torn into smaller pieces, rather than strips. We finished the layer of construction paper and let it dry overnight.
11. The next day it was time to pop the balloons! At first I tried, but couldn’t do it~ too nervous anticipating the ‘pop’. I tried to make Grandmommy do it, but she was too nervous too. So, I put a piece of tape over a section of the balloon, Grandmommy put a pin through it, and the air slowly came out (no popping!).
12. Now that we were balloon free, it was time to paint! Lucy is going to be a mermaid for Halloween so she wanted to use ocean colored paints. We got out the colors she chose~ green, blue, white, and purple~ and she mixed them to her liking.
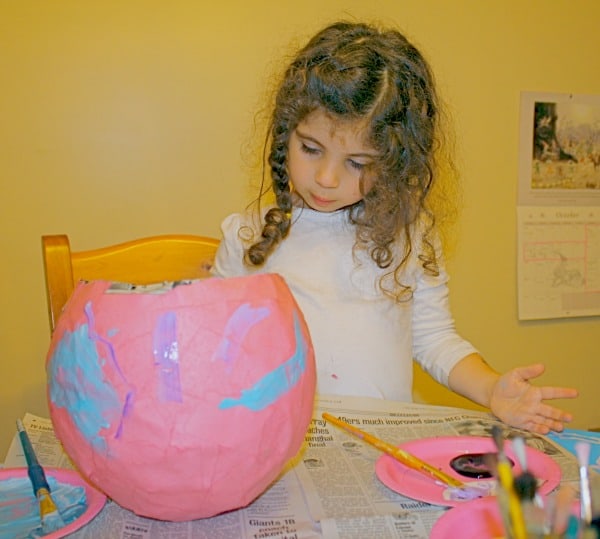
Off she went painting! Daddy was excited to paint the face on Theodore’s jack-0-lantern. This project really did turn out to be a family affair! After the paint had fully dried, I sprayed an acrylic sealer over it to protect the paint. Then we added the finishing touch~ a ribbon to carry it with! It was a long project (about 4 days), but well worth it!