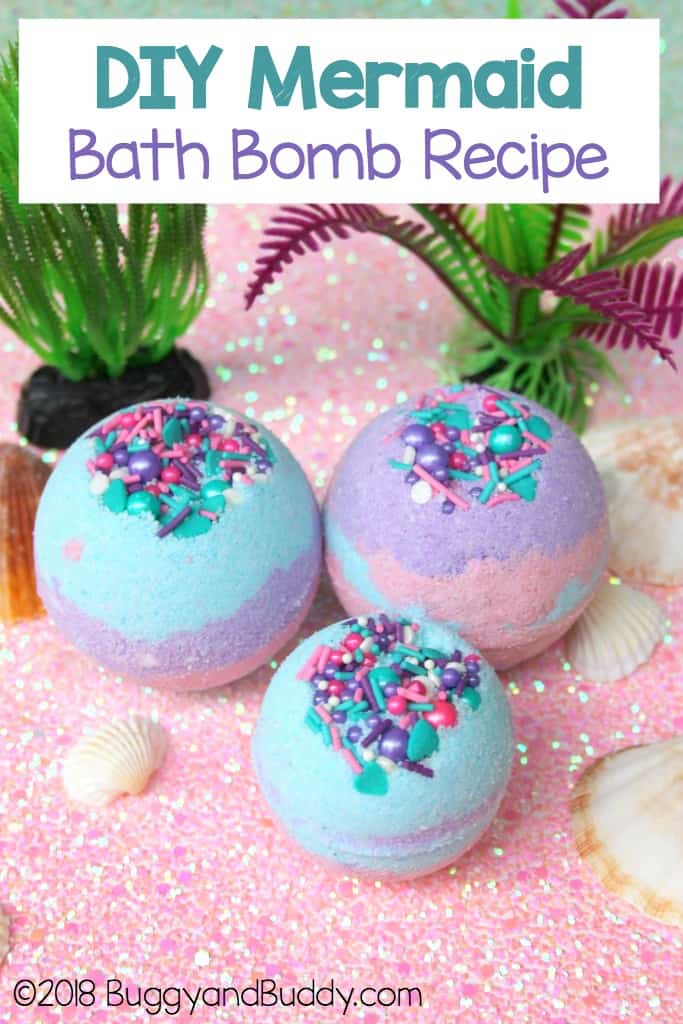
Here’s how to make your very own mermaid bath bombs (or fizzies) using coconut oil. This is a fun activity for tweens and teens to do during a get together or sleepover! Use our suggested colors and scents or change them up to make your own version of a mermaid bath bomb.
Follow our Crafts and Project for Older Kids Pinterest board!
This post contains affiliate links.
Two of my tween daughter’s favorite things to make are slime and bath bombs. These seem to be the latest crazes (at least where we live).
If you haven’t experienced bath bombs, they are super fun to make and use! These mermaid-themed bath bombs turn out beautiful, making them wondering homemade gifts for friends or for special events or holidays. And because most of the ingredients are bought in bulk, you can use the remaining materials to make even more bath bombs in any theme you can dream up.
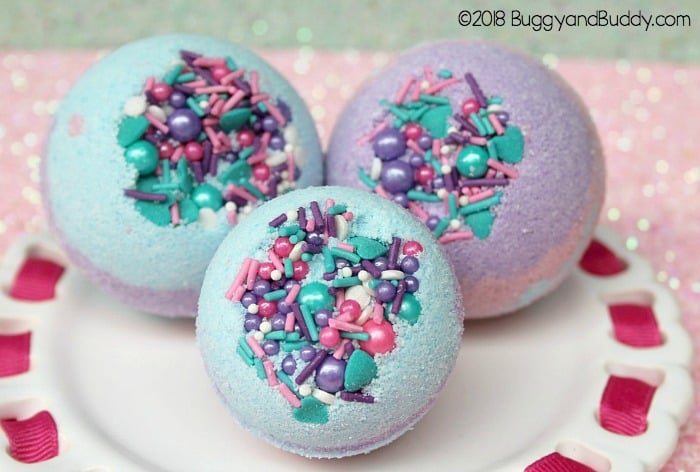
DIY Mermaid Bath Bombs
Materials for Homemade Mermaid Bath Bombs
-
- 1 cup baking soda
- 1/2 cup citric acid
- 1/2 cup SLSA (Sodium Laurel Sulfoacetate)
- 1/4 cup cream of tartar
- 2 tablespoons melted coconut oil
- 2 tablespoons rubbing alcohol
- 10-20 drops each of essential oils of your choosing (We used orange, lemon, grapefruit, and lime.)
- Pink, purple and blue or teal mica coloring
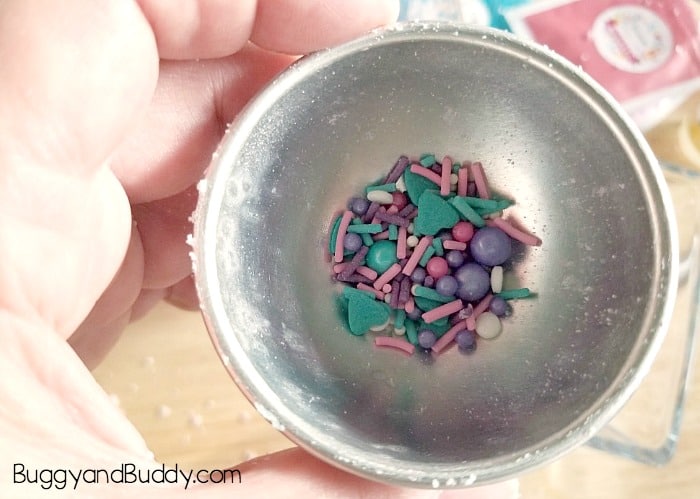
- Optional: Mermaid inspired sprinkles (You can use any combination of baking sprinkles or decor.)
- Spray bottle of rubbing alcohol
- 1 large mixing bowl
- 3 smaller mixing bowls
- Bath bomb molds
- Parchment paper
Directions for Homemade Mermaid Bath Bombs
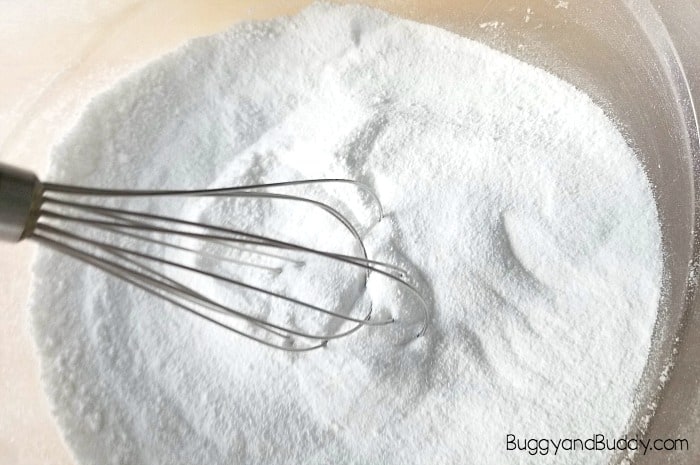
1. In a large mixing bowl add the dry ingredients: 1 cup of baking soda, 1/2 cup of citric acid, 1/2 cup of SLSA and 1/4 cup cream of tartar. Mix with your hands or a whisk. Break down any lumps in the dry mixture before moving onto the next step.
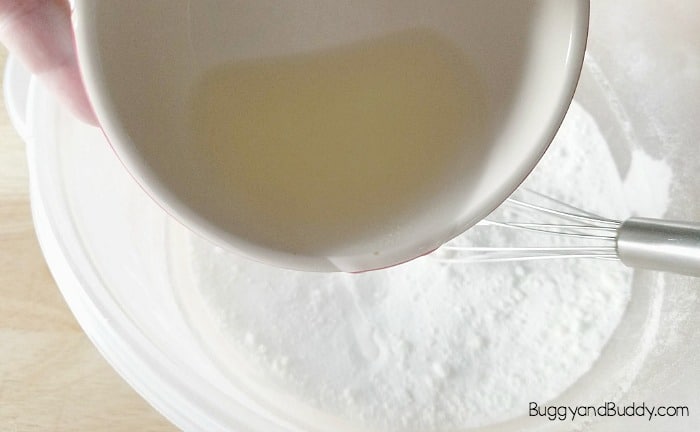
2. In a small bowl, mix the melted coconut oil and rubbing alcohol. Add orange, lemon, lime and grapefruit essential oils to liquid mixture and stir. (Or create your own combination of scents with your own oils.)
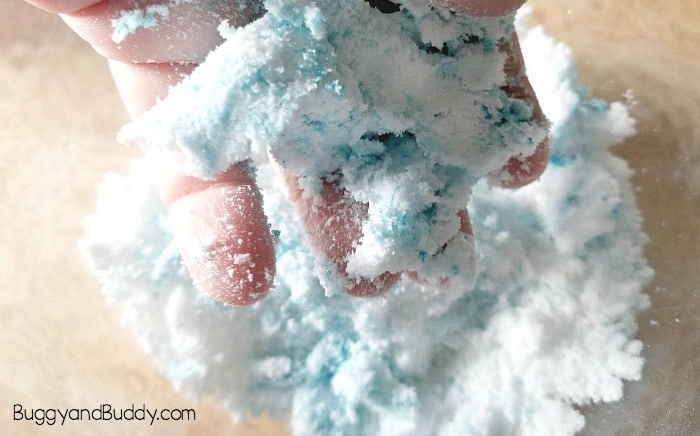
3. Slowly add the liquid ingredients to the dry ingredients about one tablespoon at a time. Whisk together well and repeat until liquid mixture is incorporated into dry mixture. You will know when the mixture is perfect when it feels like wet sand and you can press the mixture in your hands and it stays together.
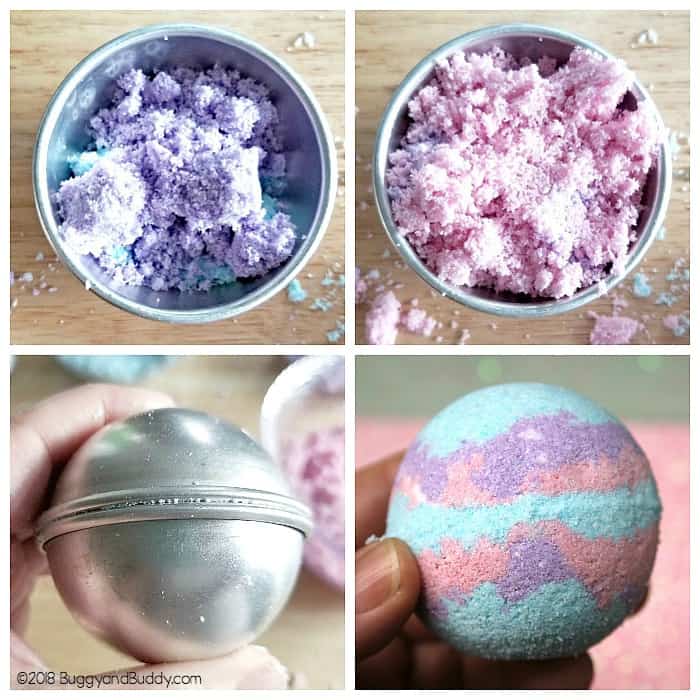
4. Separate the mixture evenly into three smaller bowls to color it.
5.. Add your blue colored mica powder to one batch of the mixture. Blend it with your hands. Repeat for the
purple and pink colors.
6. Now it’s time to make the bath bomb shape. Take a bath bomb mold and add just a bit of the mermaid sprinkles (optional).
7. Layer the three colors on top of the sprinkles. Press down gently. Repeat on the other side of the bath bomb mold. You may need to use your spray bottle of rubbing alcohol to spritz your mixture if it gets too dry. Give a few spritzes and mix together until it has that wet sand feel again.
8. Press the mold together tightly. You may need to make a slight twisting motion to remove out the excess mixture.
9. Gently tap on the top of one side of the mold and remove the mold. Turn the mold over in your hand and repeat.
10. Carefully set the bath bomb on parchment paper and allow to dry overnight.
11. The next day the bath bombs should be hard and ready to go. Store in an airtight container until ready to use.
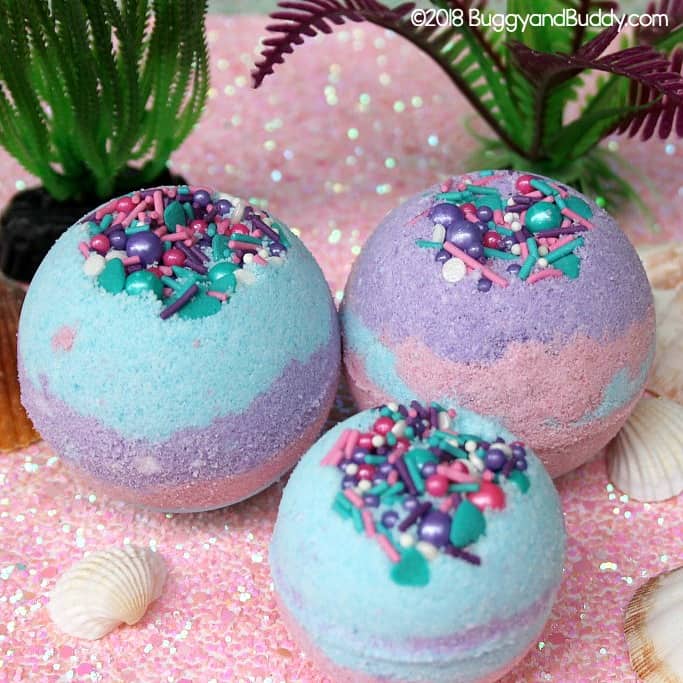
Enjoy your bath bomb in your next bath or give them as a gift for Mother’s Day or a birthday!
Check out more fun activities for kids on Buggy and Buddy!