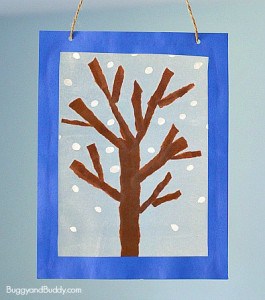
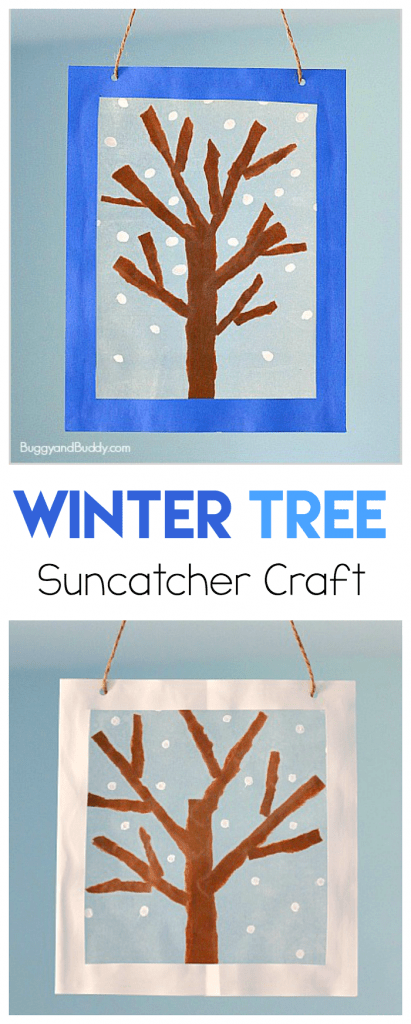
Liven up those windows this winter with this super easy winter tree suncatcher craft for kids! Children love combining the use of tear art with cotton swab painting and seeing their finished project in the window!
Follow our Winter Crafts and Learning Pinterest board!
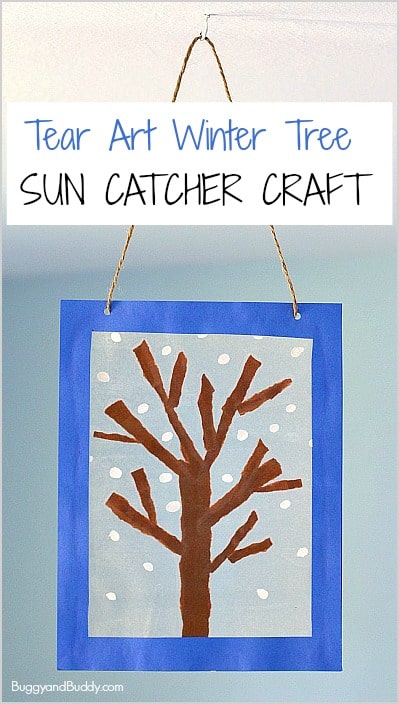
This suncatcher craft was super fun to make, and I love how they looked in the windows! You’ll only need a few simple craft materials and about 30 minutes to make these! This post contains affiliate links.
Winter Tree Suncatcher Craft Using Tear Art
Materials for Winter Tree Craft
- Clear contact paper
- Brown construction paper
- Cotton swabs (or a small paintbrush)
- White tempera paint
- Scissors and/or paper cutter
- Construction paper for framing the finished suncatcher (optional)
- Glue
Directions for Winter Tree Craft
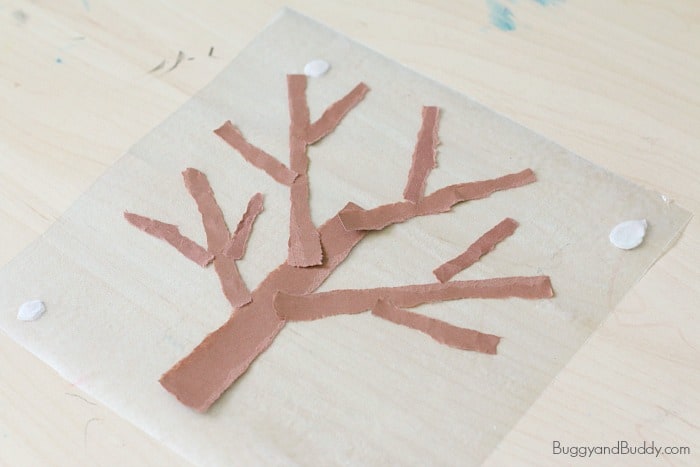
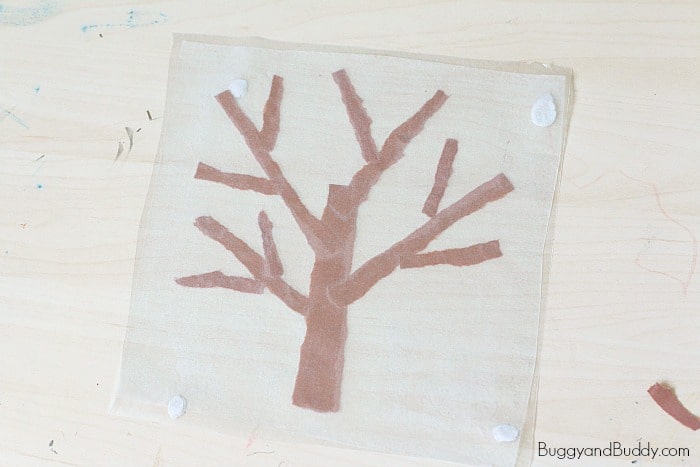
1. Start by cutting two identical pieces of contact paper.
2. Temporarily attach one piece of contact paper to the surface you’ll be working on. (I like to use poster putty to stick it to the table. It’s makes it easy to remove and you can reuse the poster putty again!) Be sure the paper you’ll be peeling off is on top.
3. Peel off the paper revealing the sticky-side of the contact paper.
4. Tear off bits of brown construction paper and stick them to the contact paper to make a winter tree.
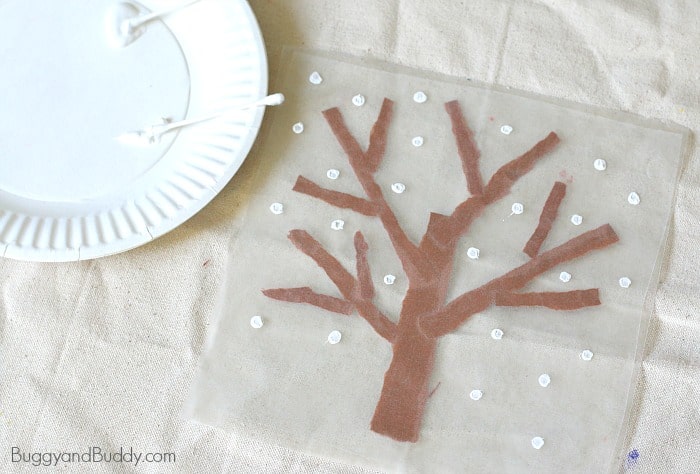
5. Once you’re finished with your winter tree, peel off the backing to the second piece of contact paper and carefully place it sticky-side down over the suncatcher. Smooth it with your hands.
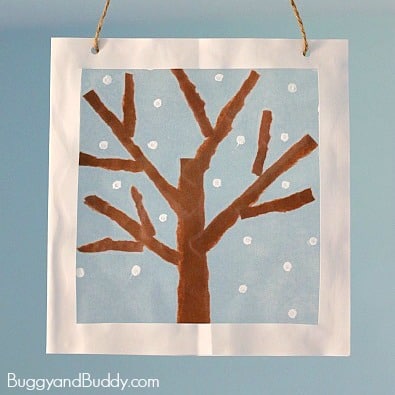
6. Dip a cotton swab (or small paintbrush) into white tempera paint and stamp white snowflake dots all over your suncatcher.
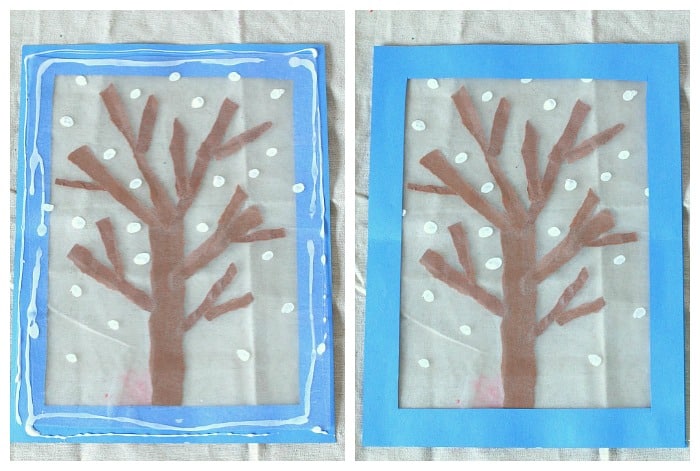
7. Once the paint has dried, you can add a construction paper frame to your suncatcher using glue. Trim off any ends of contact paper sticking out of your frame.
8. Hang the suncatcher in a window or tie string to the top to hang from the ceiling to catch the sunlight.