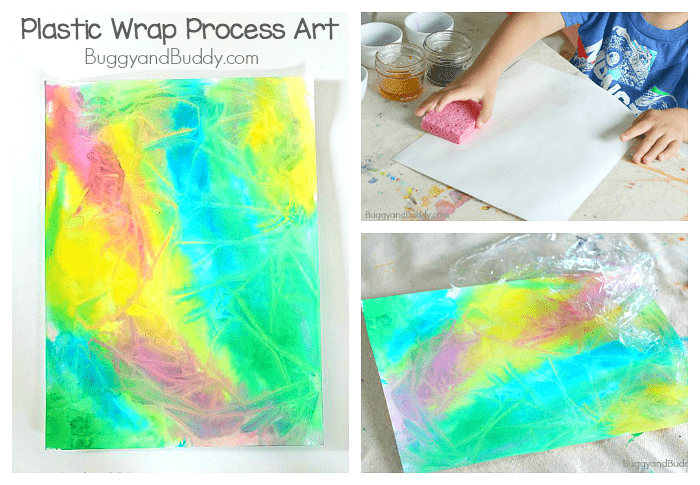
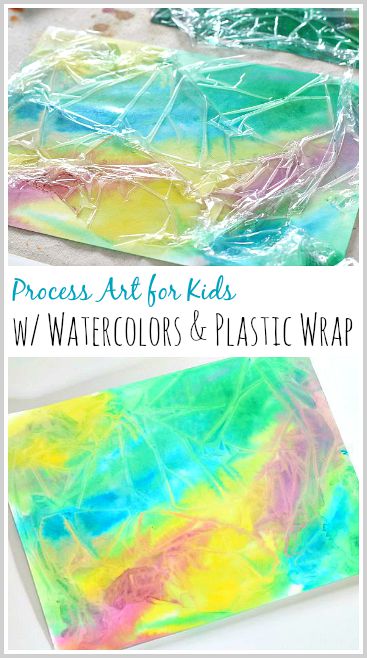
Kids will love this cool process art technique using liquid watercolor paint and plastic wrap. Not only is it super fun to do, but the finished project ends up with a neat textured look!
Follow our Art for Kids Pinterest board!
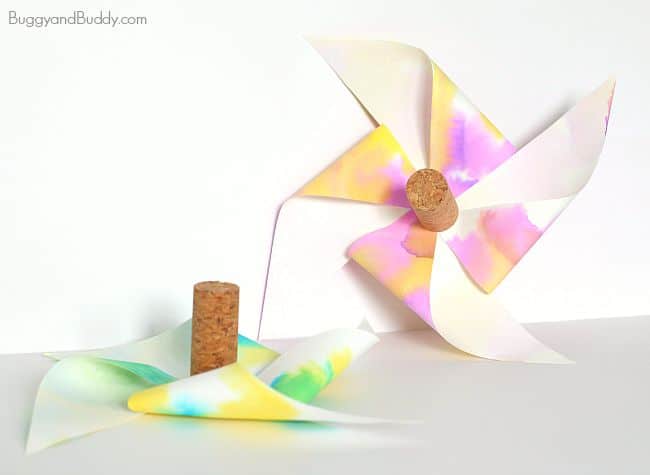
We love creating interesting papers using fun and unique art techniques (like our crumpled art paper). These process art projects are perfect for a wide range of ages and the resulting papers can be used for collages, note writing, or just displayed as is!
For our most recent process art paper project, we used liquid watercolors and plastic wrap to create a cool textured look on our paper. Both my preschooler and 2nd grader loved this activity! This post contains affiliate links.
Painting with Watercolors and Plastic Wrap
Materials for Watercolor and Plastic Wrap Painting
- Art Paper (I love this art paper– inexpensive and doesn’t curl when it dries!)
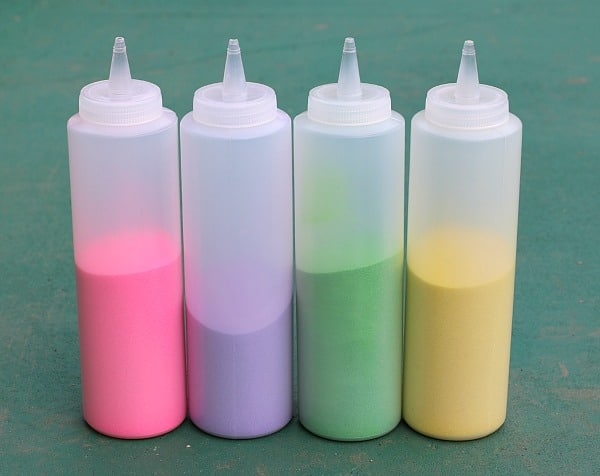
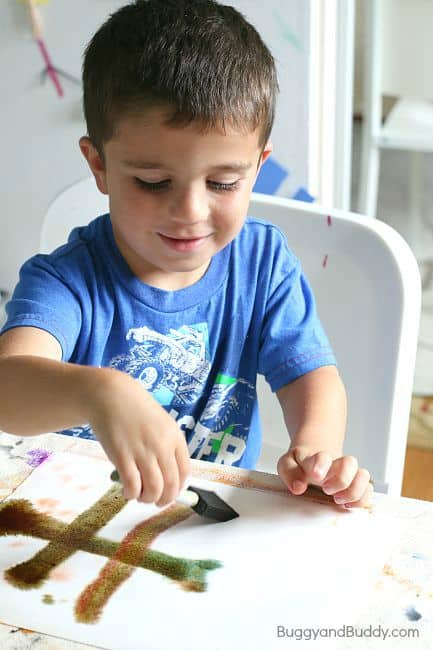
- Watercolor paints and paintbrush
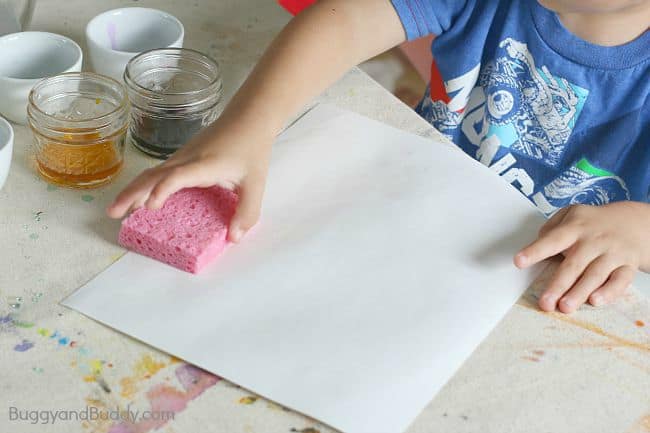
- Sponge and container of water
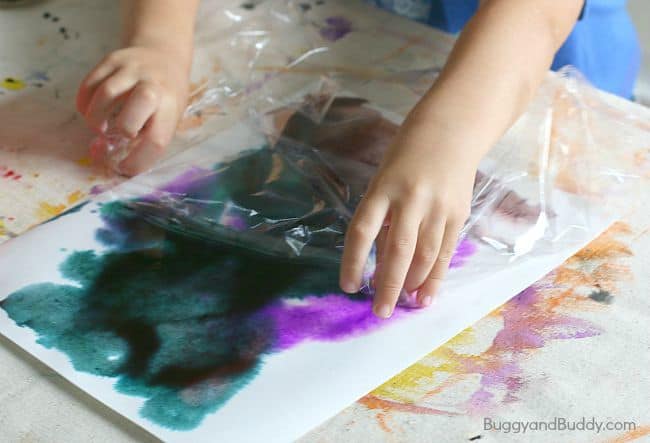
- Plastic wrap (Also goes by cling wrap or Saran wrap)

Directions for Watercolor and Plastic Wrap Painting
1. Dip the sponge into the water and use it to wet your art paper. Cover the entire paper with water.
2. Cover your paper with different colors of watercolor paint.
3. Tear off a sheet of plastic wrap and place it on top of your painting. Scrunch up sections to add wrinkles. Press it down onto your paper.
4. With the plastic wrap still on your artwork, let the paint dry overnight.
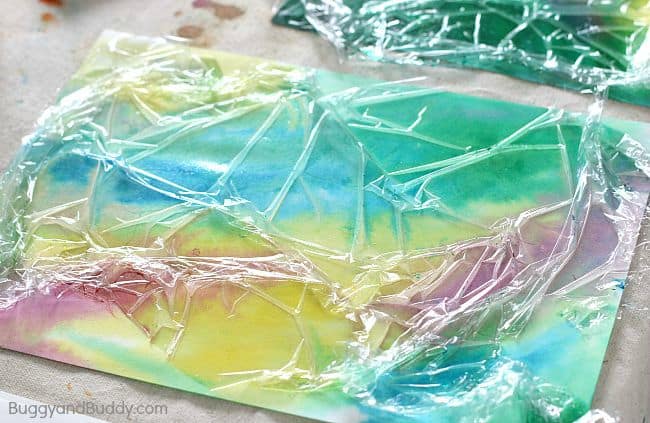
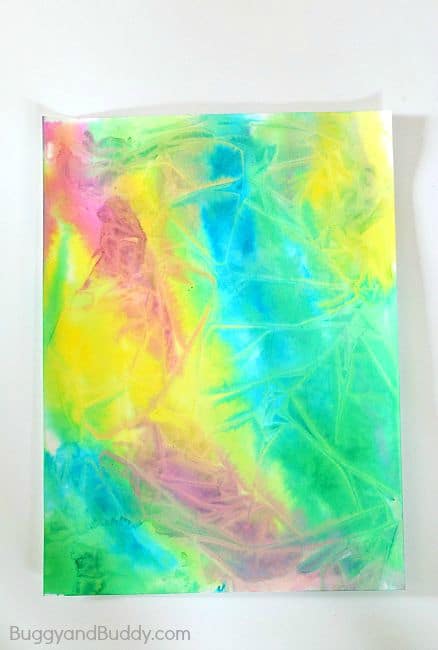
5. Once the paint is dry, remove the plastic wrap. You’ll see a really neat design on your paper!


Tips
- Encourage your child to use more than one color. When we tried this with one single color, our dried design wasn’t as visible.
- Make sure your paper is quite wet watercolor paint before placing the plastic on top. If your paper is too dry, the technique won’t work.