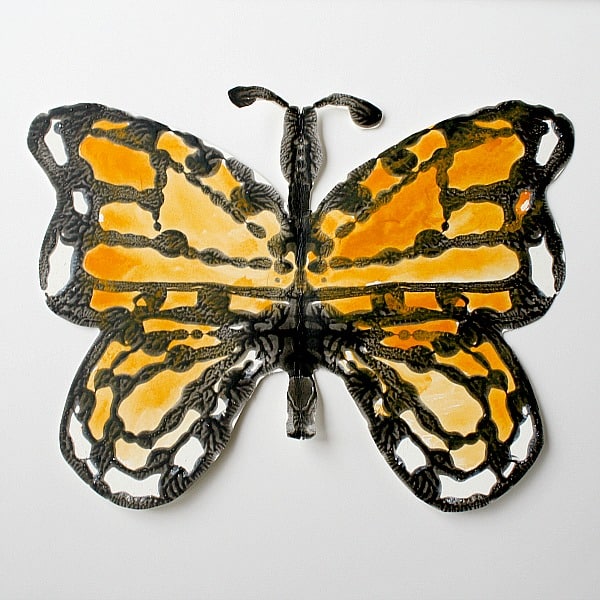
Combine math with a unique art technique to create this monarch butterfly symmetry art project for kids. Children love the fun art technique used and can’t wait to see the finished results!
Follow our Art for Kids Pinterest board!
We are fortunate enough to live in one of the warmer areas in California where monarch butterflies migrate each winter. Our town has a monarch sanctuary where you can see the monarchs all clustered in the trees from around October through February. It’s so much fun to head down to the sanctuary with binoculars in hand and observe them!
Be sure to read all about how we raised monarch butterflies right at home!
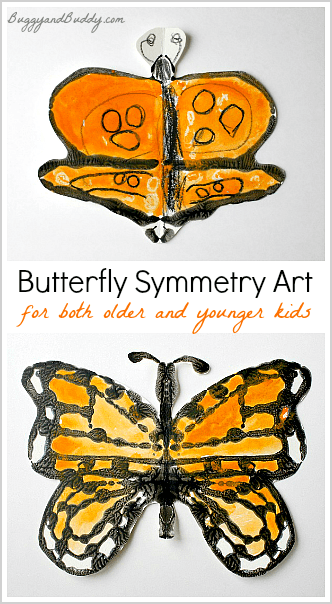
In order to begin celebrating the return of the monarchs here, the kids and I created some beautiful monarch butterfly art to display! You’ll find directions for older children and a simple way to modify the activity for younger children. (This post contains affiliate links.)
How to Make Monarch Butterfly Symmetry Art
Materials for Butterfly Symmetry Art
- black colored glue
- orange and black watercolors
- watercolor paper
- paintbrush
- white and black oil pastels
- pencil
Directions for Older Children
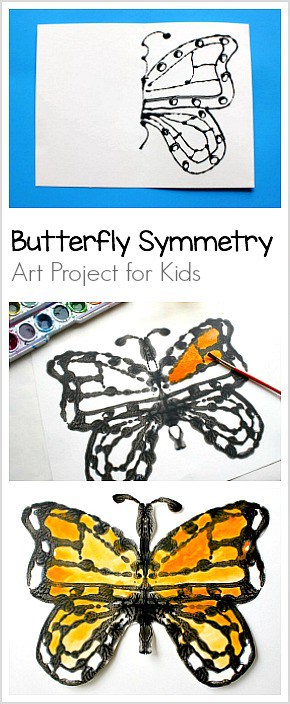
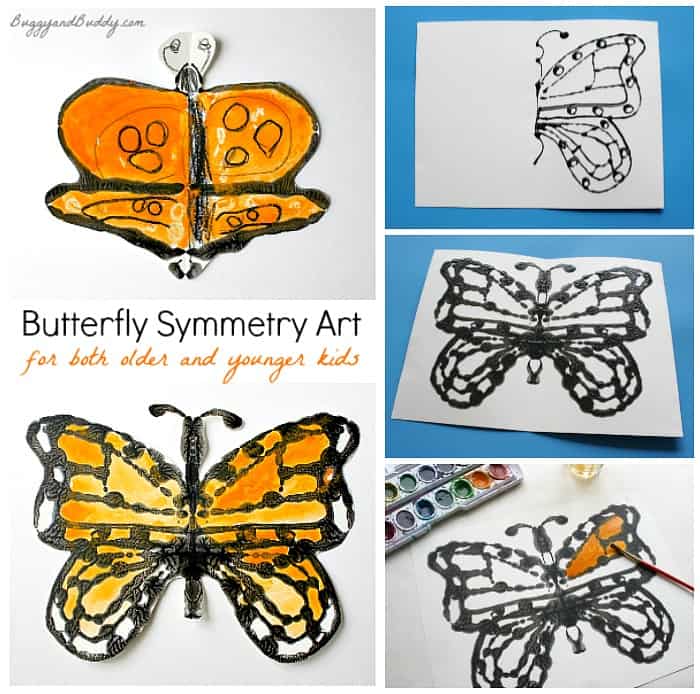
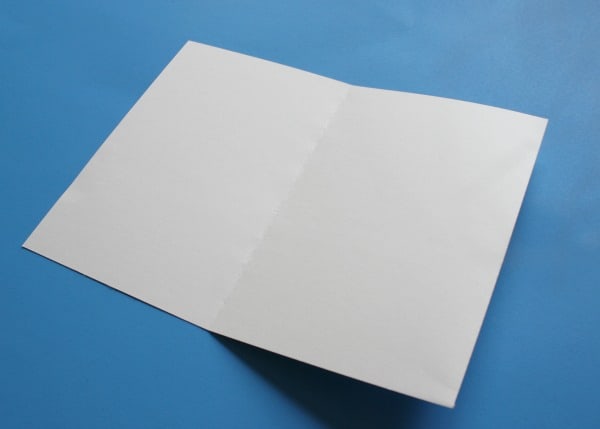
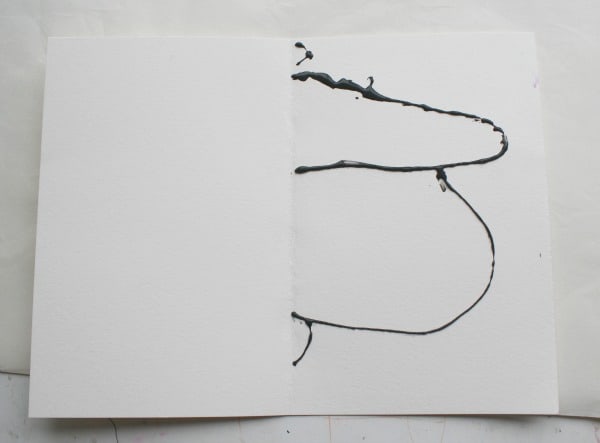
1. Take one piece of watercolor paper and fold it in half. Open it back up. You now have a line going right down the middle.
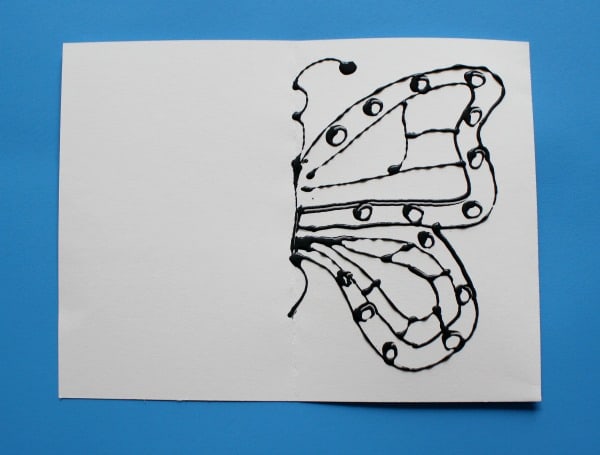
2. Using the black glue, draw only one side of the monarch butterfly. We started with the head and antennae, then the upper and lower wings. After we had the outline done, we drew in the details using the black glue. (It helped to look at pictures of monarchs as we were working.)
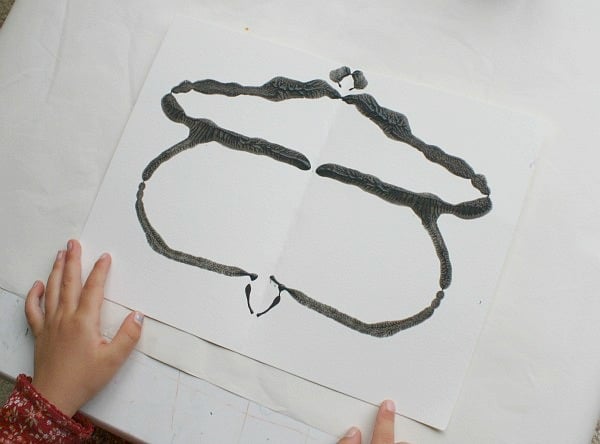
3. Fold the paper in half and gently press it. Open it back up to reveal your symmetrical butterfly!
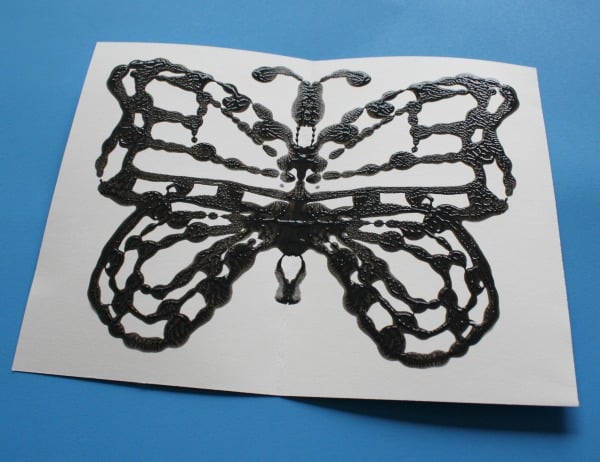
4. Let the glue completely dry.
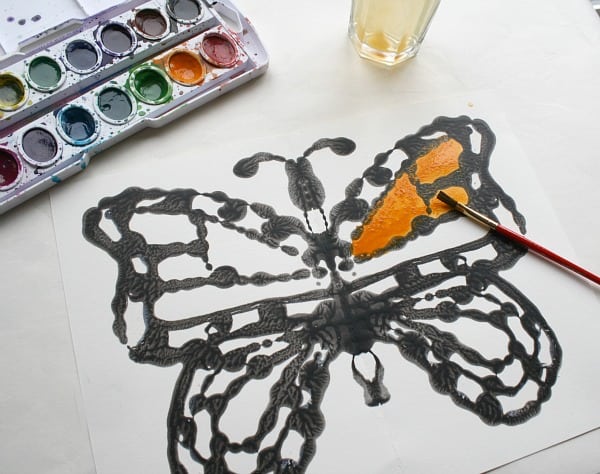
5. Use the white oil pastel to color in the areas that are to remain white.
6. Use orange watercolor to paint the wings and black watercolor to pain the body.
7. Let it dry.
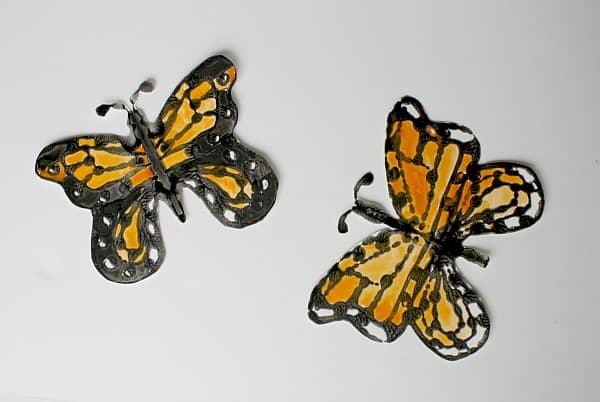
8. Leave it as is, or cut it out to display!
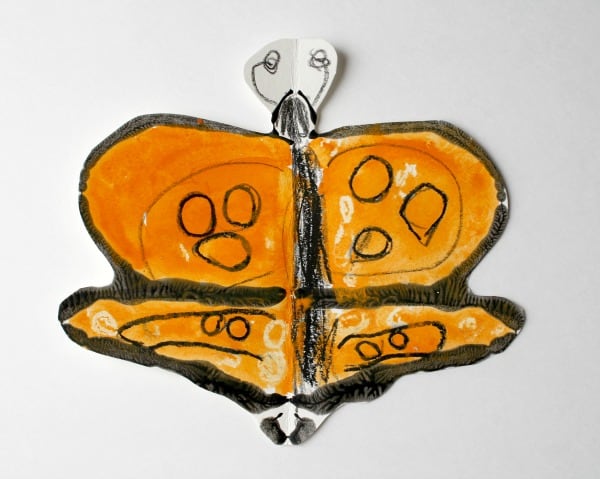
Directions for Younger Children
This is a simplified version I did with my five year old. It was more directed and had simpler steps. Be sure to model each step on your own paper while your child is working on his or her paper.
1. Take one piece of watercolor paper and fold it in half. Open it back up. You now have a line going right down the middle.
2. Look at an illustration of a monarch from a book or picture online. Here’s a good website: National Geographic for Kids.
3. Looking at a photo of a monarch (from a book or online), trace the outline of one half of a butterfly with your finger. Describe the lines as you are tracing them.
4. Now use a pencil to lightly draw the outline of half of the butterfly. We started with the head. Then did the upper wing and lower wing.
5. Trace your pencil outline with the black glue.
6. Fold it in half and gently press it together.
7. Unfold your picture and look at your symmetrical butterfly! Allow it to dry.
8. Once it’s dry, take your black oil pastel and add details to the wings.
9. Use your white oil pastel to color in the white areas of the wings.

10. Paint the wings with orange watercolor and allow to dry.
11. Display your beautiful monarch butterfly!
Want to learn more about butterflies and how to help protect them? Be sure to check out the article, Help Save the Butterfly!