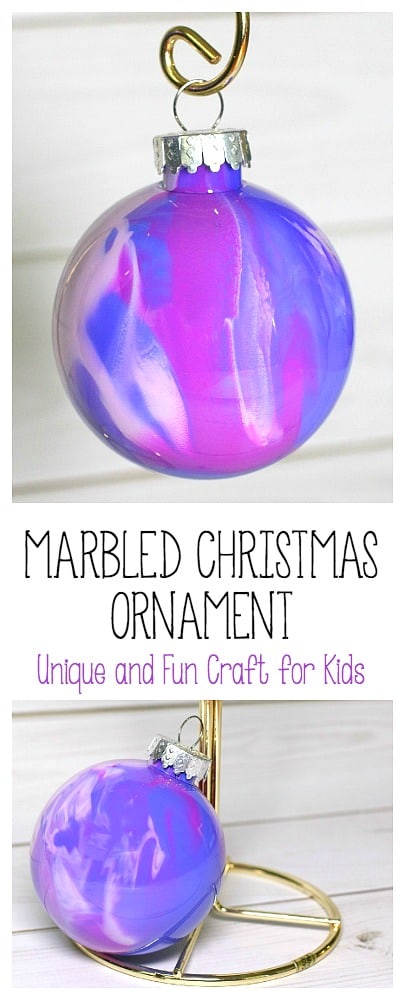
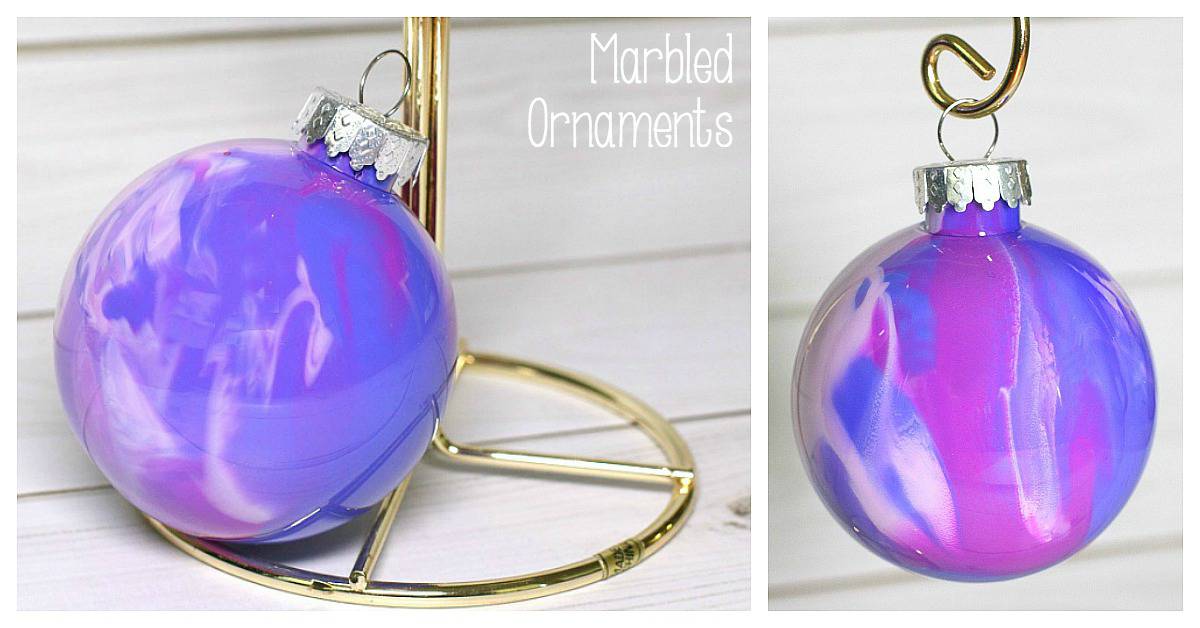
This marbled Christmas ornament craft for kids is so fun! It’s much easier than it looks and takes just minutes. Such a fun and festive addition to your Christmas tree!
This post contains affiliate links.
This post was originally posted on December 9, 2017 and has since been updated.
We have become obsessed with marbling ornaments. They are just so much fun, and the kids love seeing the finished look of each one. They are so easy to make, but do take a day or two to dry. I’d say they are worth the wait for sure!
DIY Marbled Christmas Ornaments
Materials for Marbled Christmas Ornament Craft
- Acrylic paints in at least 3 different colors (This is a great set to have on hand!)
- Clear, plastic bulbs
- Plastic cup, jar, or egg carton to place ornaments to dry
Directions for Marbled Christmas Ornament Art Project
1. Select about 3 or 4 colors of acrylic paint to use for your ornament.
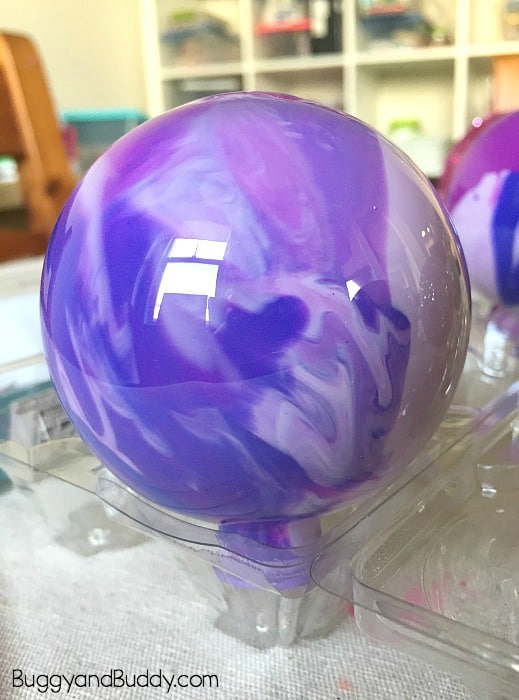
2. Take the top off the ornament and squeeze a bit of each color of acrylic paint inside, turning the ornament a bit as you add each color.
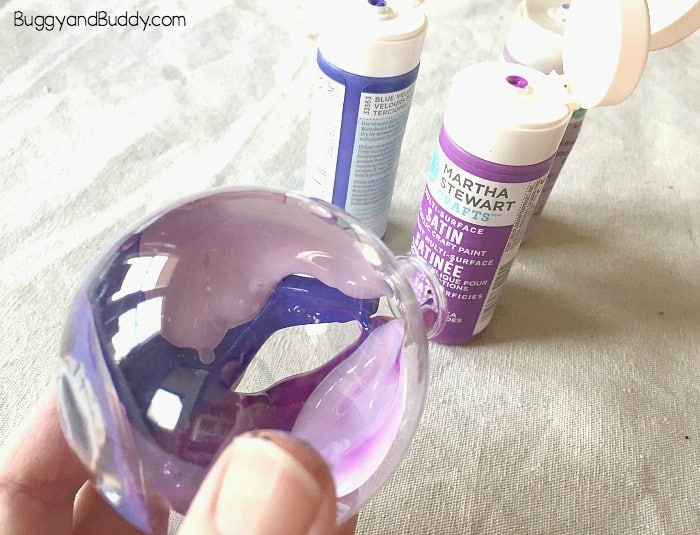
3. Place your thumb over the opening and start shaking the ornament around. Do this until the entire ornament surface is covered. If you’ve used too little paint, you can add a bit more. (It’s better to use to little and add as you go than too much and have it take longer to dry.)

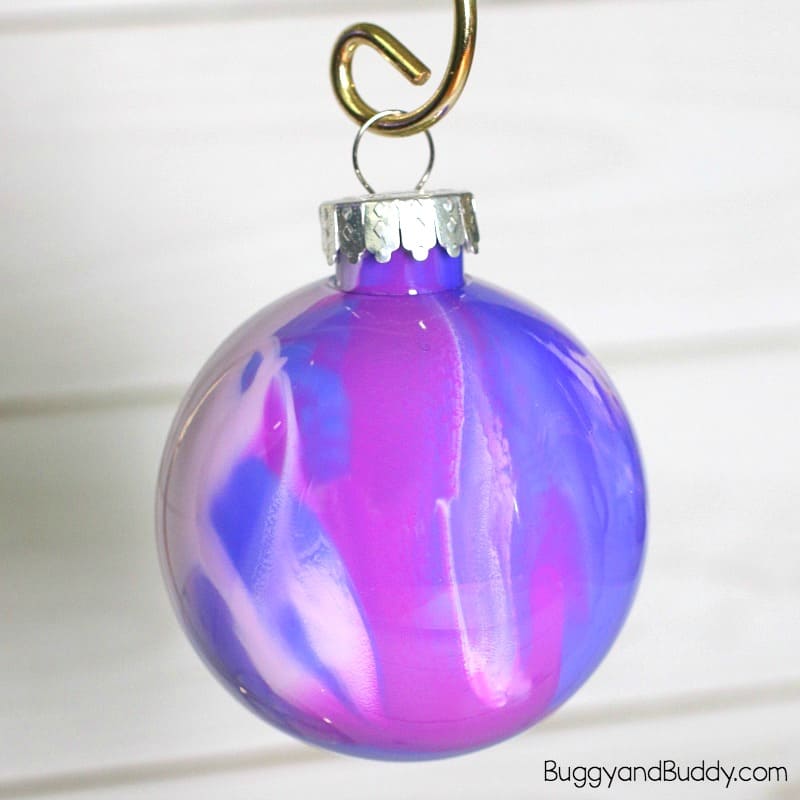
4. Once you’re happy with the look of your ornament, place it upside down to dry. The extra paint will drip out as it dries, so be sure to use something you don’t mind throwing away or cleaning like an egg carton container, small paper cup, or small glass jar.
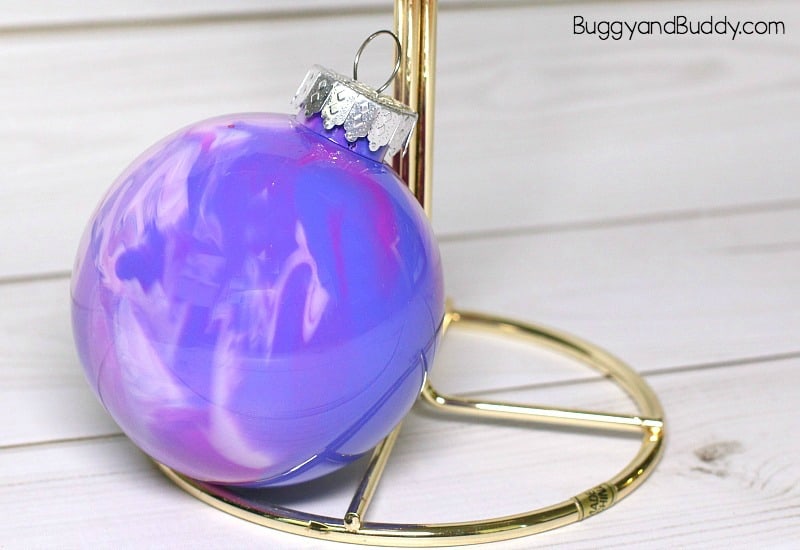
4. After the paint has dried (usually a day or two), place the top back on. We left it as is, but you could also add a festive ribbon around the top. Hang it on your tree and enjoy!
Be sure to check out our other homemade ornaments here!