I love this tear art bookmark project because you can basically do the whole thing with recycled materials! At our house we have a box where we put paper scraps from leftover projects, as well as a larger “create box” of materials (like toilet paper rolls, paper towel rolls, old cereal boxes etc.)
I was searching through our “create box” trying to brainstorm ideas Lucy and her friend could do for art today, when I saw some old, thin cardboard. It seemed like the perfect thickness for bookmarks. Project discovered! (This post contains affiliate links to Amazon.)

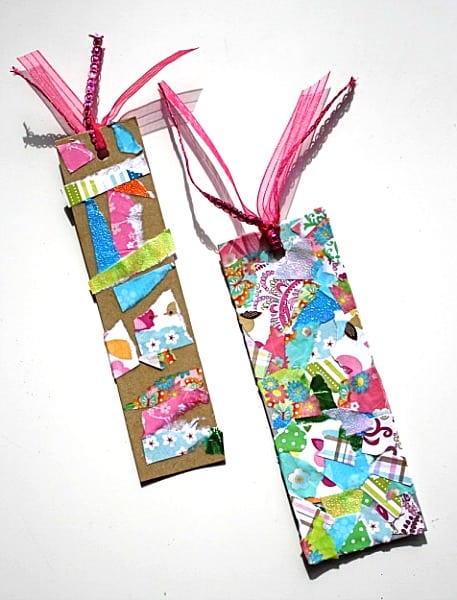
Craft for Kids: Make a Tear Art Bookmark
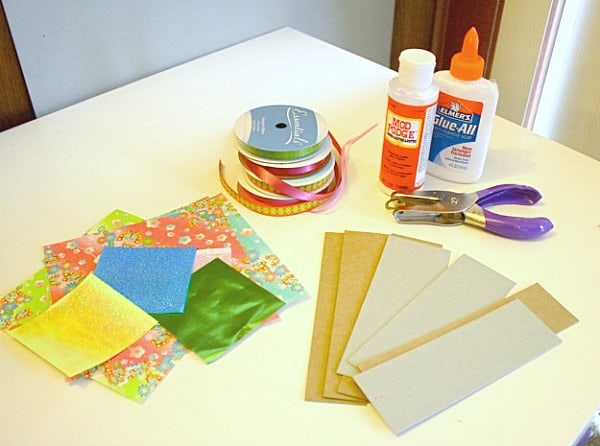
Materials
- Cardboard for bookmarks (Be sure to punch the holes at the top of the cardboard before creating. They can get quite thick once you start working and will be harder to punch later.)
- Some old paper to tear (I had old scrapbooking paper, but you could also use newspaper or magazines).
- Glue
- Mod Podge
(optional)
- Paintbrush
- Scissors
- Ribbon or yarn
Directions
- Cut your cardboard into a rectangle and punch a hole in the top.
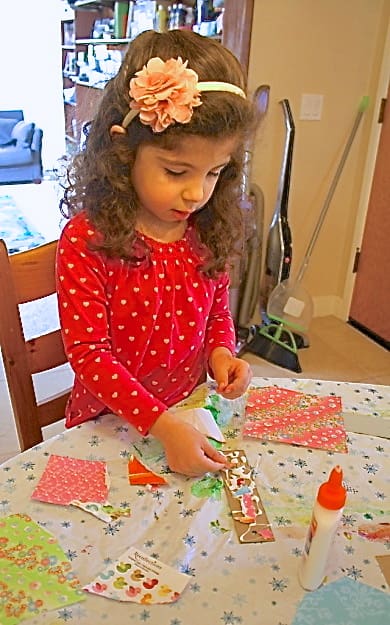
- Have your child cover the whole bookmark with glue. We just squirted it out of a glue bottle. If your child squirts too much, you can use a paintbrush or even a paper towel to rub of the excess.
- Have your child tear little bits of paper and place on the glue-covered cardboard. Keep doing this until it’s mostly covered. (Don’t worry about it hanging over the edges or covering the hole. You can trim it later).
 4. Let it dry.
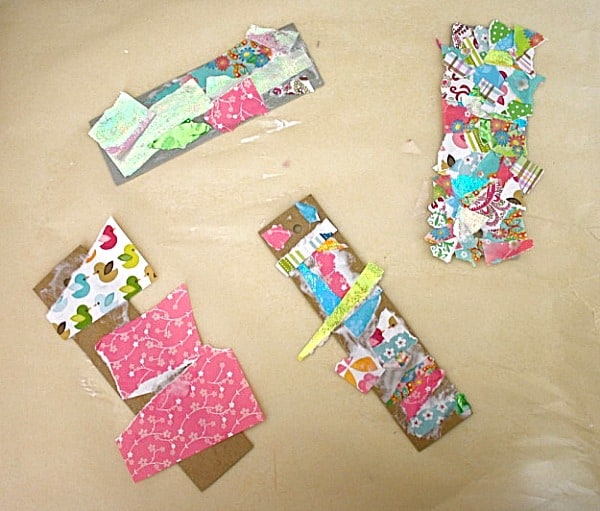 5. Once it’s dry, trim off the paper that’s hanging over the edges. If necessary, re-punch the hole at the top
6. Brush a layer of either Mod Podge or glue over the entire bookmark to keep the paper from coming off later on.
7. Once the layer of Mod Podge is dry, tie some ribbon or yarn through the hole at the top!
You can either keep them to use at home, or they’d also make great teacher or Mother’s Day gifts!
You might also enjoy these posts from Buggy and Buddy:
Homemade Mother’s Day Card with Free Printable