Do you have your green ready to wear for Saint Patrick’s Day? Here’s a super easy DIY applique shirt you can make for your child to wear. It literally can be done in less than an hour and is even perfect for the most beginner of sewers. (I promise!)
Follow our St. Patrick’s Day for Kids Pinterest Board!
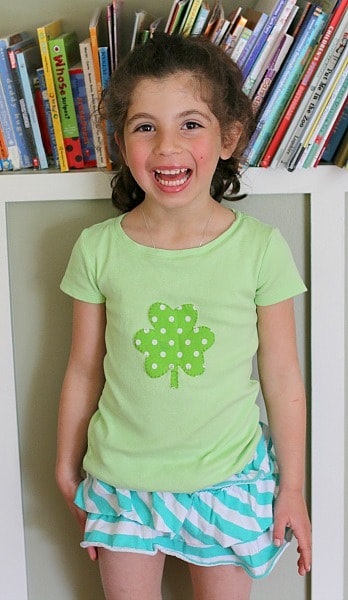
DIY Applique Shirt for St. Patrick’s Day
This post contains affiliate links.
Materials for Applique Shamrock Shirt for Kids
- Plain green shirt for your appliqué (We bought ours at a local store, but here’s one on Amazon.)
- Fabric for your cut-out
- Double stick fusible web (I used Steam-A-Seam 2 Double Stick Fusible Web
. You can find this at your local fabric shop or craft store.)
- Scissors
- Thread or embroidery floss (and a hoop if you are going to hand stitch)
- Sewing needle
- Iron
Directions for Making Shamrock Shirt for Kids
- Make sure you wash and dry your plain shirt and the fabric you will be using. This will keep it from shrinking and possibly shifting in future washes. Also, iron both the shirt and fabric after washing and drying.
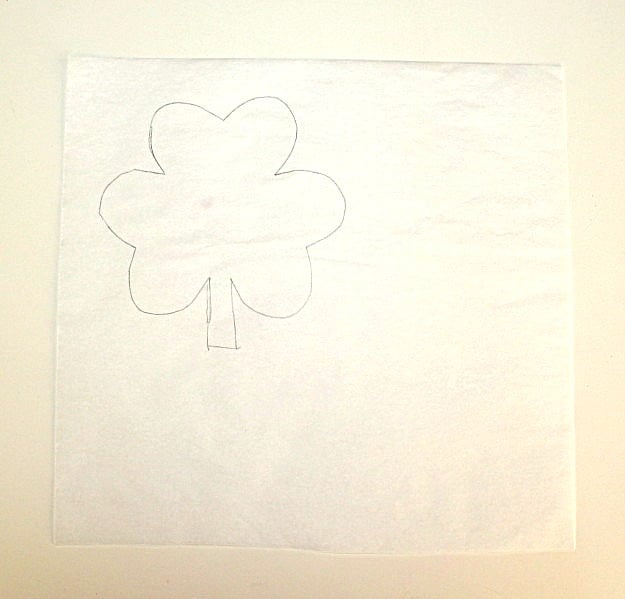
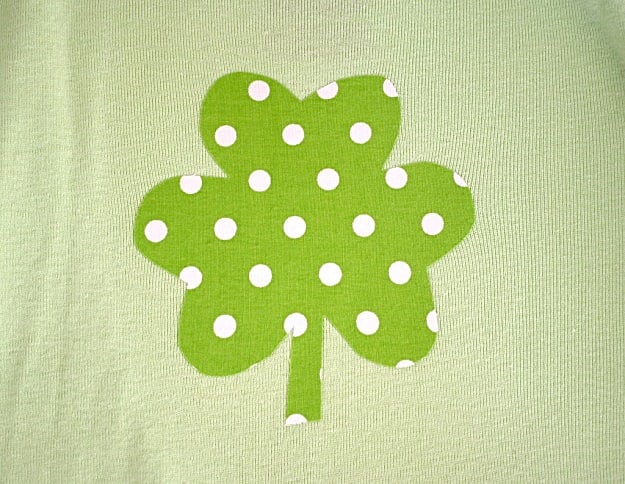
- Find a shape you want to put on your shirt. I googled shamrock images and found ones I liked here.
Now it’ s time to attach the applique to your shirt. I basically followed the directions exactly from my double stick fusible web packaging.
- Trace your shamrock onto the paper liner. There are two paper liners. One is really easy to pull off and one isn’t. Be sure to trace it onto the one that is NOT easy to pull off.
- After tracing your image, pull off the paper liner that IS easy to pull off and stick it to the wrong side of the fabric you’ll be using for your applique.
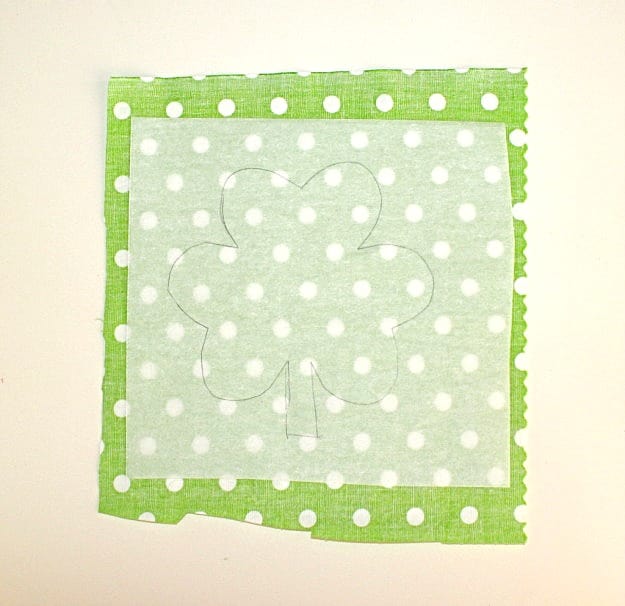
- Now your fabric is sticking to the fusible web. Cut out your design.
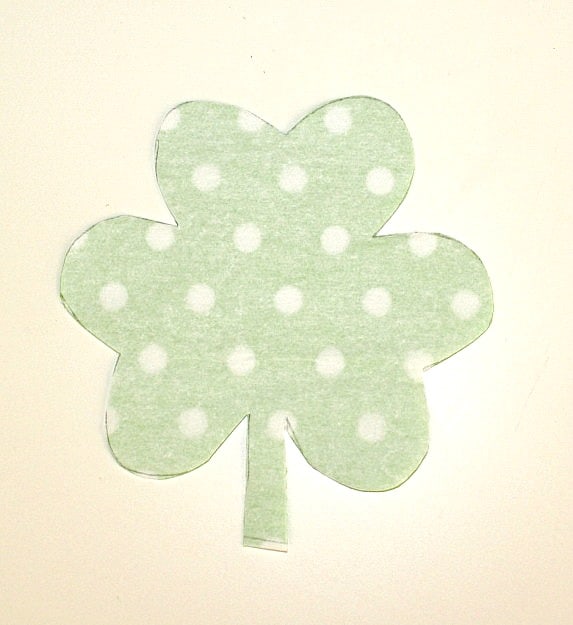
- Pull off the remaining sheet of paper liner (the one you had traced on. Place your shamrock on your shirt where you will want it permanently.
 You now have your fabric stuck to your shirt almost like a sticker.
- Iron it for 15-20 seconds.
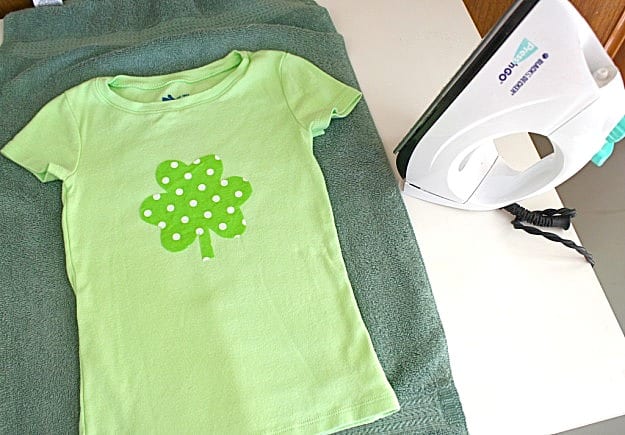
You can leave it as is if you’d like. I wanted to add some stitching around it just to make it look more finished and to really keep it secure over time. I chose to hand stitch mine because I am not confident in my ability to sew curves nicely with my sewing machine.
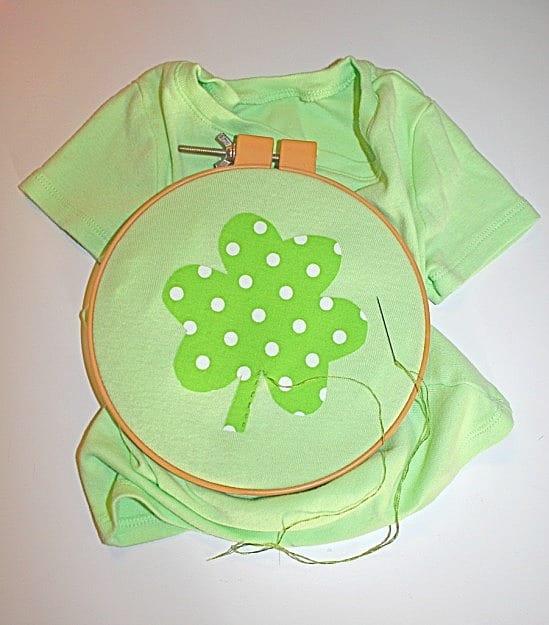
I used embroidery thread and did a straight stitch around the design using two of the six strands of floss. (Here’s a visual tutorial and a video tutorial for doing the straight stitch). I put the area I was stitching in a hoop, threaded the floss through the needle, tied a knot in the end of the thread and stitched around the entire design.
I then tied it off with a knot and cut off the extra floss.
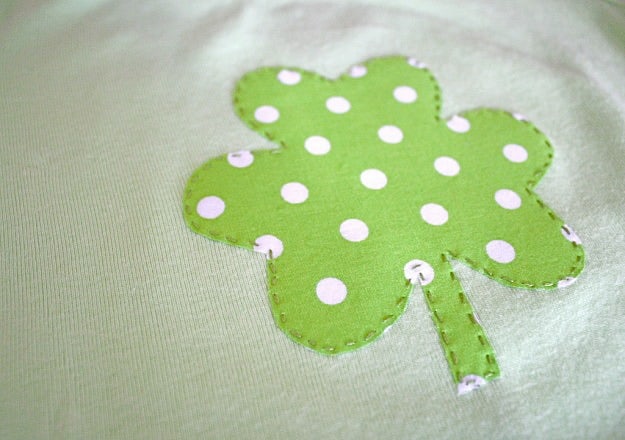
After sewing around the edge you are ready to let your little one wear it!