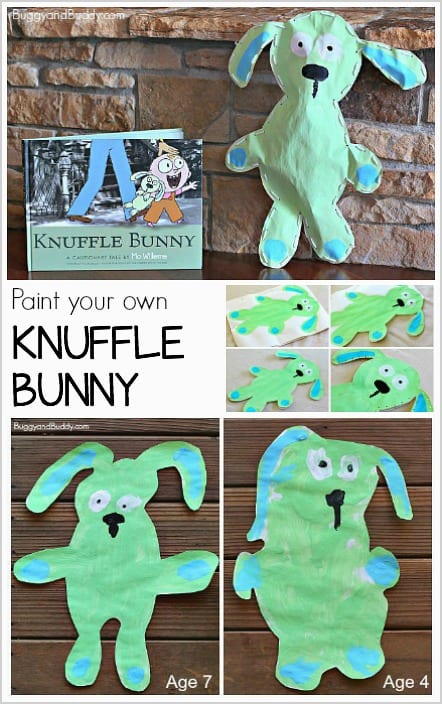
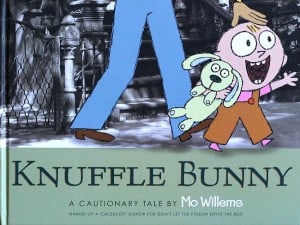
The children’s book, Knuffle Bunny: A Cautionary Tale by Mo Willems, is always a favorite among children. In this simple art activity, kids will enjoy painting their very own Knuffle Bunny using tempera paint. They can even turn their finished creations into 3-D art by adding a simple lacing activity to the project! This post contains affiliate links.
Follow our Children’s Book Activities Pinterest board!
Knuffle Bunny by Mo Willems has been one of our favorite children’s books for years! It’s one of those stories that hits home for both children and adults (as do the other two books in the series: Knuffle Bunny Too and Knuffle Bunny Free).
After Theo’s preschool teacher read the book, Knuffle Bunny, to his class last week, he’s been wanting to read it here at home nightly. Because his love for the book has been reignited, we decided it would be fun to paint our very own Knuffle Bunnies and to later turn them into stuffed bunnies!
Here’s a simple directed painting activity that’s perfect for preschoolers, kindergarteners, and on up. You can even work on those fine motor skills by turning your painted Knuffle Bunny into a stuffed 3-D piece of art!
Knuffle Bunny Art Project for Kids
Materials for Painted Knuffle Bunny
- Tempera Paints (These are our favorite!)
- Paintbrushes
- Large sheet of white art paper (If you’ll be stuffing your finished project, be sure your paper is thick and sturdy for lacing.)
- Scissors
- Optional: One of the Knuffle Bunny books for the kids to use as a reference as they are painting
Directions for Painted Knuffle Bunny
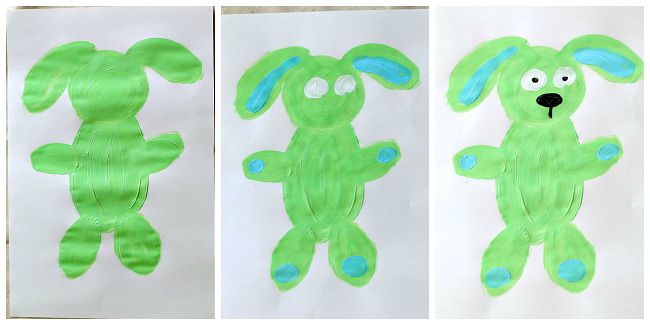
This activity was done as a directed painting- where the kids followed along with me as I painted the different parts of my Knuffle Bunny.
1. Start by mixing your tempera paints to create a light green color for your Knuffle Bunny. (We started with white paint and added green and a bit of yellow.)
2. Paint the body of Knuffle Bunny. We started with the stomach, added the head and ears, and then added the legs and arms.
3. Mix some white tempera paint and blue tempera paint to create a light blue color. Paint the blue circles on both arms and legs and the blue on both ears.
4. Paint white circles for the eyes.
5. Paint black dots inside each white circle to finish the eyes. Add a black nose and mouth.
6. Let your Knuffle Bunny painting dry completely. (If you’re turning your painting into a stuffed Knuffle Bunny, skip step 7 and go on down to the directions for the 3-D Knuffle Bunny below.)
7. Once your painting is dry, use scissors to cut it out.
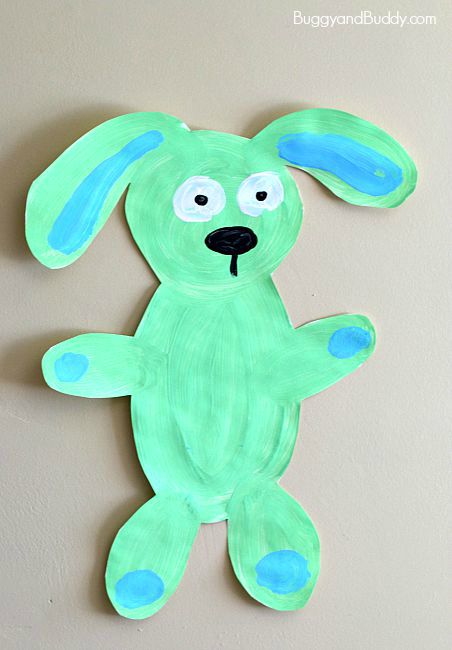
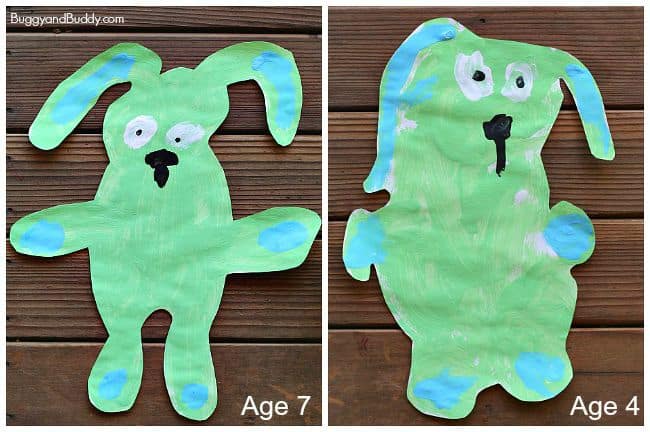
Hang up your finished Knuffle Bunny! Here’s Lucy and Theo’s finished paintings!
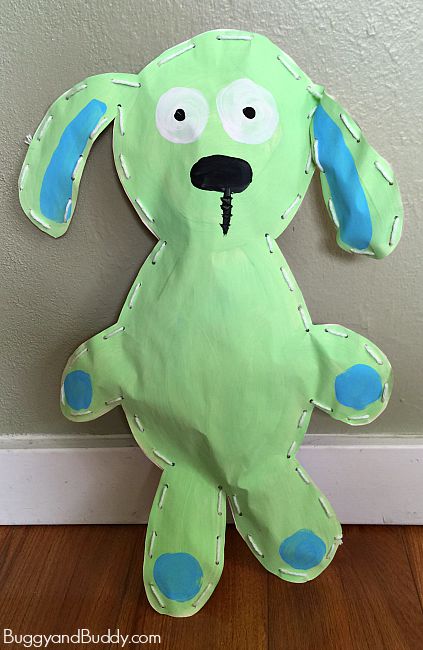
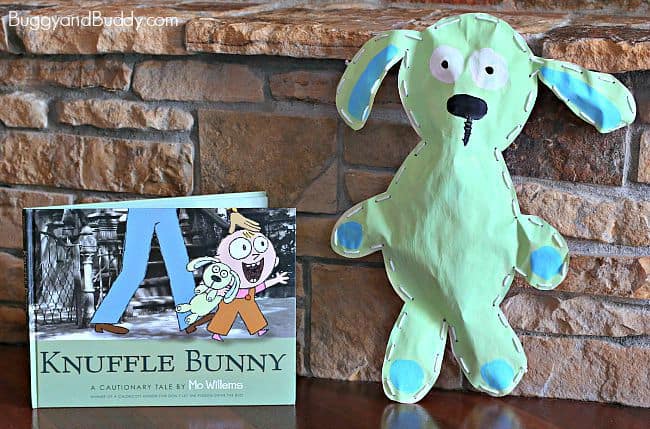
How to Make a Stuffed Knuffle Bunny
The stuffed, 3-D Knuffle Bunny is super cute! It does take a bit of prep work, so I wouldn’t do this with an entire class unless you have some extra adult hands available to help and are able to work with the kids in small groups.
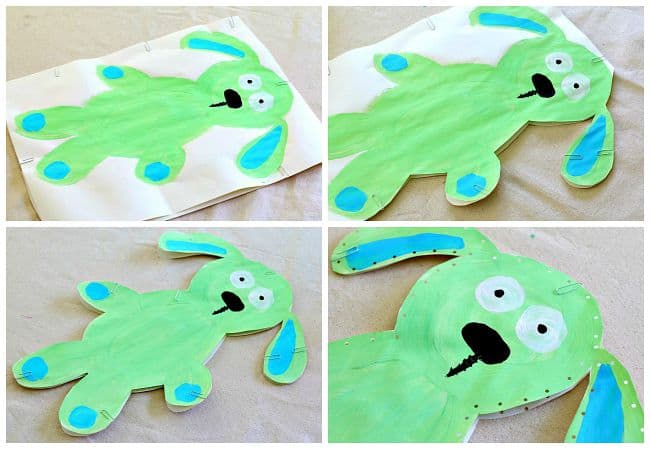
1. Place your Knuffle Bunny painting onto another blank sheet of art paper.
2. Paperclip the two sheets together.
3. Cut out the Knuffle Bunny, going through both sheets of paper. Move the paperclips as you go.
4. Once both sheets are cut out, use a single hole punch to punch holes around the entire bunny.
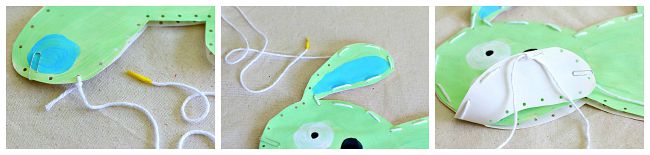
5. Cut a long piece of white yarn and tie one end through one of the punched holes. Wrap a piece of tape around the lacing end of the yarn to make it easier for kids to pull through the holes.
6. Use your yarn to lace up the edges of your Knuffle Bunny. Stuff it with newspaper, shredded paper, or fiberfill as you go along. If you run out of yarn before you are finished, simply add another piece, and tie it to the end of the old piece of yarn.
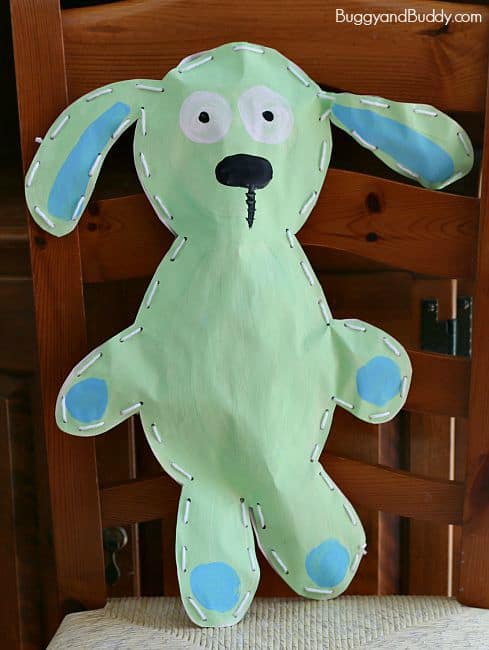
7. Once you’ve finished lacing the entire bunny, knot the yarn and cut off the remainder. Enjoy your stuffed Knuffle Bunny!
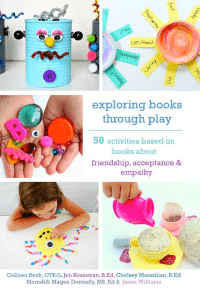
Love using children’s books to encourage a love of learning and creating? Be sure to check out our book, Exploring Books Through Play!