These colorful watercolor flowers are a great spring craft for kids of any age. With winter coming to an end, these flowers are the perfect art project using watercolors and oil pastels to brighten up your home or classroom!
Be sure to follow our Spring Crafts and Learning for Kids board!
Recently I was looking for some spring crafts for kids to do with Theo and his cute little friend, Miss B. Since our favorite art projects always seem to involve watercolors, I decided to pull them out, along with some oil pastels for our latest project. (Be sure to check out some of our other projects involving watercolors like Painting with Watercolors and Droppers and Oil Pastel and Watercolor Easter Eggs.)
Together we made some beautiful colored papers using our art materials, and later used this paper to create our colorful flowers! (This post contains affiliate links.)
Spring Crafts for Kids: Colorful Watercolor Flowers

Setting Up for the Spring Craft
Setting up for watercolor painting is really so easy (which is one of the reasons it always seems to be my go-to art activity). The kids help me to cover the kitchen table with our art mat. (Our art mat is just an inexpensive vinyl tablecloth. I always look for seasonal ones to go on sale and buy them to use when creating with the kids.)
Then we go into our art cabinet and get out some watercolor paper, our watercolors, oil pastels, and some paintbrushes. (We used liquid watercolors, but you can also use watercolor cakes. Both will work!) The kids helped me carry our art supplies to the table and set them up. (Be sure to read more about our favorite art supplies for kids!)
If you’re using watercolor cakes, you’ll just need to get a glass of water for your child to use for painting. If using liquid watercolors like we did, grab one container for each color you plan on using. You can use the liquid watercolors straight from the bottle or add some water. (I LOVE to use these little Ball glass jars for the liquid watercolors. They don’t topple over when the kids bump them, and it’s easy to see the colors in each clear jar.)
Creating our Colorful Flowers
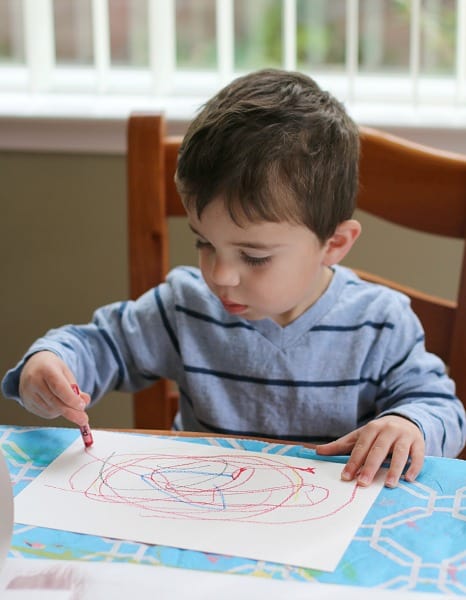
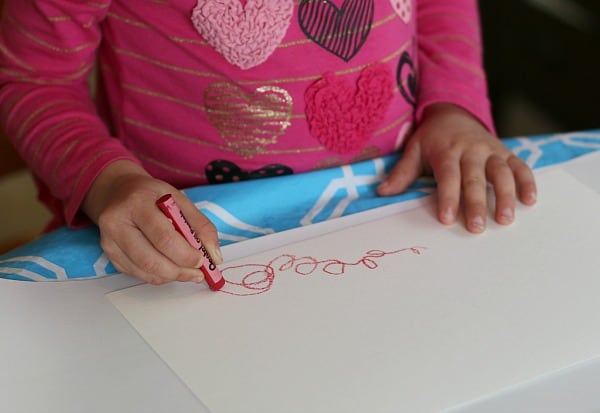
The kids started out by drawing designs on their watercolor paper with the oil pastels. Theo make all kinds of colorful lines.
Little Miss B. did lots of red curly lines.
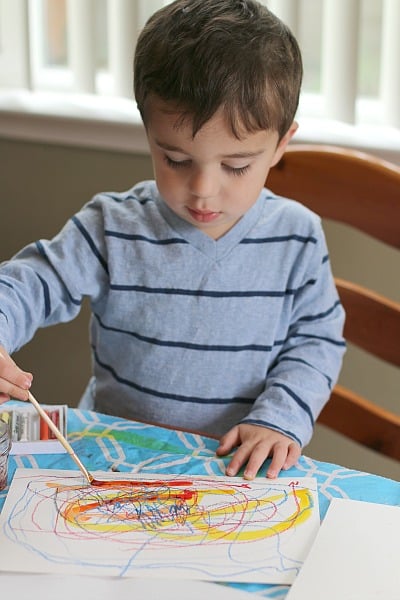
After the kids were done making their lines, they painted over their designs with watercolors. Theo just added a few splashes of color…
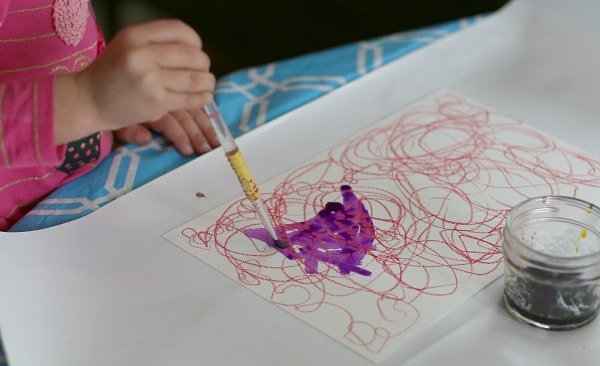
…while Miss B. opted to paint her whole paper.
We set the finished art aside to dry, and the kids helped me put away our paints and other supplies.
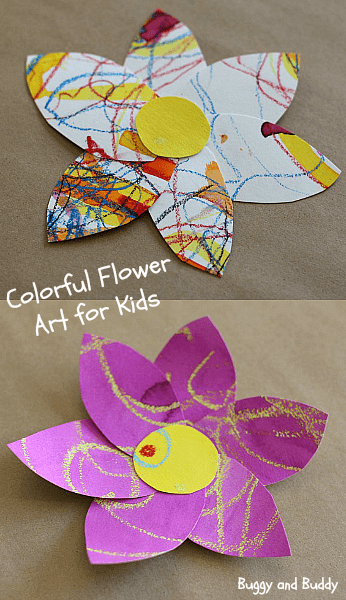
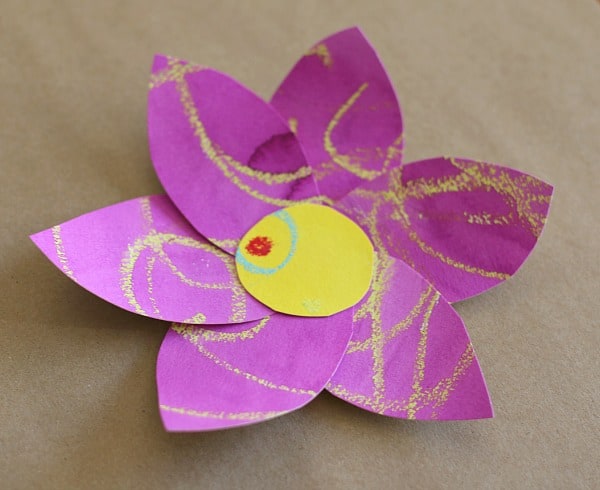
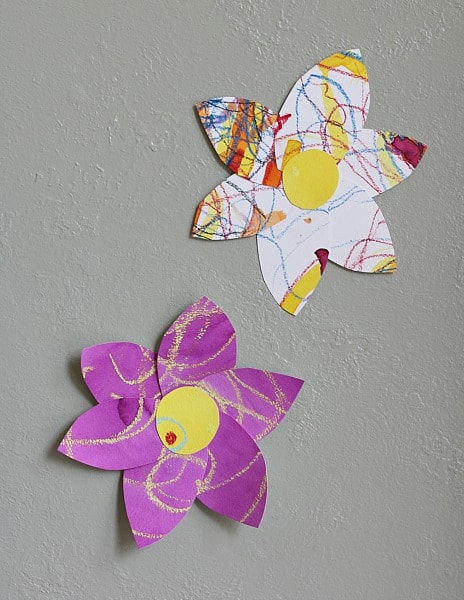
Once the paper had dried, we were ready to begin creating our flowers. I cut out flower petal shapes from the painted paper.
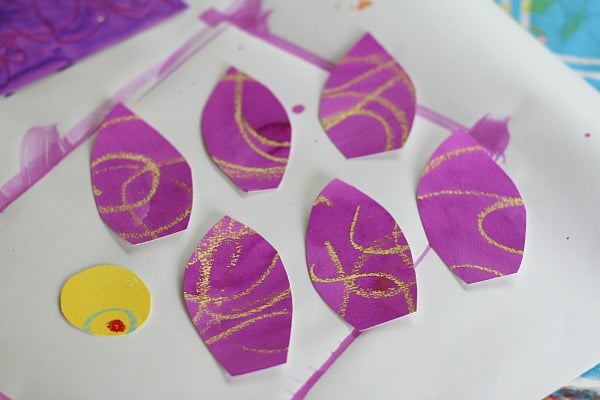
We then glued the petals together and added a circle for the center. Once the glue had dried, we hung our flowers to decorate for spring! (One of our favorite materials to use for hanging is removable adhesive putty. It holds artwork really well and leaves no marks when you remove it.)
Of course you could also use this paper for other collage work or just display it as is!
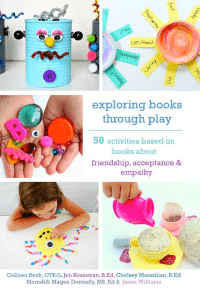
Love using children’s books to encourage a love of learning and creating? Be sure to check out our book, Exploring Books Through Play!