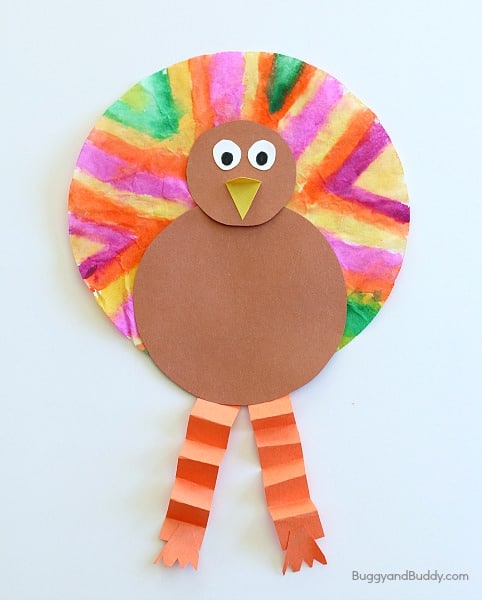
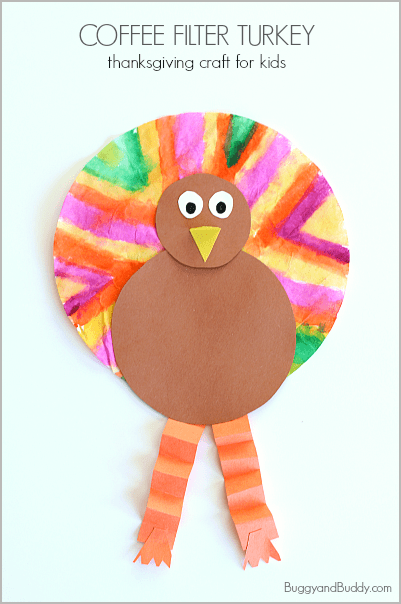
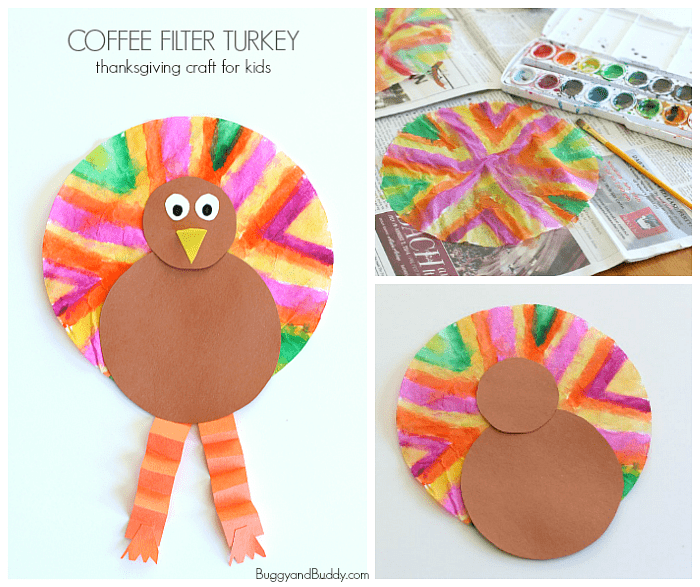
One of our go-to and super easy Thanksgiving crafts for kids is this coffee filter turkey craft! With just a little painting, cutting, and gluing, you’ve got some colorful decorations for Thanksgiving! This post includes a free printable turkey template.
Follow our Thanksgiving Crafts and Activities for Kids Pinterest board!
*This post was originally published on October 5, 2014 and has since been updated.
Last year the kid and I made these beaded napkin rings for our Thanksgiving dinner. This year we’re making these coffee filter turkeys! My students always loved making these each year so I thought we’d make some here at home. (This post contains affiliate links.)
Coffee Filter Turkey Craft for Kids
Materials for Turkey Craft
- White coffee filter
- Watercolors and a paintbrush
- Construction paper
- Glue
- Scissors
Directions for Turkey Craft
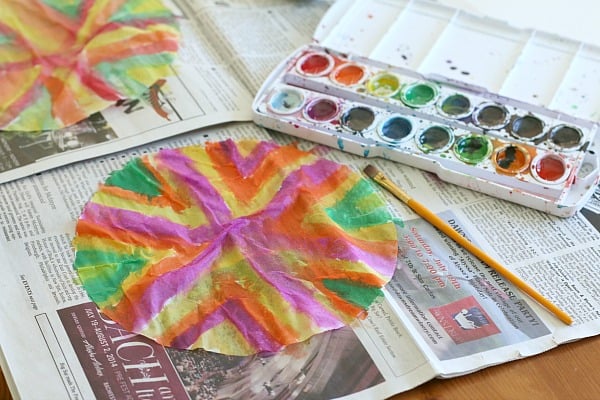
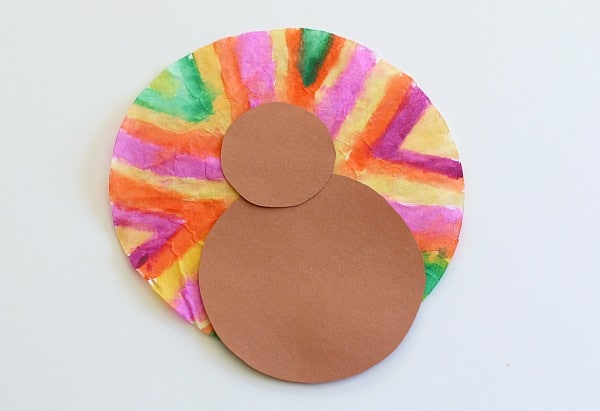
1. Start by painting you’re white coffee filter with the watercolors. We did different designs, patterns, and stripes. (We always paint our coffee filters on a few sheets of newspaper. It helps soak up the water fairy quickly and keeps things from getting too messy.)
2. While your coffee filters are drying, prepare your construction paper pieces. Here’s what you’ll need:
- Two orange legs- 1 inch x 5 inches
- Two brown circles- one with a 5 inch diameter and one with a 2 1/2 inch diameter. (You can use our free template to make your own tracers or simply print the circles out onto brown paper directly.)

3. Once your coffee filter is dry, glue the large brown circle onto it for the turkey body and the smaller brown circle for the head.
4. Accordion fold the two legs and glue them onto the turkey.

5. Now it’s time to add the details. Add whatever you want! We cut out little feet, a beak and some eyes and glued them to our turkey. You’re finished!