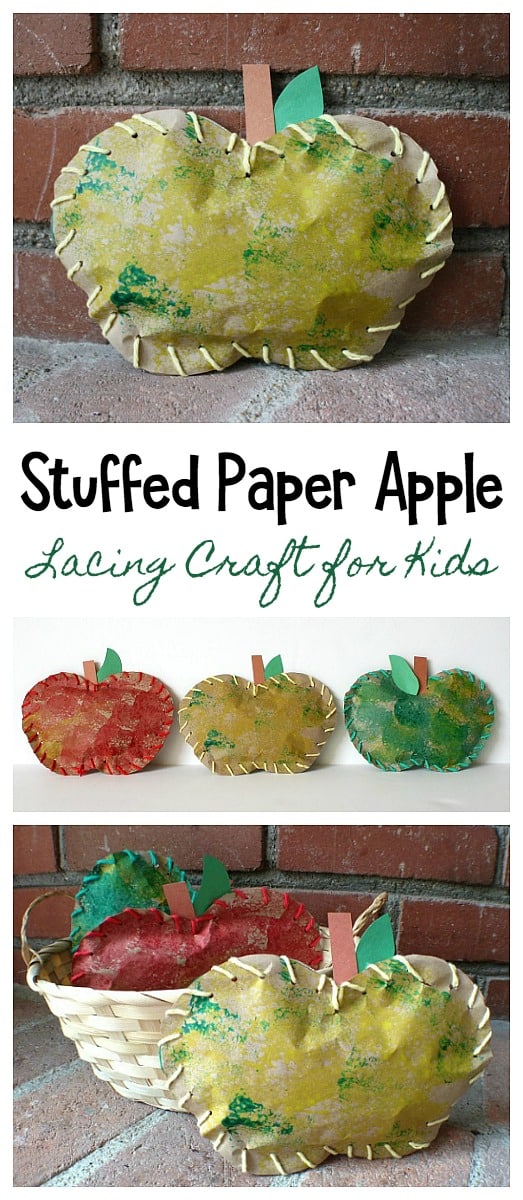
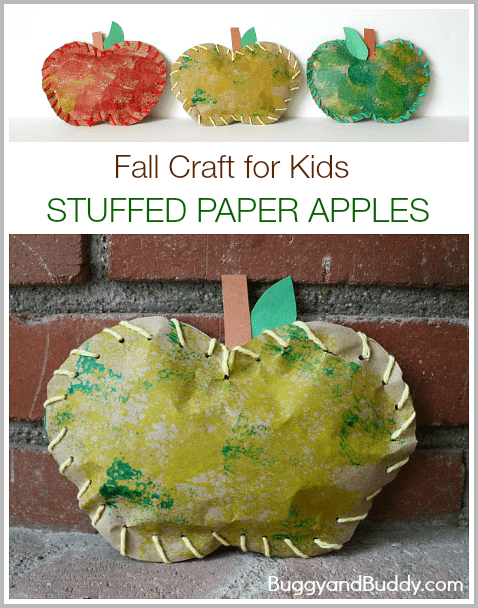
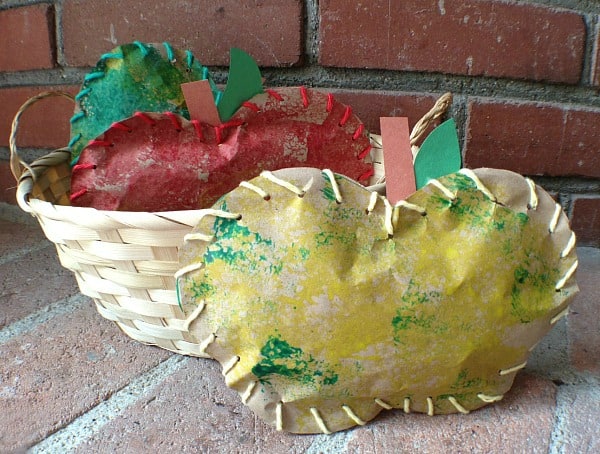
I’m always looking for a quick and easy craft for kids, and these stuffed paper apples are one of my favorites for fall! They combine many different types of techniques from sponge painting to lacing, and are easily adaptable to just about any age.
Follow our Fall Crafts & Learning Pinterest board!
(This post contains affiliate links.)
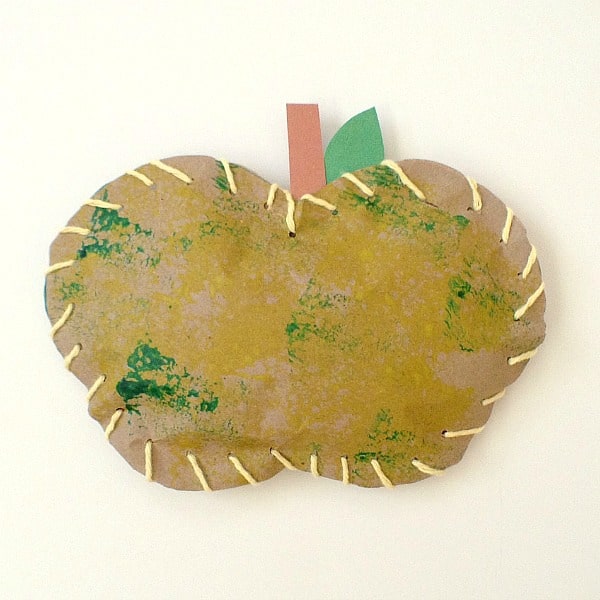
This paper bag craft is perfect for fall and provides all kind of fine motor practice! Children will use apple shapes cut from grocery bags and decorate them with sponge painting. They then get to stuff them and lace them shut forming a stuffed paper apple.
This lacing project would be a great addition to any fall unit or apple unit in the classroom and would make a festive decoration at home for fall!
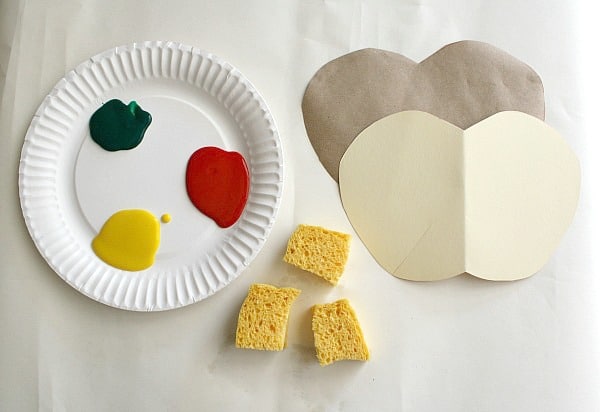
Materials for Stuffed Paper Apples
- Brown paper bag (or any paper you’d like to use)
- Manila File Folders
or sturdy paper to make a tracer
- Scissors
- Pencil
- Paint (We used BioColor Paint because of its versatility, and I love that it has no odor
.)
- Sponges
- Old newspaper or crinkle cut paper
for stuffing
- Stapler or hole punch with yarn
- Brown and green construction paper
- Glue (We used glue dots
, but you could also use any liquid glue.)
How to Make Stuffed Paper Apples for Fall
1. Cut up an old paper shopping bag so it’s flat.
2. Make an apple tracer by drawing a large apple on an old manila file folder or other sturdy paper and cut it out. (Make sure it’s symmetrical. This will make it much easier when assembling the apple.)
3. Help your child trace two apples (for the front and back) on the brown paper bag. Cut out the apples.
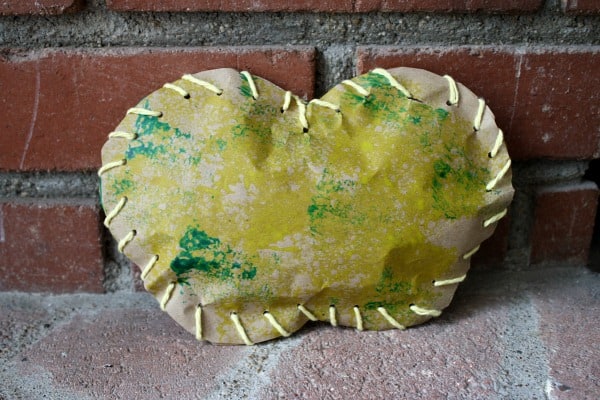
4. Now it’s time to paint! Place your paint and sponges on the table. (Lucy decided on the colors red, green, and yellow). Put your cut-out apples onto some newspaper or other paper you don’t mind getting paint on.
5. Sponge paint the apples. We had fun trying out different color combinations! Lucy’s favorite apple was the one she painted all three colors.
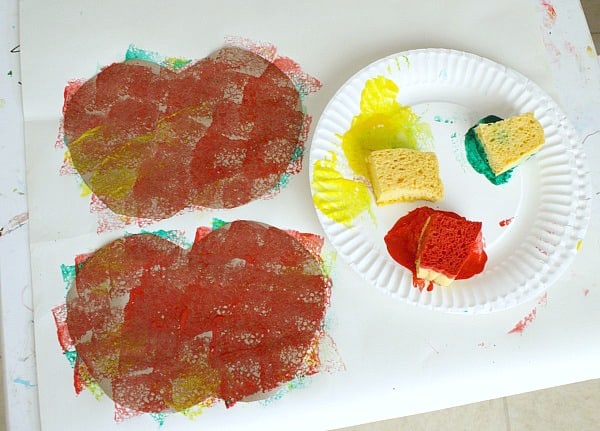
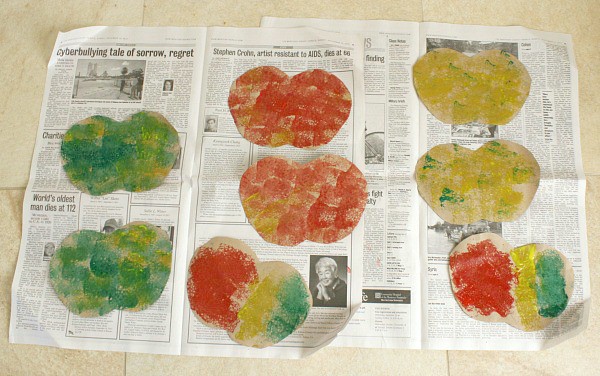
6. Set the apples aside to dry.
7. Once the apples are dry, it’s time to stuff them! First, you’ll want to take the front and back of your apple and secure them together, leaving a little hole to stuff. You can secure them by either stapling around the apple’s edge or punching holes and having your child lace around the apple’s sides.
8. Stuff your apple through the little hole you left. (We used leftover crinkle cut paper we had from gift wrapping, but you could also use torn up newspaper.)
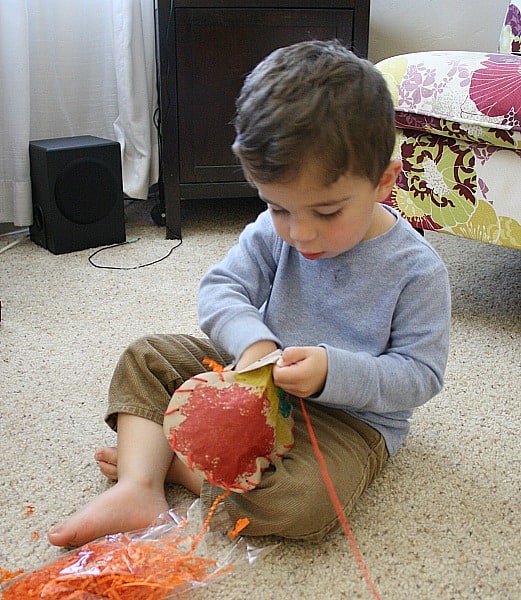
9. Once you’re done stuffing your apple, close the hole either by stapling it or finishing the lacing around the edge.
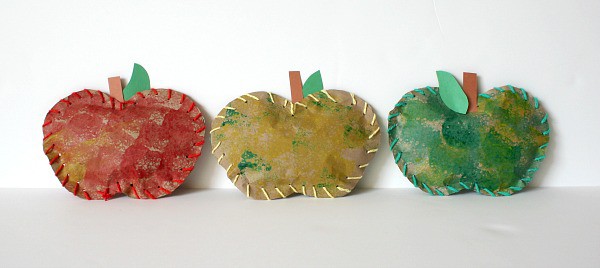
10. Cut out a brown stem and green leaf from your construction paper and glue them to your apple. You’re finished!
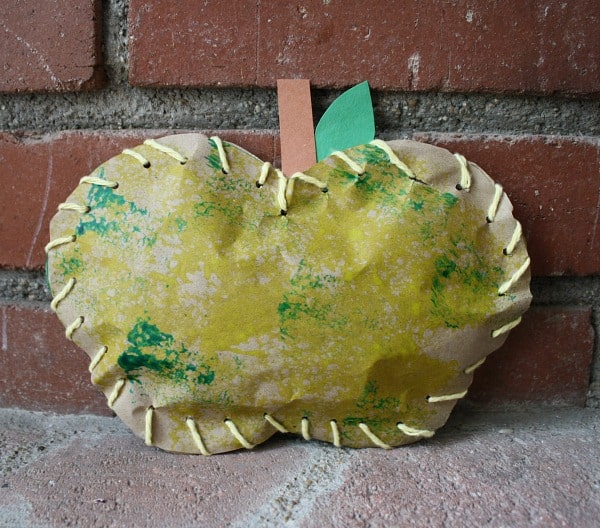
I love how these apples were a team effort. We all did the painting, Lucy and I laced the apples, and Theo was the stuffer! We have our finished paper apples displayed near our nature table and fall books, but you could also attach some yarn to the top to hang them around your house to decorate for fall!
*This article was originally posted on September 20, 2013.
Some of Our Favorite Apple Themed Books for Kids
Apples by Gail Gibbons

Apple by Nikki McClure

The Apple Pie Tree by Zoe Hall

Ten Apples Up On Top! by Theo LeSieg


Check out our ebook ABCs and 123s! You’ll find 40+ ways to encourage children to explore letters and numbers through play!