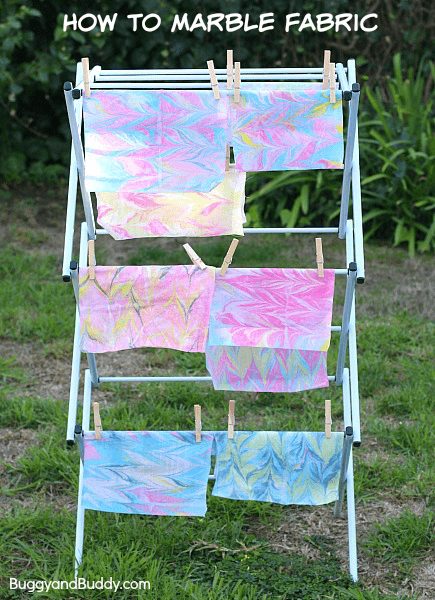
If you’ve ever wondered how to marble fabric or are looking for something fun to do on your own or with older children, you’ll love today’s post! I recently marbled my own fabric right at home, and both the process and results were so amazing!
Are you following our Homemade Gift Inspiration Pinterest board?
Ever since the kids and I made marbled paper together, I’ve been wanting to do more marbling projects. I’m hooked! I thought marbling fabric would be a good next project to try. It does take some prep work, but nothing too crazy. I promise! This process might be a bit challenging for younger kids, but older children would definitely enjoy doing it with you. (This post contains affiliate links.)
How to Marble Fabric
Materials for Marbling Fabric
- Large, shallow container (I used a plastic storage bin.)
- Alum (I found mine in the spices section of the grocery store.)
- Blender or immersion hand blender
- Carrageenan (This is a material that comes from seaweed. It helps to thicken the water so the paints can float on top.)
- Liquid acrylic paints
- Little containers to hold the paint (I used plastic cups.)
- Droppers or pipettes
- Toothpicks
- Fabric to marble (You can use these white bandanas since the edges are already finished! Just be sure your container is large enough to hold them.)
- Lots of old newspaper
Prepare Your Fabric (The Day Before)
Before you marble the fabric it needs to be soaked in alum. This will help the paint to adhere to the fabric. (Alum can irritate some people’s skin so be sure to wear gloves.)
1. Mix 2 tablespoons of alum into two gallons of water. (The ratio of alum to water is 1:1.)
2. Place all the fabric you’re planning on marbling in the solution for 20 minutes. (Don’t leave it any longer or it can ruin the fabric.)
3. After 20 minutes remove the fabric from the water. Squeeze out as much liquid as you can, but don’t rinse it. Hang the fabric to dry.
Marbling Fabric
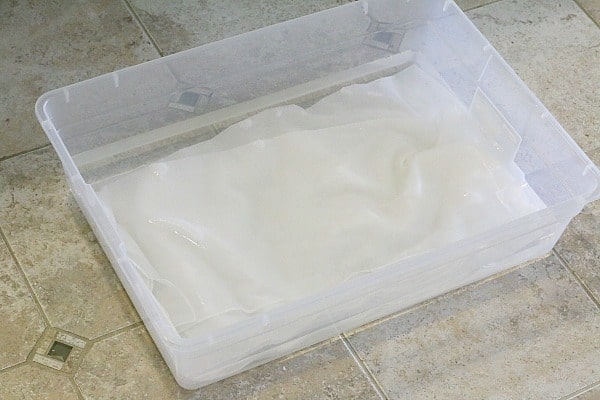
1. You’ll first need to prepare the water for marbling by mixing water with carrageenan. You’ll want to do this at least 3 hours before you want to marble. (You can even do it the night before.) And be sure your marbling container is large enough to fit your cut fabric.
- The ratio of tablespoons of carrageenan to water is 2:1.
- For my container I decided to use 1 1/2 gallons of water which meant I needed to mix in 3 tablespoons of carrageenan into the water.
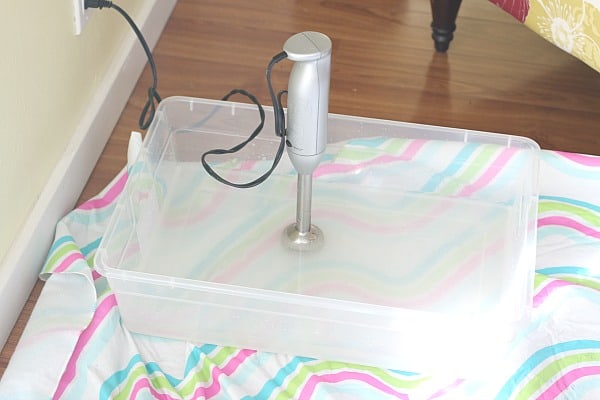
- To mix the carrageenan in you’ll need a blender or immersion hand blender, otherwise it won’t fully mix.
- The easiest way to do this is to blend one tablespoon of carrageenan at a time into a smaller amount of water using a blender or hand blender, and then add that mixture to the larger container. Just keep track of how much water you are using so you have the correct ratio of carrageenan to water when you’re finished. Once I had all my ingredients in my large, plastic container, I used my immersion hand blender to make sure it all mixed evenly.
- Let this sit for at least 3 hours. The water should look clear when it’s ready.
2. Now the fun part- marbling!
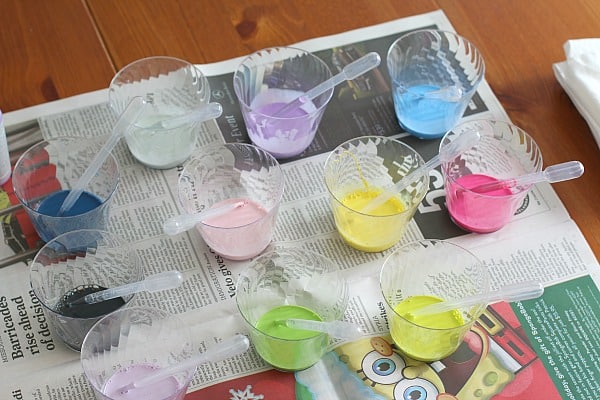
- Prepare your paints for marbling by placing each paint color in it’s own container with some water. (Water to paint ratio 1:1) Mix thoroughly.
- Spread out some newspaper so you have a place to put your marbled fabric.
- Use your pipette or dropper to drop paint all over the surface of the marbling container. The paint should float. If some sinks to the bottom (like in the first photo below), it’s too heavy. Add more water to that particular paint color.
- Once you’re happy with the paint drops, use your toothpick to marble the paint. Pull it back and forth in one direction and then back and forth in the other direction to create a marbling pattern.
- Gently place your piece of fabric on top of the paint. Allow the paint to soak in. If you have any air bubbles, gently push them down so the paint will reach the fabric.
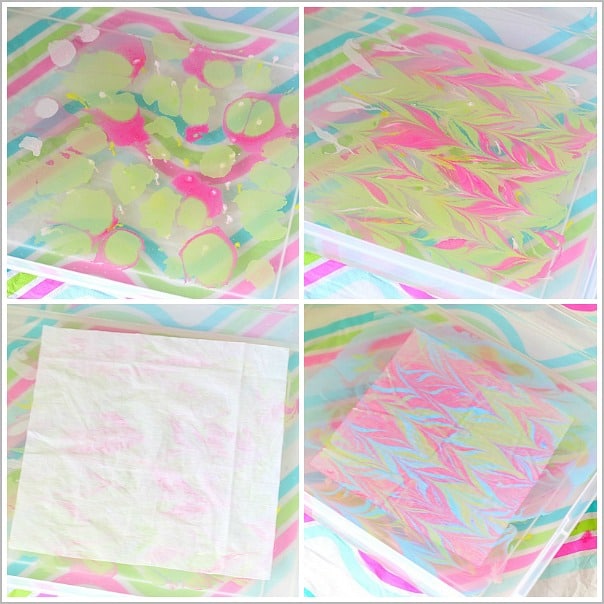
- Carefully pull the fabric out of the mixture and place it on newspaper to dry.
- Add more paint and do another piece of fabric. (You can use a sheet of newspaper to collect leftover paint from the surface before doing your next piece of fabric.) Continue until you’ve marbled all your fabric.
Finishing Up
- Luckily it was a sunny day so I placed my marbled fabric on newspaper in the sun to dry. Once it was almost dry, I took it off the newspaper and hung it on a drying rack to speed it up.

- When your fabric is completely dry you’ll want to rinse it in cold water and then let it dry again before using it.
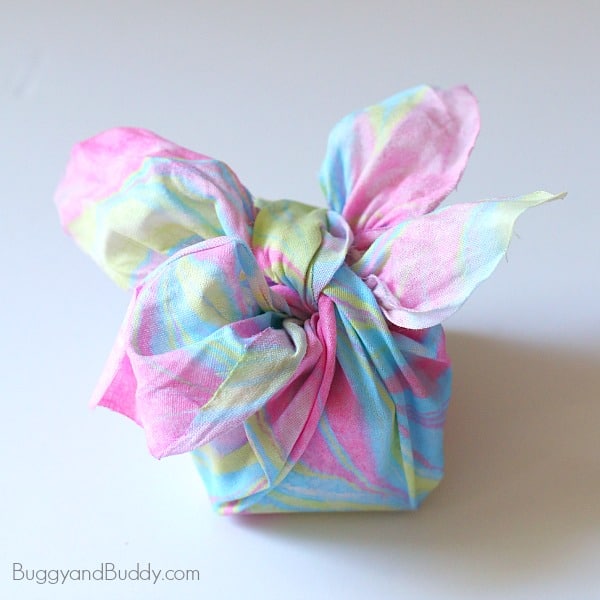
- Wondering what to do with your marbled fabric? Use it in a mixed media art project with the kids or use it as reusable gift wrap!
I know this sounds like a lot (and it is a bit of work setting it up), but it is SO worth it! Now that I’ve tried it on my own, I’m planning on involving the kids in the next batch!