Making your own felt board (or flannel board) is very easy and inexpensive. You can do it in about 15 minutes and need only a few supplies. Here’s how to make your own felt board for home or school!
Follow our Children’s Books & Activities Pinterest board!
We use felt boards (or flannel boards) often for retelling stories, creating our own stories, or building designs and pictures with felt shapes. They’ve been a great addition to our home, and I used them often in my kindergarten and first grade classroom. Here’s how to make your own in just 15 minutes!
This post contains affiliate links.
DIY Felt Board
Materials for Homemade Felt Board
- Framed cork board in whatever size you want your felt board to be (like this one)
- Large piece of craft felt (a bit larger than your cork board)
- Adhesive spray (We used All Purpose Tacky Adhesive Spray
)
- Scissors
- X-ACTO knife (Ours was similar to this
.)
- Push pins
Directions for Homemade Felt Board
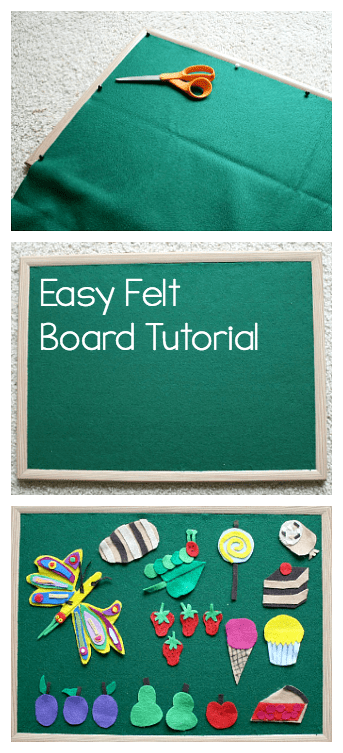
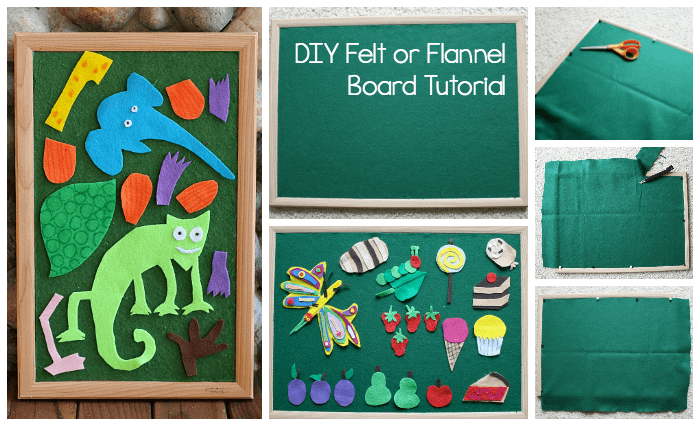
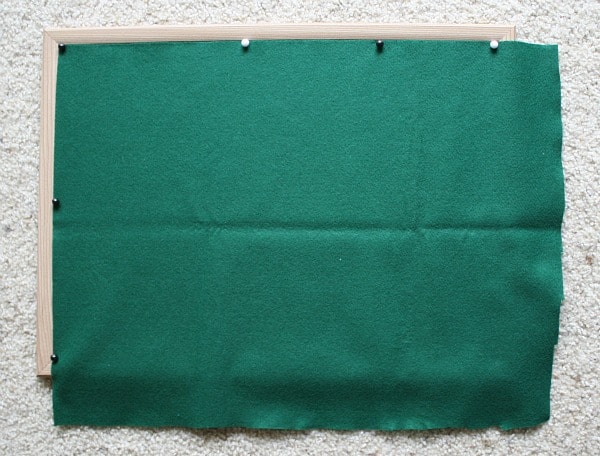
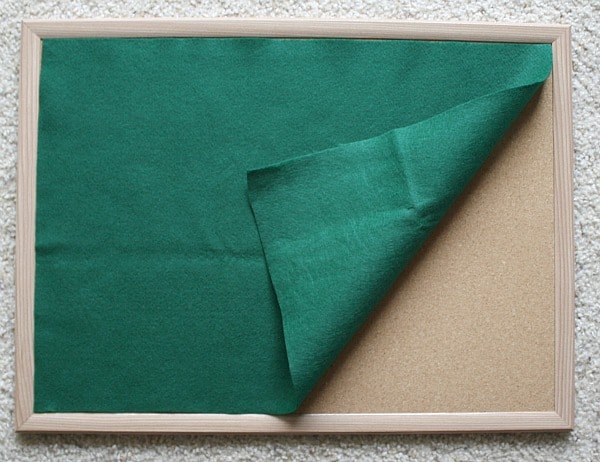
1. Place your cork board on the floor. Lay your piece of felt over the board, lining up two of the sides exactly.
2. Use the push pins to hold your felt in place.
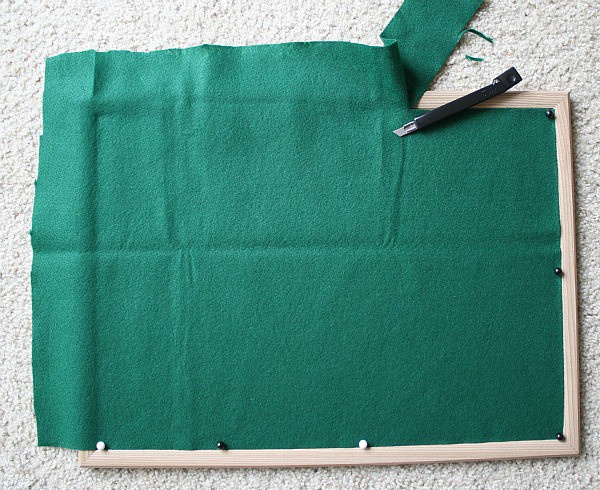
3. Use scissors to cut off large pieces of the extra felt.

4. Use your X-ACTO knife to cut your felt into the perfect shape, running it right down the inside edge of the frame.
5. Find a well ventilated area to spray on your adhesive. I placed my felt (back-side up) on some newspaper outside. Spray your adhesive, being sure to cover the entire piece.

6. Place your felt (sticky side down) onto the cork board, lining it up as perfectly as you can. (If you are doing a large board, you may want an extra pair of hands to help with this part.)
7. Go around the edges tugging and pushing the felt until it lines up nicely with the framed edge. Rub your hands across the whole board to help the felt adhere to the cork board. Use the X-ACTO to trim off any little parts that neat to be cleaned up.
8. Let it dry and it’s ready to go!

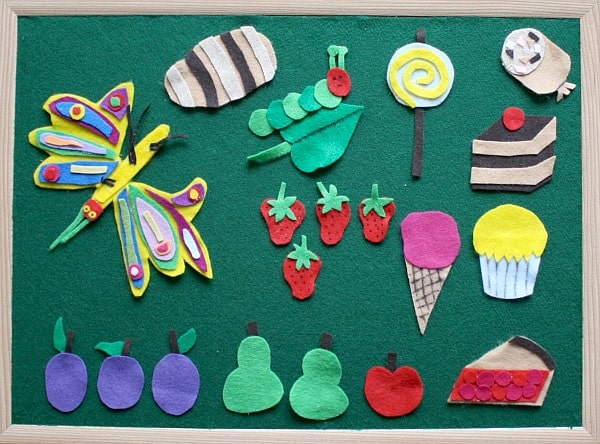
You can even make your own felt pieces to go with some of your favorite stories like we did with The Very Hungry Caterpillar. You’ll just need some craft felt in a variety of colors, good scissors, and some glue.
Lucy and I went through the story, and I cut out the items we needed from felt. She helped me glue them together and use a Sharpie to draw on some details. Such a fun activity to do together!
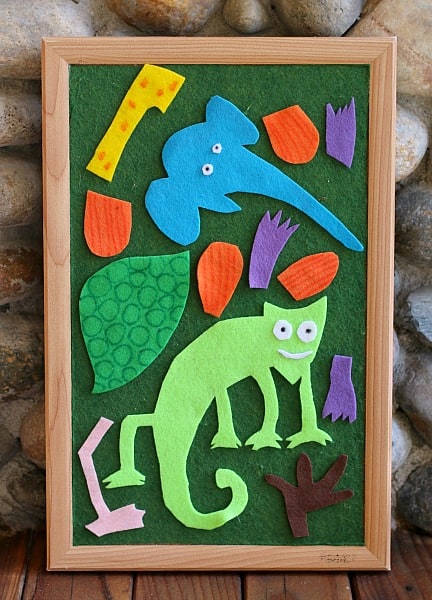
Here’s how we made felt pieces to go with Eric Carle’s The Mixed Up Chameleon. The post includes free templates for the pieces.
Store your felt pieces in a large baggie with the corresponding book and keep it next to your felt board for kids to explore.
You can also buy pre-made sets or even felt shapes kids can use to create designs and pictures!