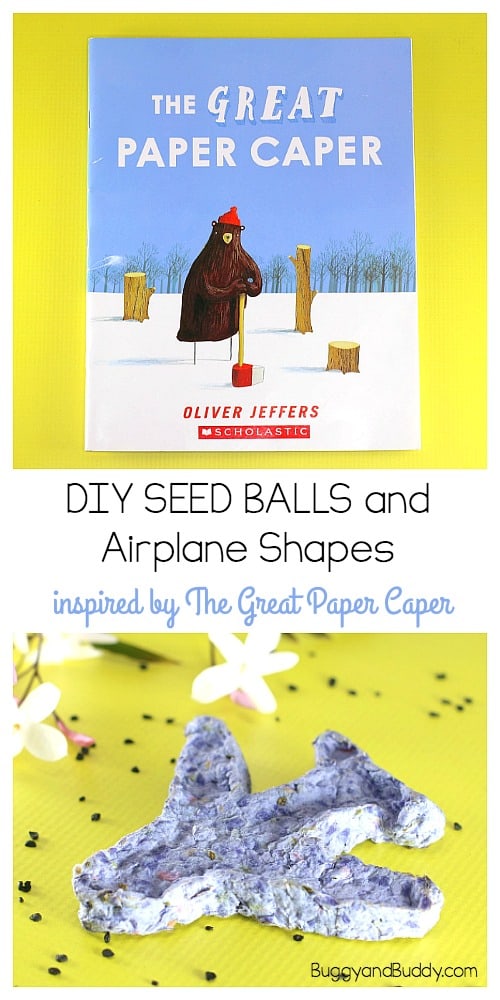
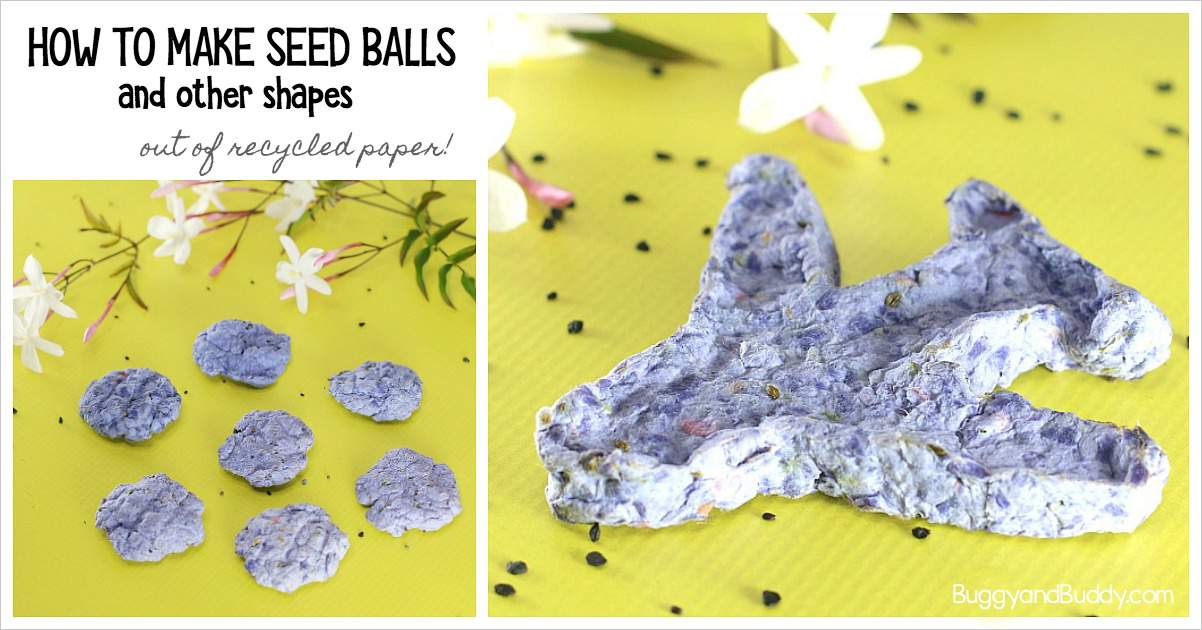
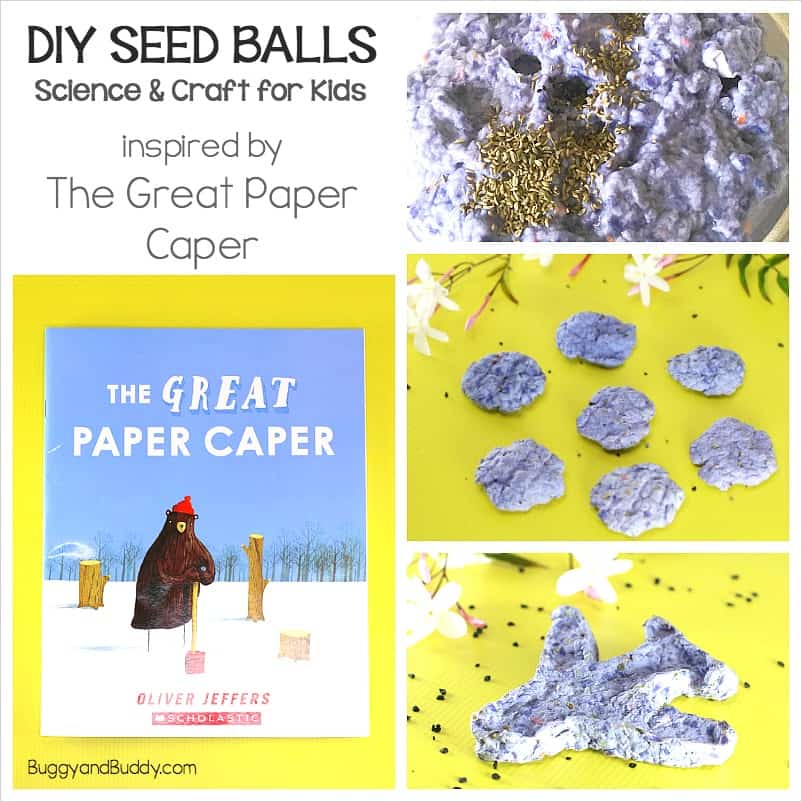
Learn how to make seed balls from recycled paper, a fun craft and science activity inspired by the popular children’s book, The Great Paper Caper by Oliver Jeffers. This activity is perfect for kids of any age and makes a great addition to a unit on Earth Day, gardening, plants, and even makes a special homemade gift for Mother’s Day.
Follow our Science for Kids Pinterest board!
This post contains affiliate links.
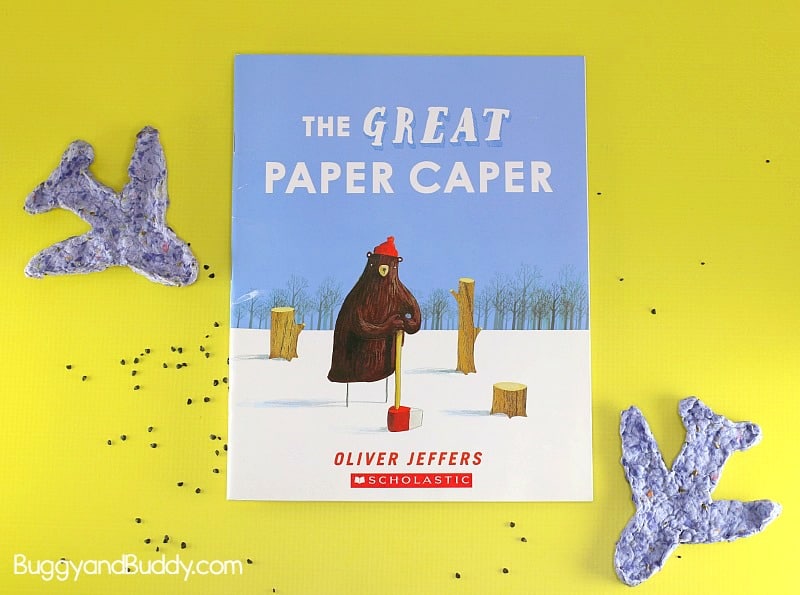
Being a huge fan of Oliver Jeffers, my brain just raced with ideas of activities for kids to do based on one of our favorite stories by him, The Great Paper Caper. In The Great Paper Caper, animals around the forest begin noticing their trees have started to go missing. They put together a task force to investigate and discover what’s happening to their homes. Their investigation finally leads to the culprit, a bear chopping down trees to turn into paper, which he then uses to create paper airplanes. It turns out he’s trying to win a paper airplane flying competition. In the end the bear not only replaces the trees by planting more, but all the animals come together to help the bear make the most spectacular paper airplane!

This fantastic children’s book can lead to all sorts of discussions about tree conservation, the importance of trees to animals and other wildlife, where paper comes from, recycling, planting seeds, designing paper airplanes (a fun STEM activity), and working together as a team to help someone in need.
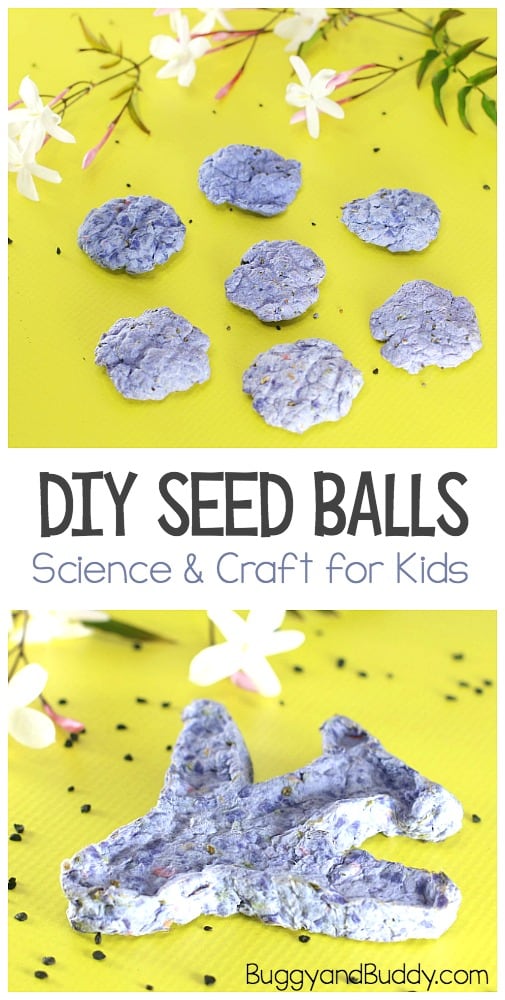
In this activity we decided to focus on repurposing paper (like they do in the story- don’t want to ruin the ending for you!) and on planting seeds, just like the bear does in the book. So we combined the two ideas into making seed balls (not to be confused with seed bombs made with clay). A seed ball is a small item that holds seeds together with a growing medium- in our case, old paper! You bury the seed balls below a layer of dirt for the seeds to grow.

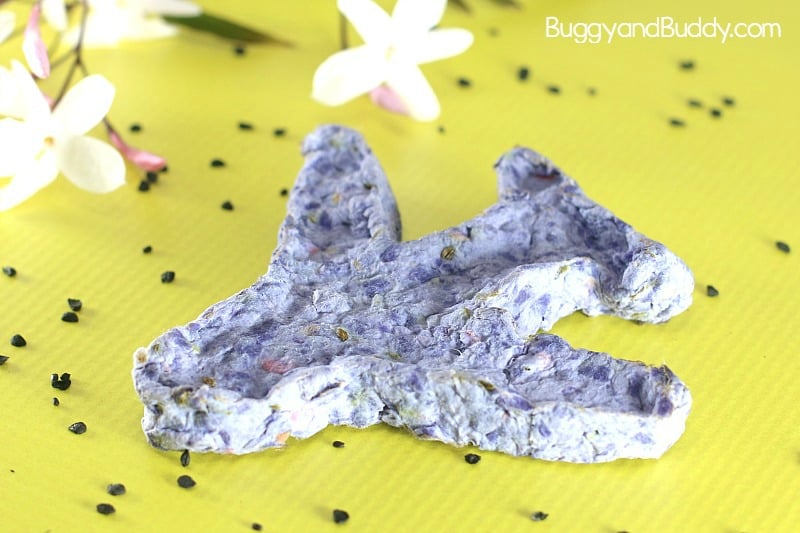
Lucy and Theo were so excited to turn their old school worksheets and artwork into something new they could plant and watch grow later on. In addition to our seed balls, we also made seed airplanes since the bear was making paper airplanes in the story.
In this post I’ll show you how you can make seed balls in just about any shape, making it a great gift idea for holidays, Mother’s Day or any special person in your life. And it’s a great way to help our environment too!
See it in action here:
How to Make Seed Balls from Recycled Paper
Materials for Making Seed Balls
- Old paper (worksheets, newspaper, junk mail etc.)
- Seeds
- Bucket or plastic bin for soaking paper
- Blender or food processor
- A few bowls or containers
- Strainer or colander
- Optional: Paper shredder
- Optional: Cookie cutters if you want to make your seed balls into shapes (We used this airplane cookie cutter, but you could also use hearts or any other shape. Remember: Cookie cutters are optional. You can just make balls with your hands.
Directions for Making Seed Balls
1. Gather up paper you want to reuse to make your seed balls. You can use things like old newspaper, old worksheets from school, junk mail, paper towels, etc.
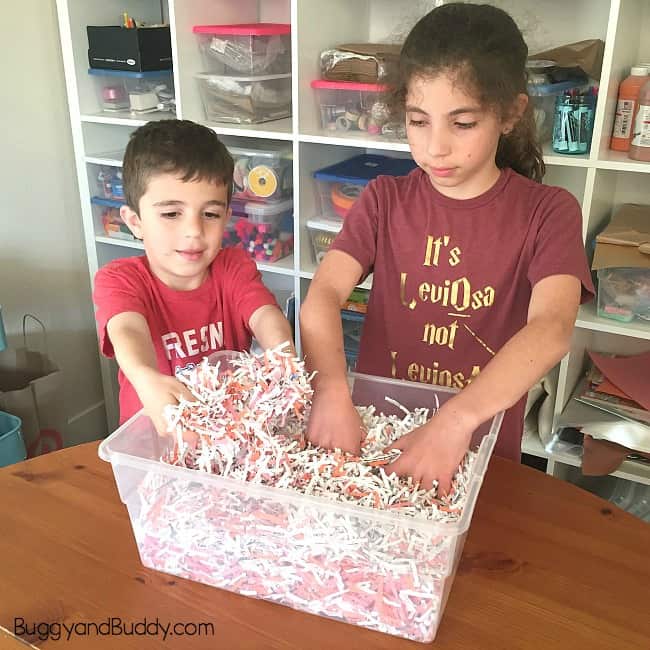
2. Tear up your paper into small pieces and place them into a large bin, the smaller the pieces, the better. (This is a great activity for an entire class to do together.) You can also use a paper shredder if you have one rather than tearing the paper. My kids went absolutely nuts over the paper shredder. It was like the most exciting thing they had seen in their life. And they loved finding bits of their old worksheets in the paper we shredded. “Look! There’s part of my math sheet!” If your kids are ever bored, introduce them to the paper shredder. (Monitoring them closely of course.) It can provides hours of fun. LOL!
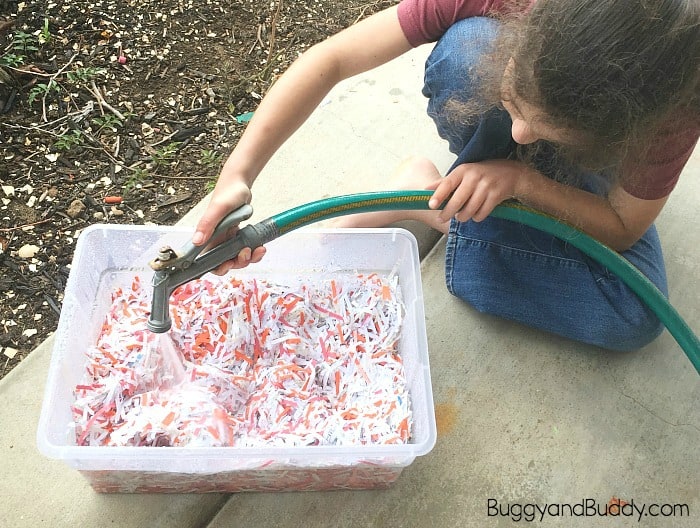
3. After you’ve placed all your torn paper into a large bin, fill it with water to soak. We put just enough water in to cover all the paper and mixed it around with our hands. We let it soak overnight so it would blend more easily and quickly, but this length of time isn’t necessary. Even just letting it soak as you rip paper would work.
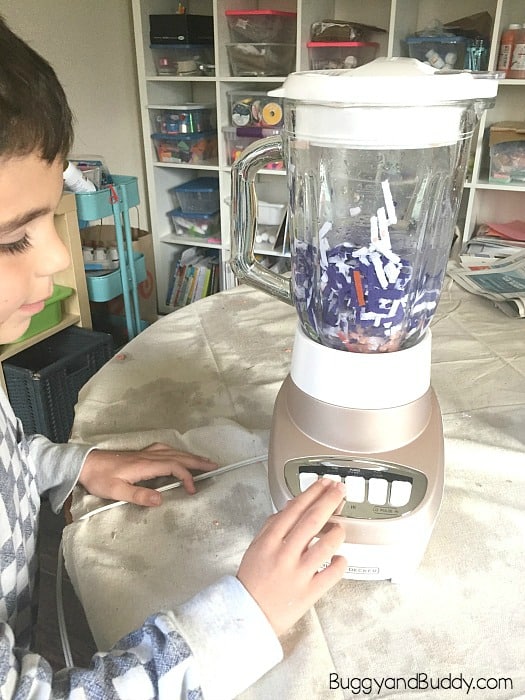
4. Place the torn paper in a blender. Be sure to use an old, cheap or used blender, as blending lots of paper can take its toll on your machine. Don’t fill your blender all the way to the top with paper. The paper is sure to clump and get stuck and cause all kinds of blender craziness. We filled ours about 1/3 of the way full. That seemed to be the magic number for us. Then fill the blender with water. We liked having the water rise about 1-2 inches above the paper. (You’ll have to play around with your ratio of paper to water.)
WARNING: Never let a child use a blender unless heavily supervised by an adult. An adult should be present at all times or do the blending on their own while the children observe.
5. Blend until you have mushy pulp, somewhat like the consistency of oatmeal. We found the more it was blended, the better it held together.
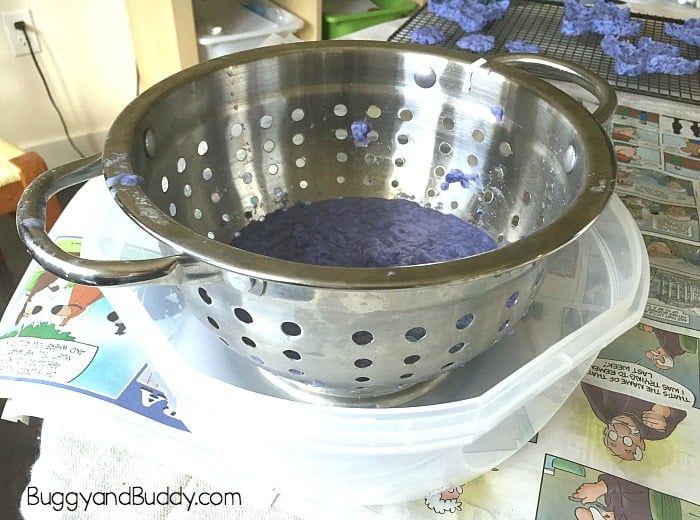
6. Place a colander inside a bowl. Pour your pulp mixture into the colander to drain some of the water. Continue with steps 4-5 until you have blended all your soaked paper. Now you have a giant batch of mushy, wet pulp sitting in a colander! Slosh it around in the colander with your hand, getting out the extra water.
7. Pour the contents from the colander into a separate bowl. Don’t squeeze all the water out. You’ll want it to be wetter than you think. It helps to keep it from falling apart when making your shapes.
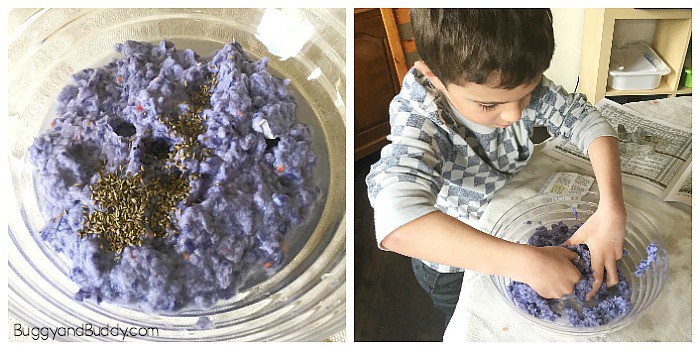
8. Now it’s time to add your seeds. You can add any seeds you’d like. We chose seeds that were native to our area. Pour the seeds into your pulp. Knead and mix them into the pulp with your hands.
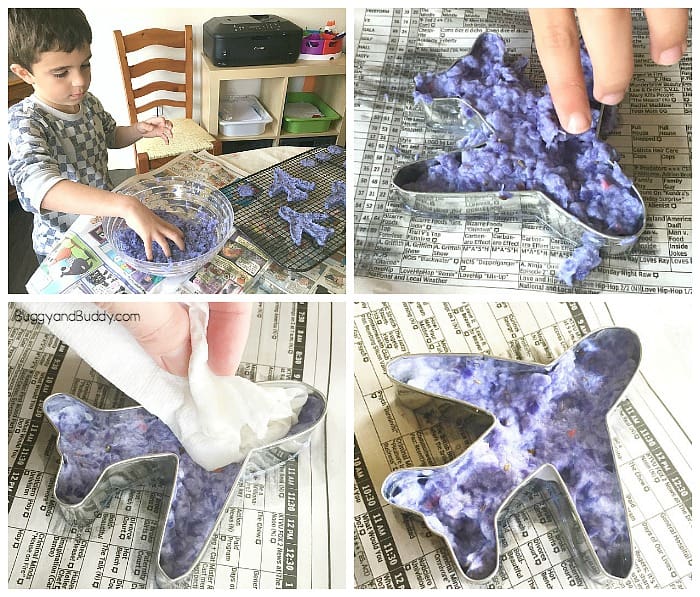
9. If you’re just making seed balls (or pancakes) rather than shapes, grab a small handful of the mixture, squeeze out as much water as you can, and roll it into a firm ball. (Making balls or pancakes is much easier for younger children.) Squish it like a pancake. (It’ll dry faster.) Place if on a drying rack or stack of newspaper to dry.
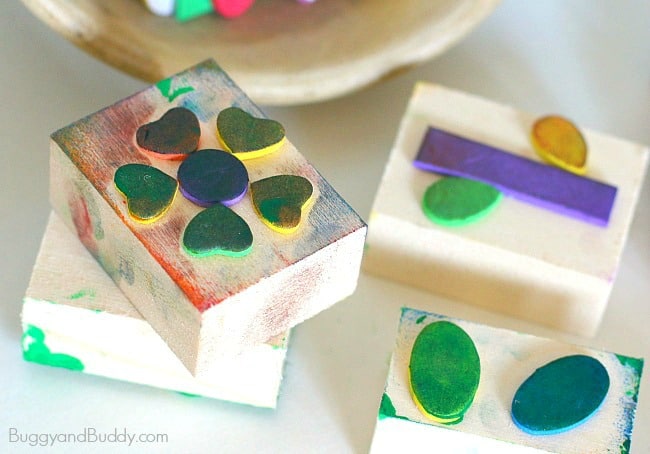
If you’ll be making your seed balls into shapes, place some of the mixture into cookie cutters. Press the pulp firmly and use paper towels to remove any excess water. (Be sure to save the paper towels for your next batch of seed balls!) Carefully remove them from the cookie cutters and place them on a drying rack or stack of newspaper to dry. If any part breaks off, you can mold it back in place kind of like play dough.
Depending on the size of your seed balls, they can take up to 3 days to completely dry. Placing them in the sun on a hot day will speed up the process!
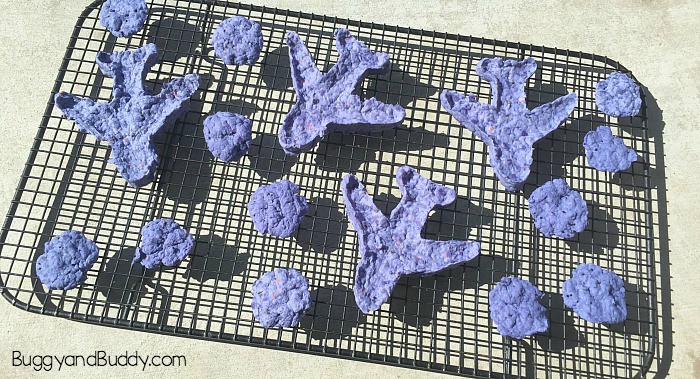
10. After your seed balls or seed shapes are dry, they’re ready to be planted or given as a gift to a loved one. These burlap gift bags would be perfect to hold your seed balls!
Tips
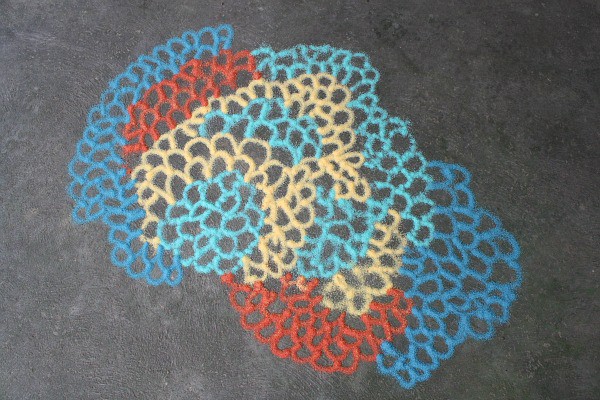
- You can add color to your seed balls by either using colored paper or adding food coloring to your mixture.
- Some local nurseries will be willing to give you seeds for free. Be sure to check nurseries or stores in your community.
- Smaller children might find it easier to just make shapes with less intricate spaces, like using a heart or cloud cookie cutter. Or even just making random balls and pancake shapes.
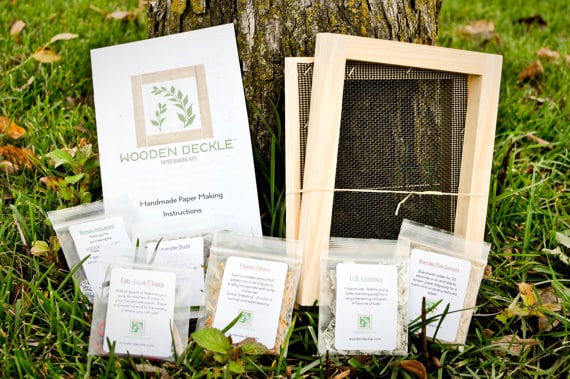
PAPER MAKING KIT
Want your own paper making kit? I bought this one for my daughter for her birthday- excellent quality and lots of fun! It would make a great birthday gift (obviously- LOL!) and would be fun for classroom use too!
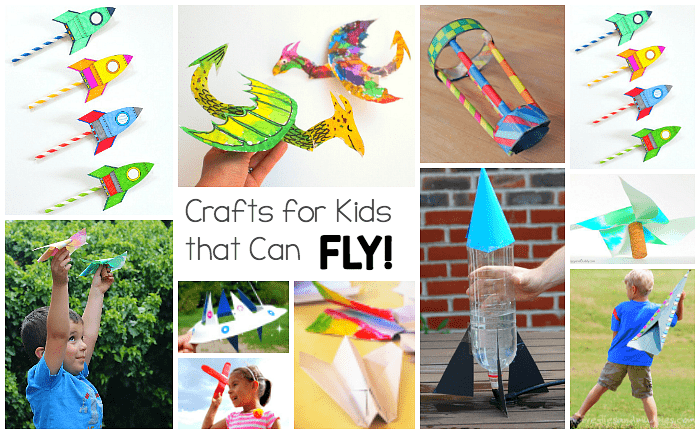
More Science Activities Inspired by Children’s Books
This post was part of the Storybook Science Series, made up of a group of awesome bloggers sharing posts centered around Sensory Science, Science for the Future, Science in the Garden, and Science with Robots. Be sure to check out all the wonderful additions to the series!
Be sure to check out our STEAM Kids book and ebook for even more creative STEM and STEAM ideas!