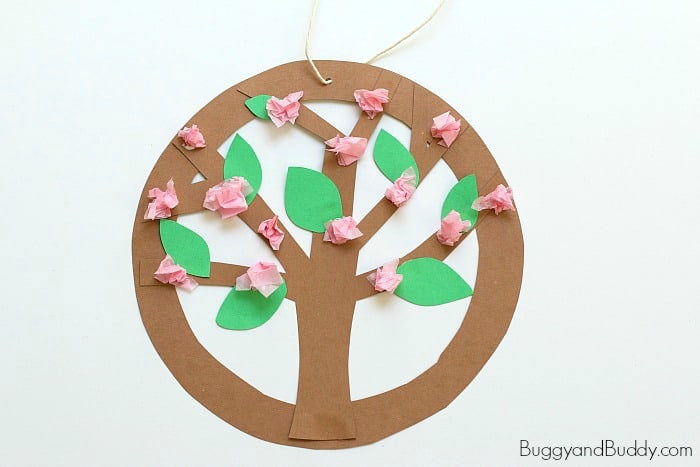
Here’s a tree blossoms craft for kids that can be displayed on a wall or hung in a window or from a ceiling. You can even adapt the tree craft to resemble apple blossoms, cherry blossoms, or any other tree!
Follow Buggy and Buddy on Facebook!
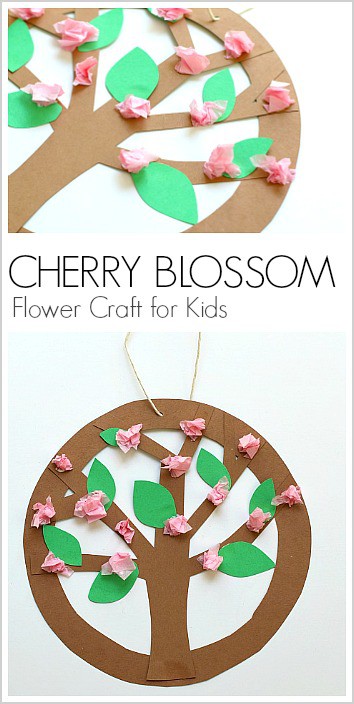
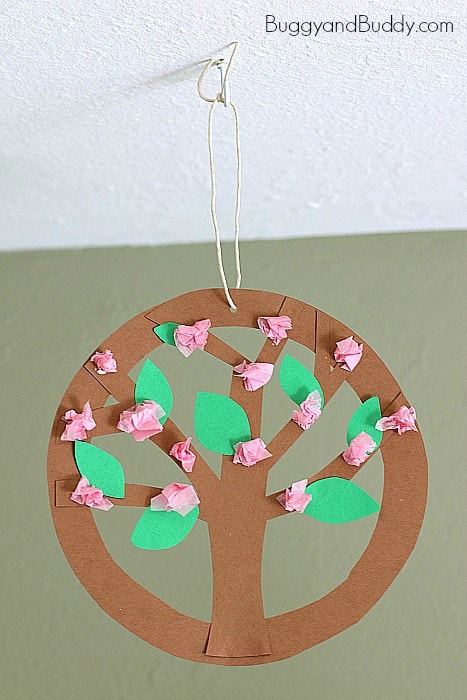
I love how this finished tree blossoms craft for kids looks when displayed! It makes a great window decoration since it lets the light shine right through the paper branches and is also perfect for hanging from the ceiling.
You can adapt this tree blossoms craft to fit any type of tree or season you want. I’ve provided directions for both older children, as well as simplified directions for younger children (kindergarteners and first graders) below.
(This post contains affiliate links.)
Tree Blossoms Hanging Craft for Kids
Materials for Tree Blossoms Hanging Craft for Kids
- Brown and green construction paper
- Scissors
- Circular items to trace (We used bowls from the kitchen.)
- Glue
- Tissue paper squares
- Single hole punch (This my favorite hole punch. It can easily punch through many sheets at once!)
- Twine or string for hanging (We used hemp cord that we received for free from Craftprojectideas.com.)
Directions for Tree Blossoms Hanging Craft for Kids
These directions are most suitable for about 2nd grade and up. The older the children, the more intricate they can make the tree branches in their designs! (Directions for modifying this activity for younger children are at the bottom of this post.)
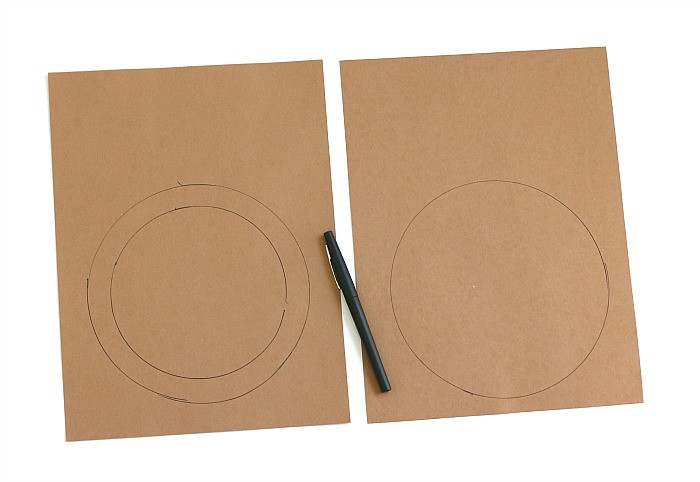
1. Place two brown sheets of construction paper in front of you.
2. Trace two large circles- one onto each sheet of paper.
3. Inside one of the large circles, trace a smaller circle.
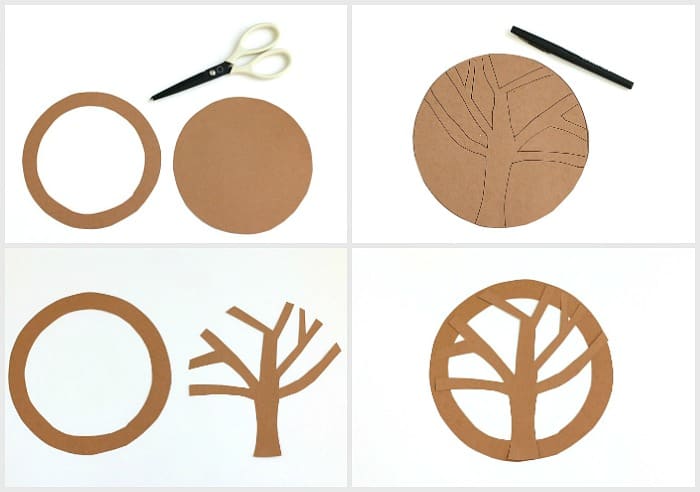
4. Cut out both circles. Cut out the inside circle of one of your circles.
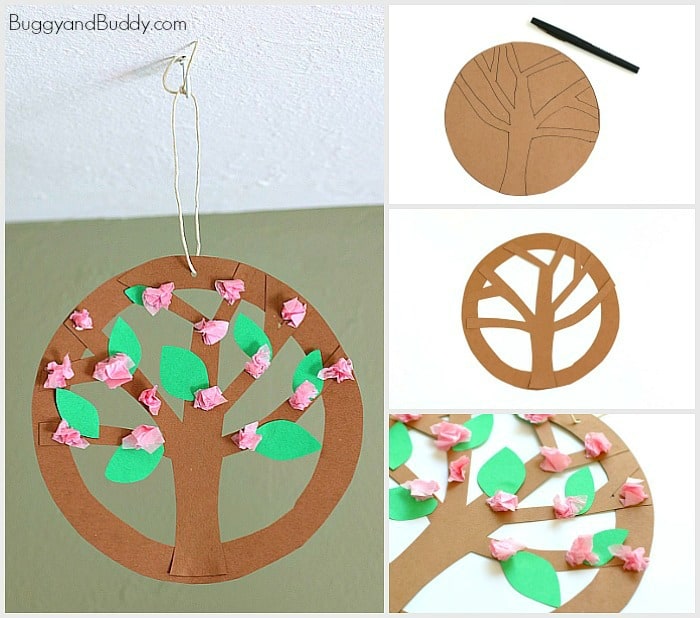
5. On your other circle, draw a tree. Make sure the branches extend to the edge of the circle.
6. Cut out your tree. Glue it onto circular loop you’ve cut out. (If any branches are hanging over the edge of the circle, you can trim them.)
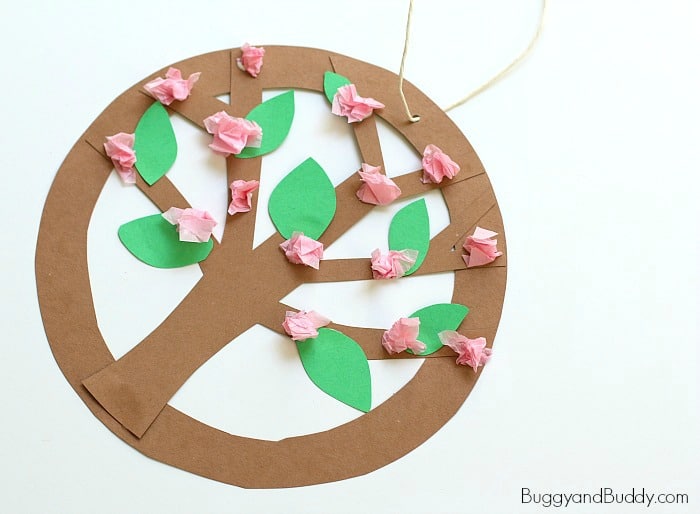
7. Cut out some leaves from your green construction paper. Glue them onto your tree.
8. Crumple up your tissue paper squares and glue them onto your tree.
9. Punch a hole in the top of your project. Tie some twine or string to it and display!
Modifications for Younger Children
These directions are suitable for kindergarten and first grade.
1. Make a brown circular loop by tracing a large circle onto brown construction paper and tracing a slightly smaller circle inside. Cut this out. (This step might be difficult for younger children.)
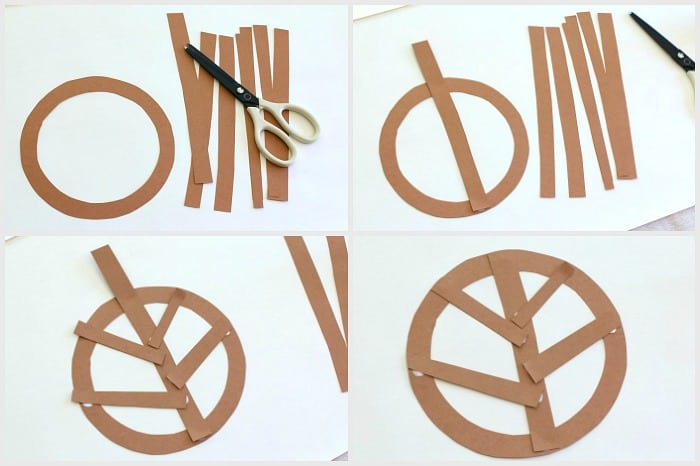
2. Instead of having children draw a tree for the inside of the circle as mentioned above, children will make trees using strips of paper. Invite children to cut long, thin strips of brown construction paper.
3. Glue one strip to your circle to make the trunk of the tree. (Don’t worry about any edges hanging over at this time.)
4. Glue smaller strips of paper extending from the trunk to the edge of the circle.
5. Trim off all the branches that are extending past the circle’s edge.
6. Continue by following steps 7-9 above.