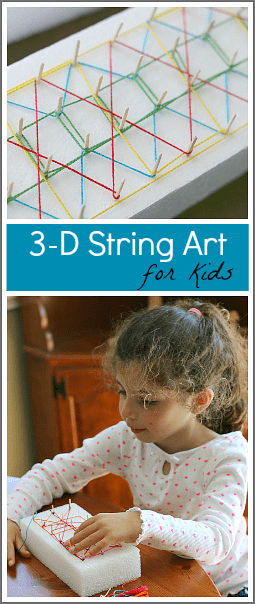
In our newest art for kids activity, we’ll be using styrofoam, toothpicks, and string to make some colorful 3-D string art! This is a fun activity for creating patterns and designs in a unique way. (And a great way to reuse packaging materials- great for Earth Day!)
Follow the Buggy and Buddy on Pinterest!
I’m teaming up again with some super creative bloggers in the Easy Art Projects for Kids Series! This week we’re focusing on string art for kids. Be sure to check out all the creative string art projects for kids shared by the other participating blogs. I’ve included their links at the end of this post! (This post contains affiliate links.)
Previous Posts in the Easy Art Projects for Kids Series
String Art Using Styrofoam and Toothpicks
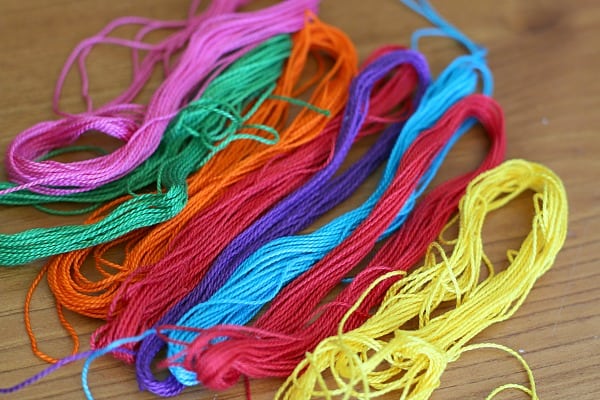
Materials for String Art for Kids
Making String Art
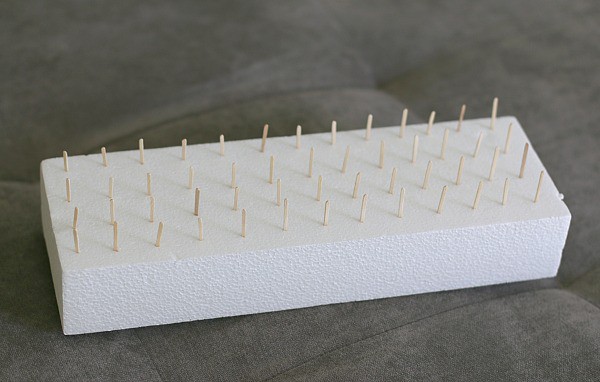
Start by pushing the toothpicks into the styrofoam block. We tried to space our toothpicks out evenly across the block.
Chose your first color of string and tie it to a toothpick. Begin weaving and wrapping your string through the toothpicks. When you’re finished with the color, cut it, and tie it to a nearby toothpick.
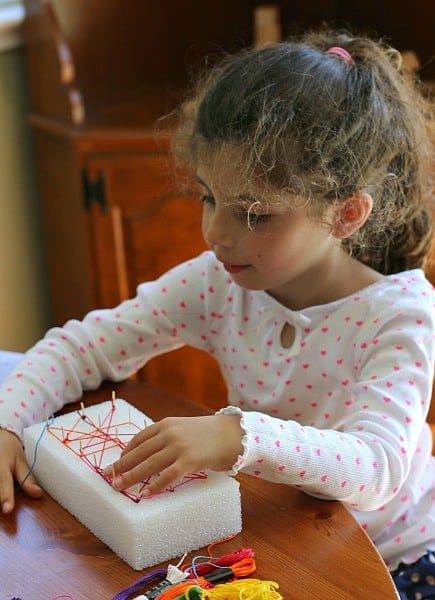
Continue this with other colors of string.
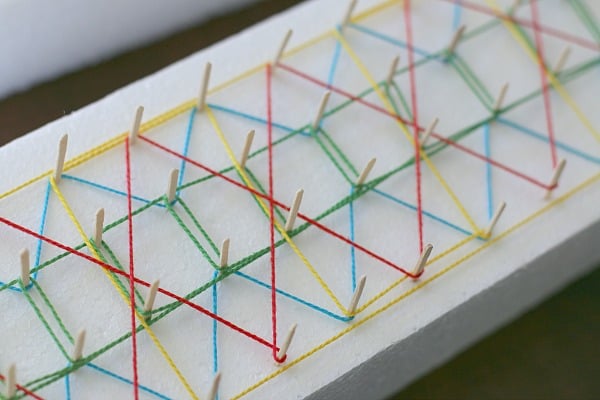
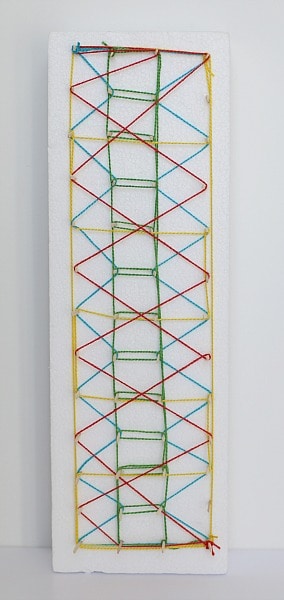
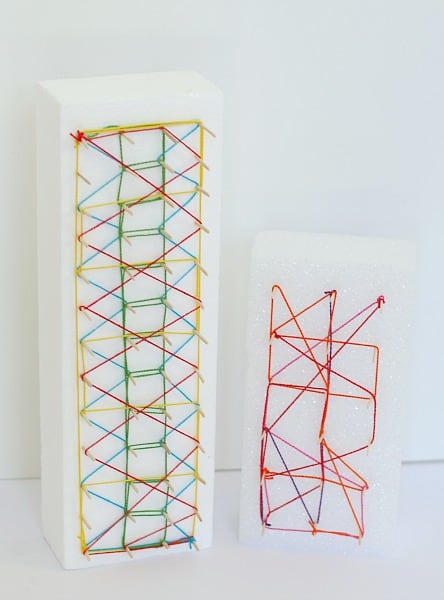
I couldn’t resist creating patterns with my string art.
Lucy, my 6 year old, enjoyed creating an abstract string design.

Tips
- I pushed the toothpicks into the styrofoam for Lucy. Older kids could do this step on their own.
- This would be a great way to upcycle all that styrofoam that comes in packaging!
- We tried both regular styrofoam and smooth styrofoam. Both work equally well, but the smooth styrofoam doesn’t leave a mess like the regular styrofoam.
- We used flat toothpicks rather than round to avoid any poking issues.
Be sure to check out these other easy art project for kids using the string:
Rainbow Yarn Prints from Blog Me Mom
String Art Easter Cross from Housing a Forest
Rubber Band Art from Babble Dabble Do