Using clay to create our sea turtle sculptures was such a fun way to combine art and science! After learning all about sea turtles, we used our our newly discovered facts to create our own sea turtle clay models. We focused on patterns and designs we saw in the flippers, shell, and head of the sea turtles. (This post contains affiliate links.)
Follow Buggy and Buddy on Pinterest!
In my kindergarten after-school class we’ve been learning all about the ocean, including ocean animals. This past week we focused on sea turtles!
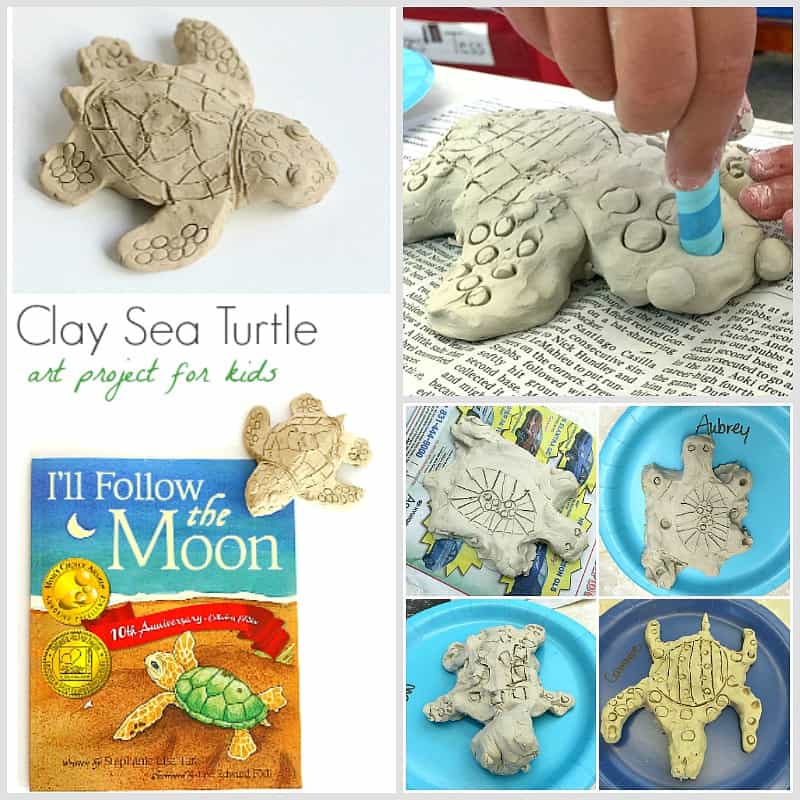
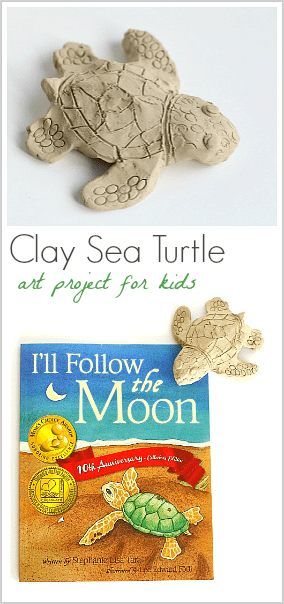
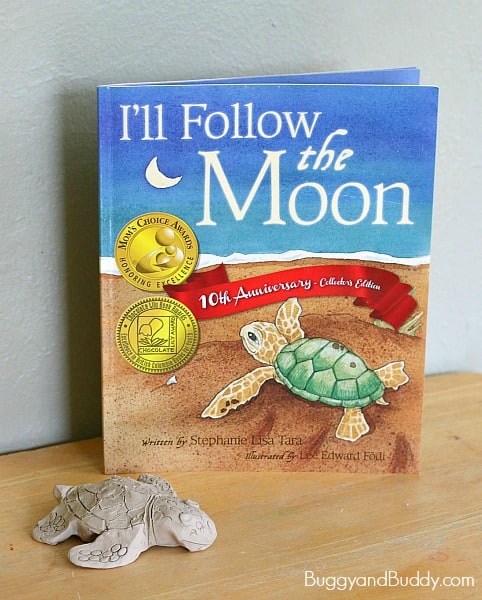
We read some books about sea turtles (including I’ll Follow the Moon, National Geographic Sea Turtles, and Sea Turtles by Gail Gibbons) and learned all kinds of interesting facts about them. As we were reading books about sea turtles, we noticed the shape of their different body parts, as well as the various designs and patterns on their body. We discussed how these body parts help the sea turtle to survive in the ocean.
*This activity meets Next Generation Science Standard Kindergarten: NGSS K-ESS3-1.
After discussing our findings, we got busy making our own clay sea turtles. The kids loved working with clay and were so proud of their finished sea turtle sculptures!
Clay Sea Turtle Art for Kids
Materials for Clay Sea Turtle Art
- Air-Dry Clay
- Old newspaper
- Toothpicks
- Straws
How to Make Clay Sea Turtle Sculptures
1. Place some newspaper down on your work surface.
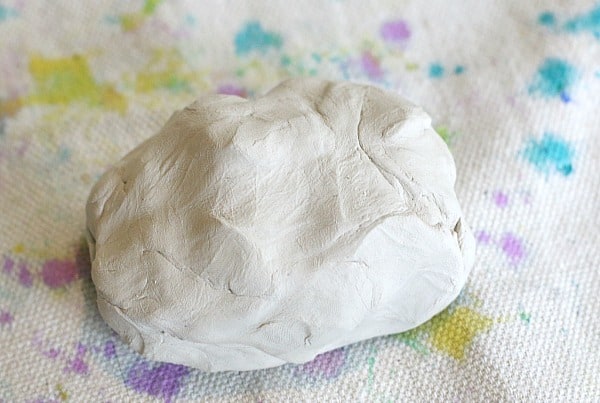
2. Grab a large handful of clay.
3. Soften it a bit with your hands and form it into an oval-like ball.
4. Gently stretch the clay to form the head and flippers. (If you create your sculpture all in one piece, rather than attaching the flippers and a head separately, your sea turtle is less likely to fall apart once it dries.)
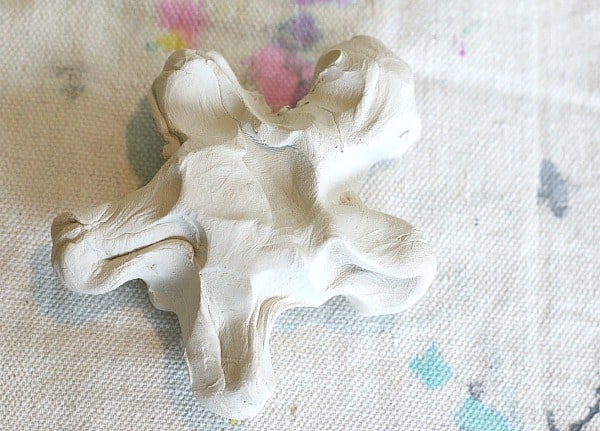
5. Now use your fingers to shape your turtle, smoothing out the clay as you work.
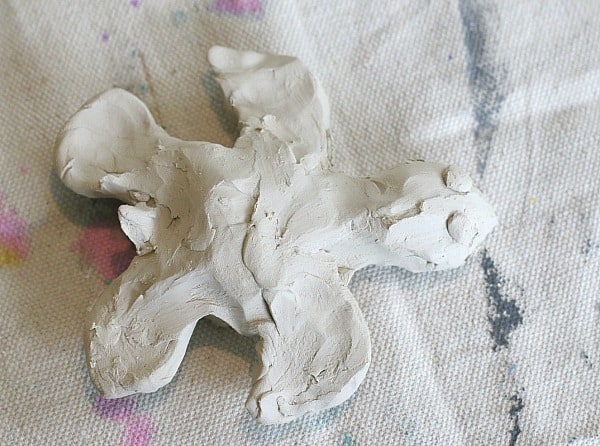
6. Gently stretch out a little tail for your sea turtle and use some extra clay to make eyes.
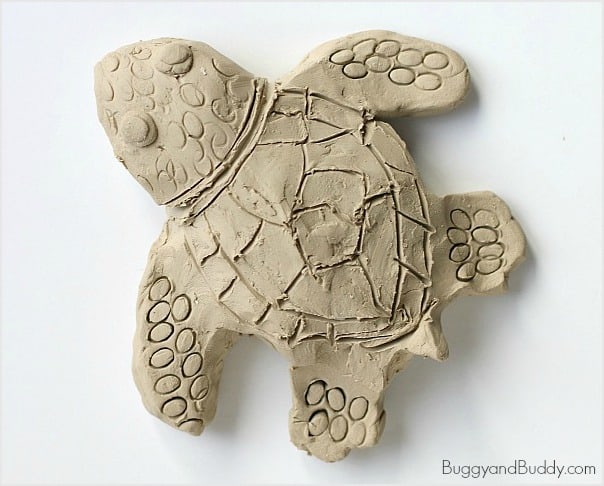
7. Once your happy with the shape of your sea turtle, it’s time to add the details. We used a toothpick to draw lines for the shell design and to make the sea turtle’s mouth.
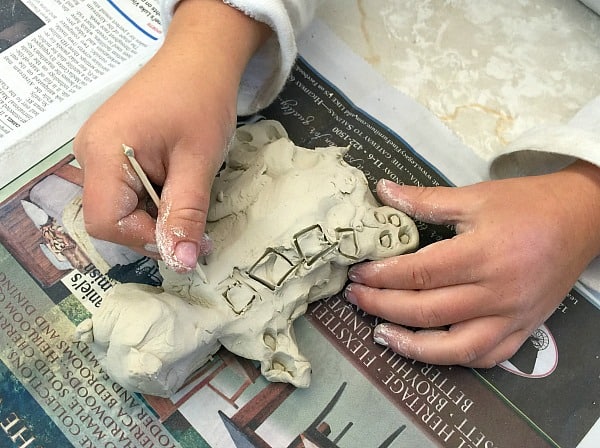
We took a straw and gently pressed the end of it so it was oval-shaped and used it to make designs in the flippers and head of the sea turtle.
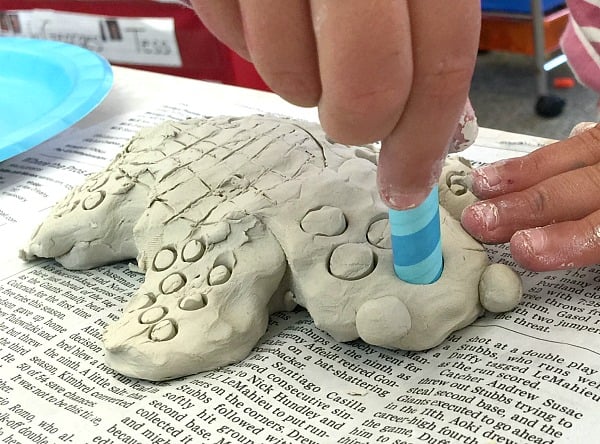
8. Once you’re done, set your sea turtle aside to dry. It will take about 2-4 days depending on the size of your finished sculpture.

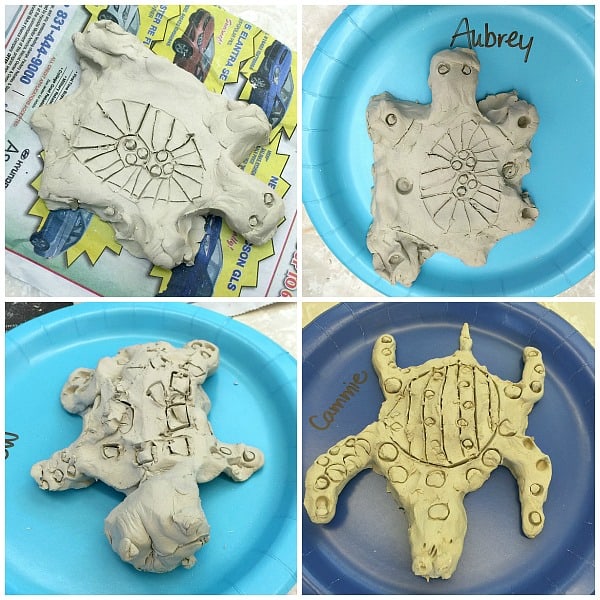
Here’s some of the finished sea turtle sculptures created by my kindergarteners!