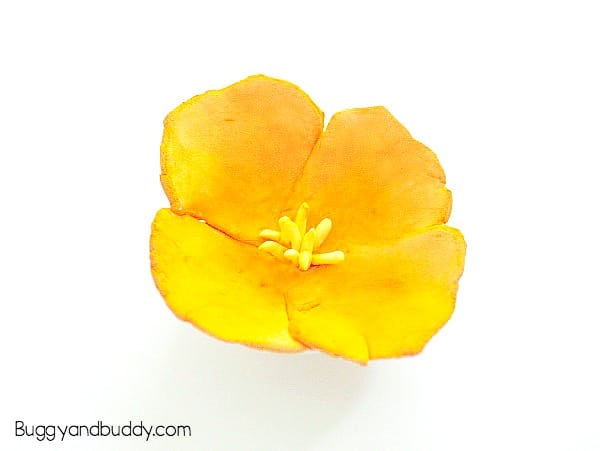
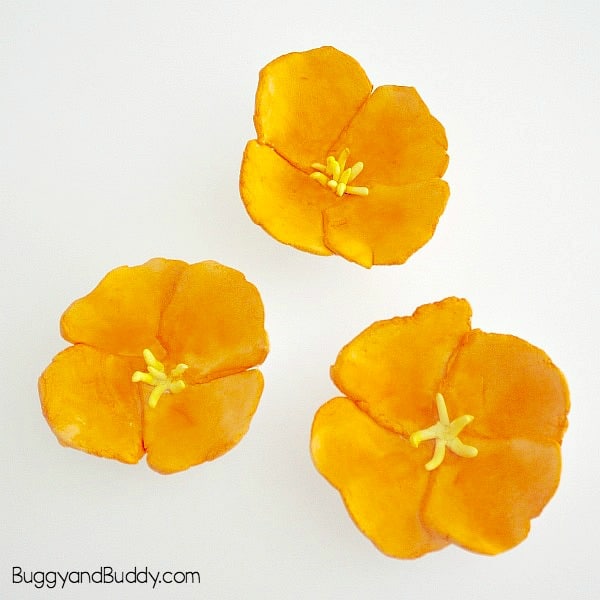
This California Poppy art project was inspired by one of the most gorgeous wild flowers we see growing around our town, the California poppies. Their brilliant orange color and intriguing cup-like shape inspired me to create a flower craft and art project for kids~ California poppy magnets!
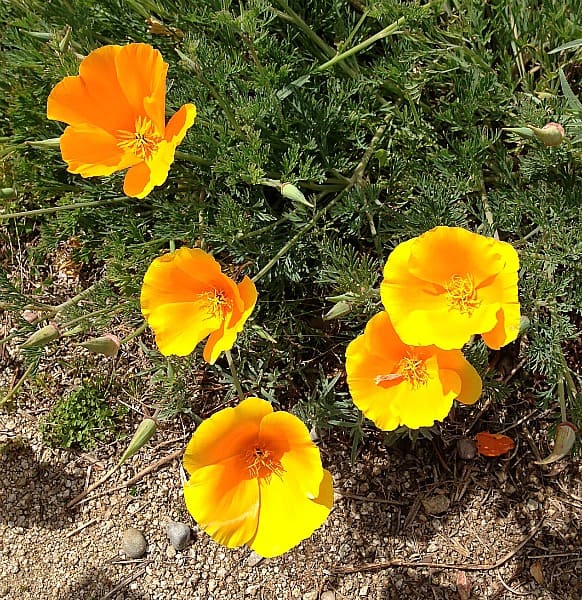
The kids and I see these colorful California poppies growing all around where we live. And we just can’t help taking a few quick photos almost every time we come across them. They are impossible to resist!
As I was looking over some of our flower photos, I was inspired to create a fun flower craft for kids as a part of the Sunshine Kids California blog hop. (Be sure to check out all the California inspired posts at the end of this post.) Because the interesting shape and vibrant color of the California poppy are what stand out to me, I really wanted to focus on those elements in the craft. I decided that sculpting the petals would really let children experience the shape of the flower. And because the color of the California poppy is so appealing, why not encourage children to try to create just the right color by mixing paint. (This post contains affiliate links.)
California Poppy Flower Craft for Kids
Materials for California Poppy Craft
- Model Magic Modeling Compound
in white (or a similar sculpting material)
- Sculpting tools (like these
)
- Watercolor paints (I like these watercolor paints. You could also use our favorite tempera paints
.)
- Paintbrush
- Glue (I used Tacky Glue
.)
- Magnets
Directions
Because it is illegal to pick wild California poppies in California, I took pictures of some instead. I used the photos as a guide.
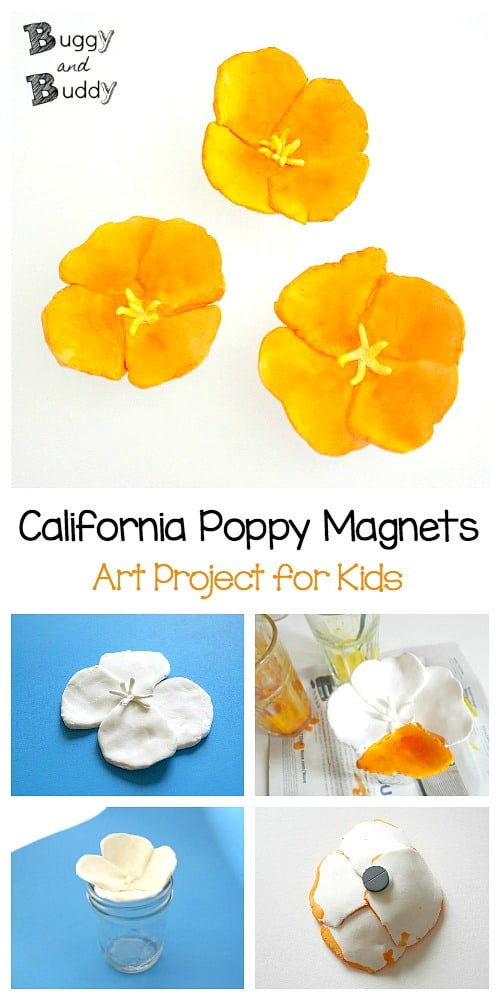
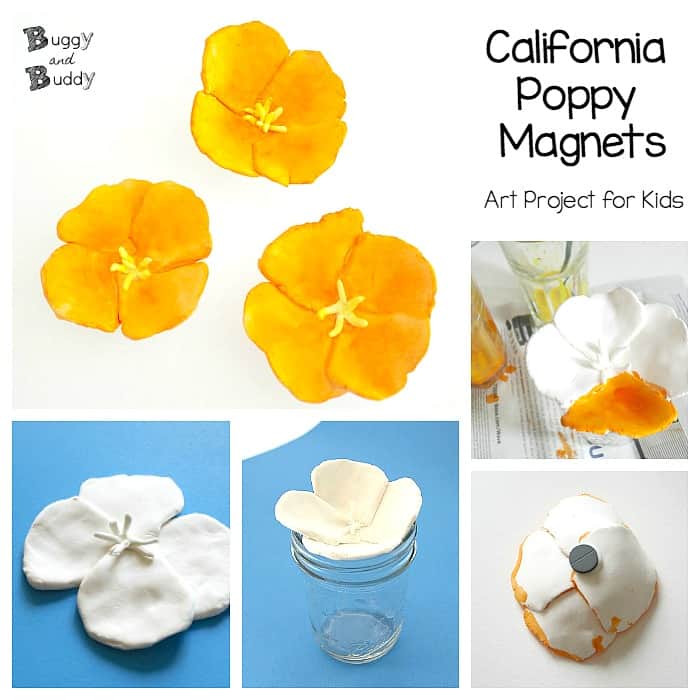
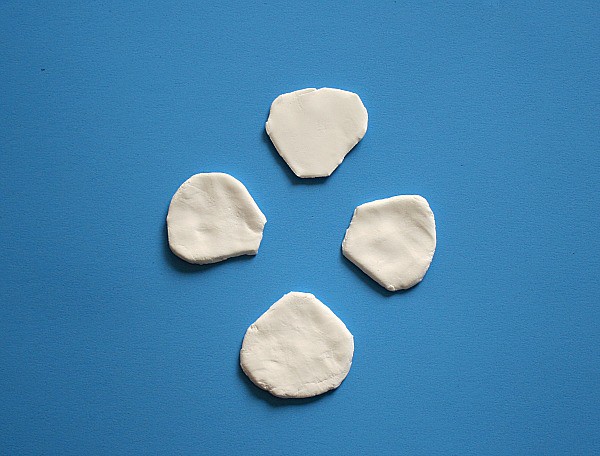
1. Using your sculpting material, create petals for your flower. I used some sculpting tools to help form the shape. If you don’t have these, a blunt knife would work.
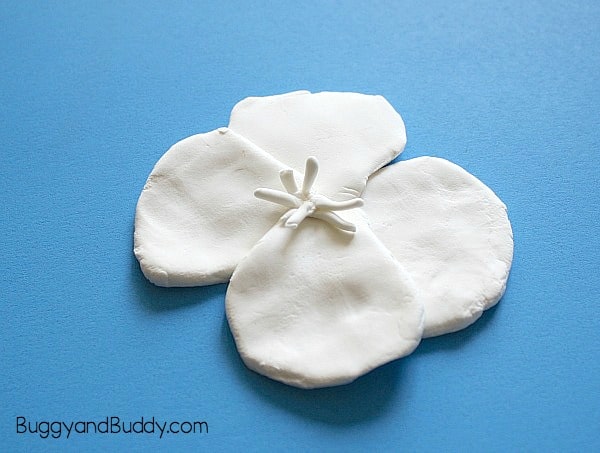
2. Press the petals together firmly. Use the sculpting material to create the center of the flower and gently press each piece firmly in place.
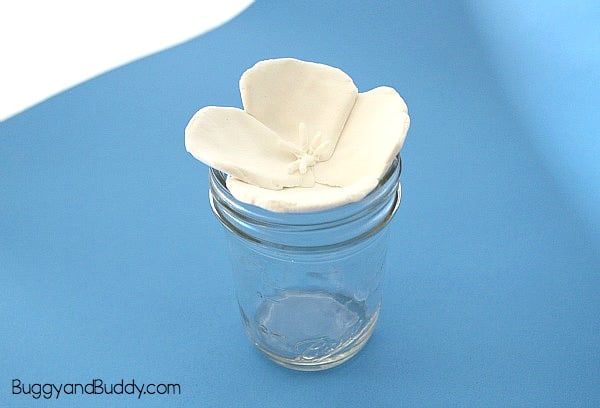
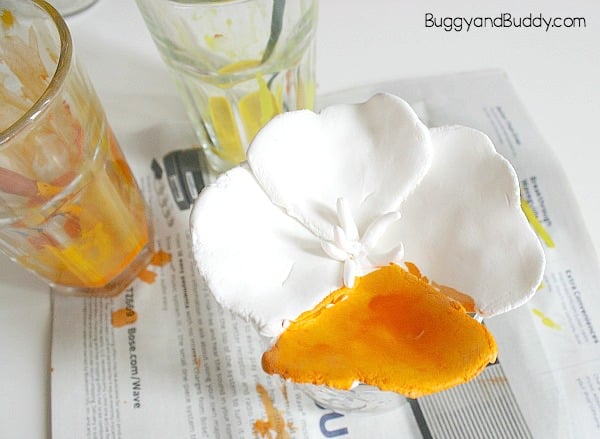
3. Let the flower sculpture dry completely. (I placed mine on top of some glass jars to help give them some depth, but you could also just let them dry flat.)
4. Once the flower is dry, it’s time to paint. I watercolors and mixed some yellow and red to get just the right orange for the petals. I also created a bright yellow for the center.
5. Carefully paint your flower and let dry. (I let it dry on top of the jars again because the paints softened them a bit, and I wanted them to keep their shape.)
6. Once the paint has dried, glue a magnet to the back.
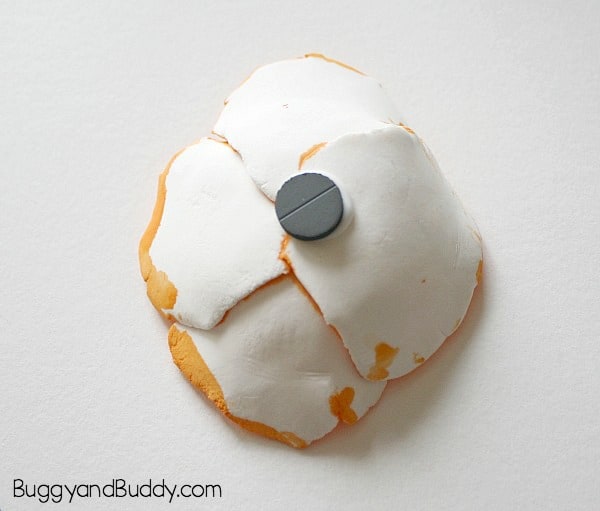
Let it dry. You’re finished!
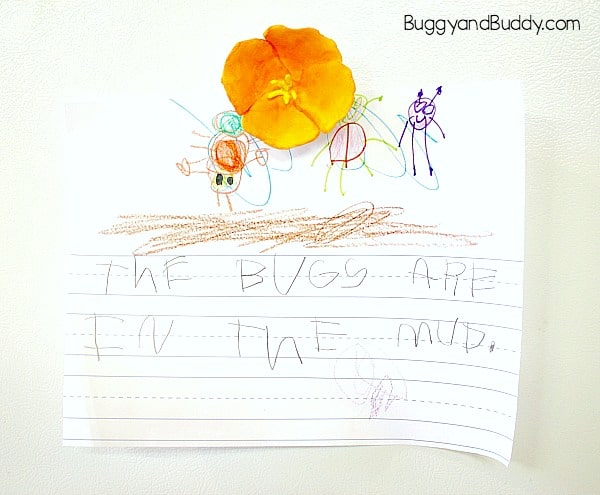
I just love how these turned out, and I think they’ll make such a fun craft for kids. They would also be perfect for kids to make as homemade gifts for Mother’s Day or Father’s Day!