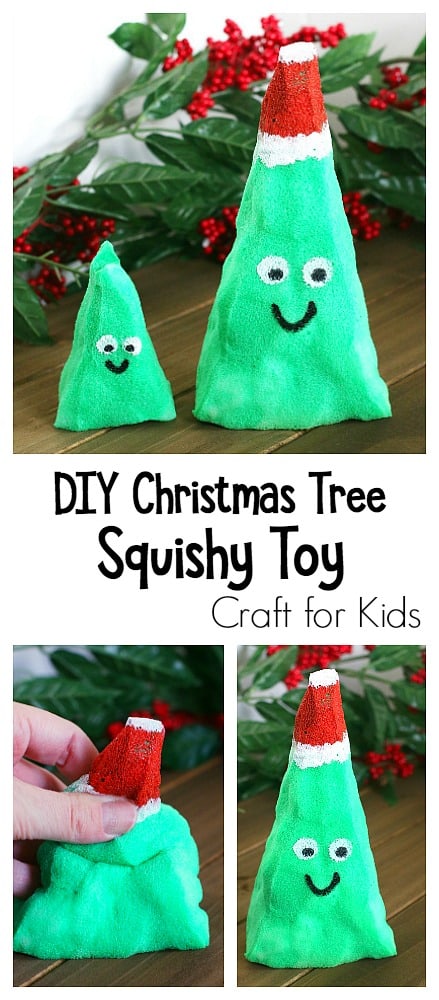
Here’s how to make Christmas tree squishies toys! This Christmas tree craft is super fun to make AND to play with! And when you’re not playing with them, they can be used as festive DIY Christmas decorations.
Follow our Christmas for Kids Pinterest board!
This post contains affiliate links.
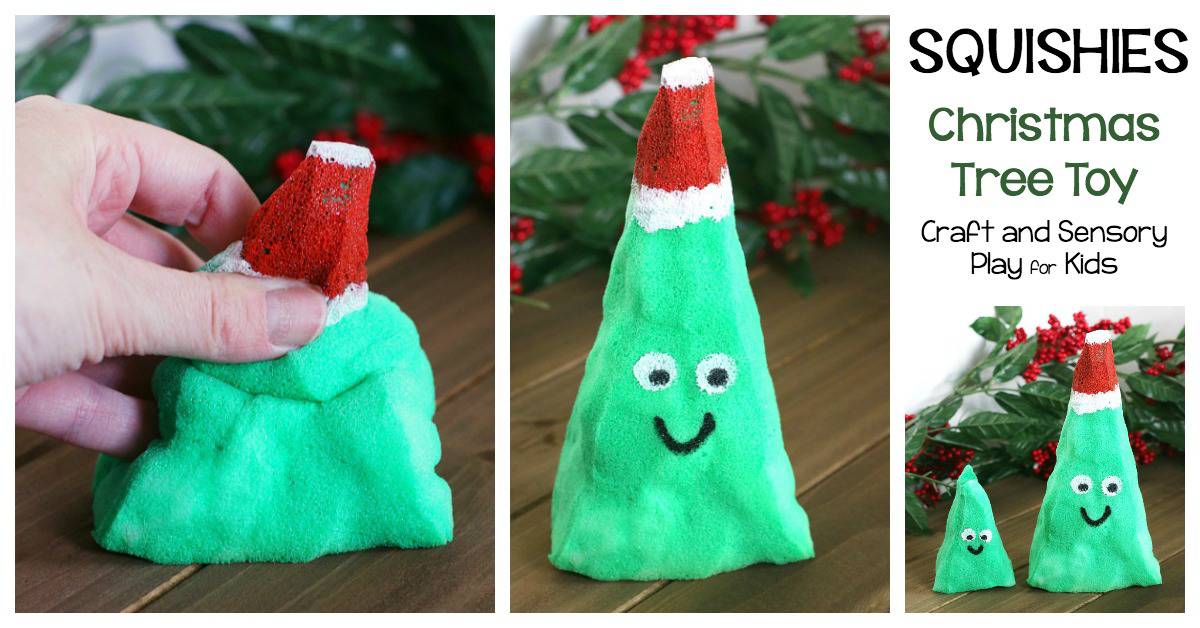
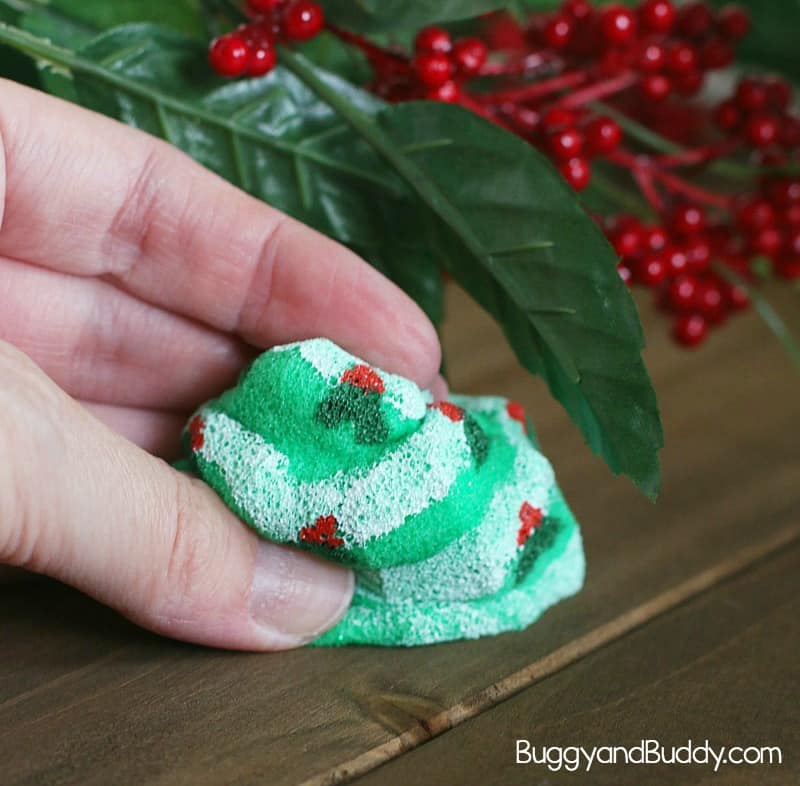
Have you heard of squishies? They’re the latest toy craze! Squishies are toys that are super soft when you squeeze them and then go back to their original form slowly. They can be used to help alleviate stress or tension, to help relax or calm down, or just simply for fun! (You can buys some already made here: like this set of animal squishies or this set of holiday squishies.)
See them in action here!
Here’s how to make Christmas tree squishy toys using memory foam and fabric paint- a fun Christmas craft for kids (and adults)!
Check out our original squishies tutorial for even more ideas and tips!
How to Make Christmas Tree Squishies
Materials for Christmas Tree Squishies Toys
- Memory foam (We cut up an old memory foam pillow, but you can also buy an inexpensive one online or at your local store. Just be sure it’s not shredded foam and an actual solid piece of foam.)
- Very sharp scissors. We used these Gingher dressmaker’s shears.
- Fabric paint in various colors for your Christmas craft
- Paintbrushes
- Cotton swabs
- Paper plate or other surface for paint
- Wax paper or parchment paper
- Optional: Art mat for working
Directions for Christmas Tree Squishies
1. You’ll need to get some memory foam to cut your squishy shape. You can purchase an inexpensive memory foam pillow online or at your local store. You can actually get a lot of squishies out of just one pillow. Depending on the size of Christmas trees you cut, you could use one pillow for an entire class.
2. You’ll also need some really good scissors to cut through that memory foam. These Gingher dressmaker’s shears worked really well and cut through the foam smoothly. I highly recommend them!
Start by cutting your foam pillow into smaller pieces- a little larger than the size of the Christmas tree you want to make. Then cut a rough version of your tree. (If doing this project with young children, do this step for them.)
3. Use your scissors to fine tune your shape. Cut off little bits until your happy with your final shape of your Christmas tree. (Again, if doing this with young children, do this step for them.)
4. Cover your workspace before beginning. (I love using drop cloths when doing art! You can use them over and over.)
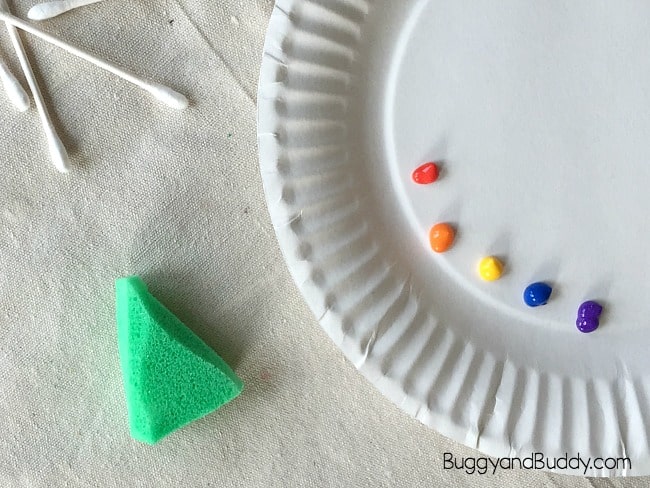
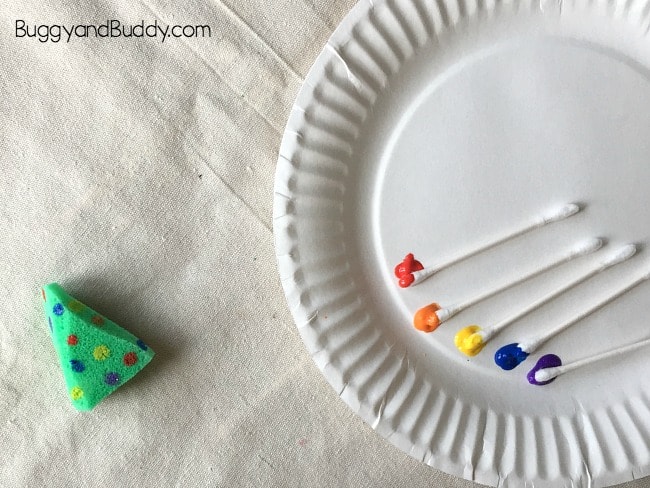
5. Place the paint onto a paper plate or other surface. Use the fabric paint and paintbrushes to paint your squishies green. You can then use your hands to squish the paint around the squishy and make it look smooth. (You will get paint on your fingers and hands so wear disposable gloves if that bothers you. They even make the disposable gloves in kid sizes! Also, remember the fabric paint will permanently color your clothing so wear something you don’t mind getting paint on just in case.)

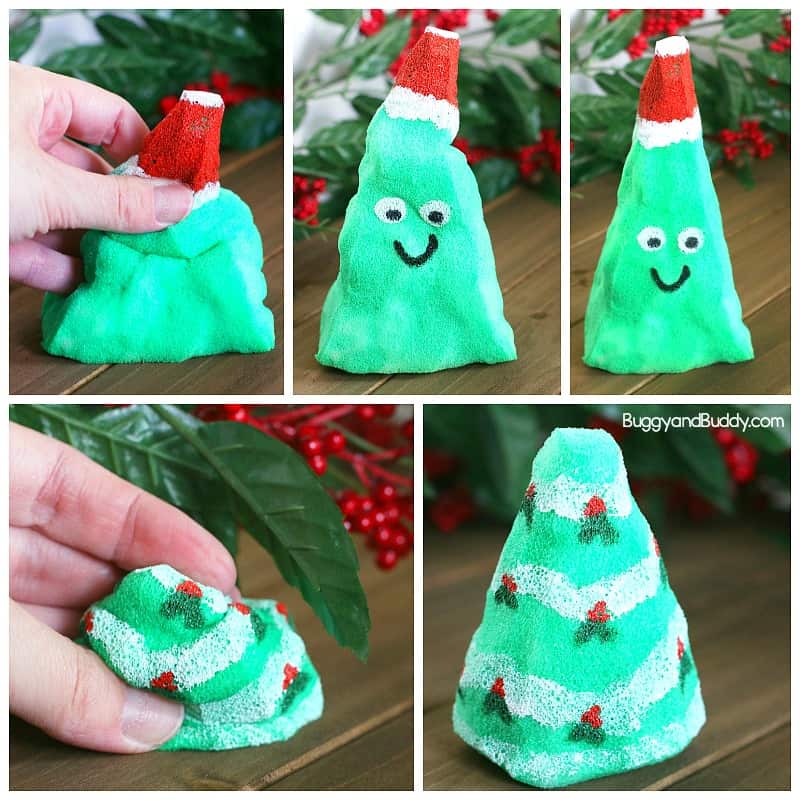
Add details to your green tree. You can use cotton swabs to make Christmas lights or ornaments. Or use white fabric paint and a brush to add snow.
6. Place your squishy toy on a sheet of wax paper or parchment paper to dry overnight.

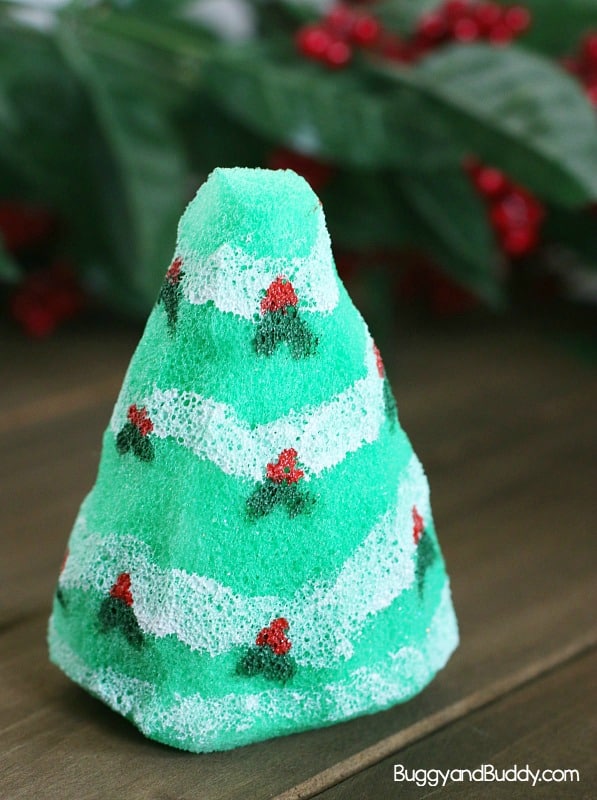
7. After your Christmas tree squishy toy is completely dry, enjoy playing with it!
Be sure to check out STEAM Kids book and ebook for even more creative ideas for kids!