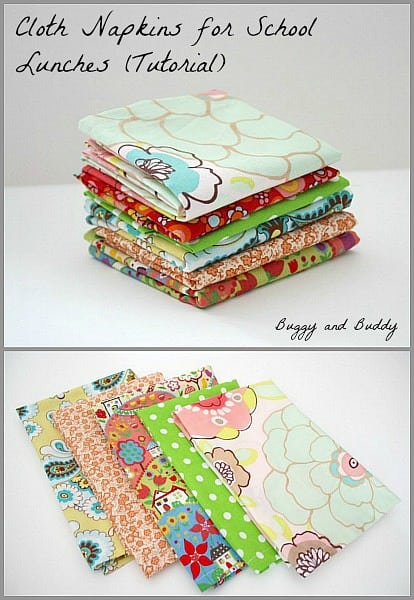
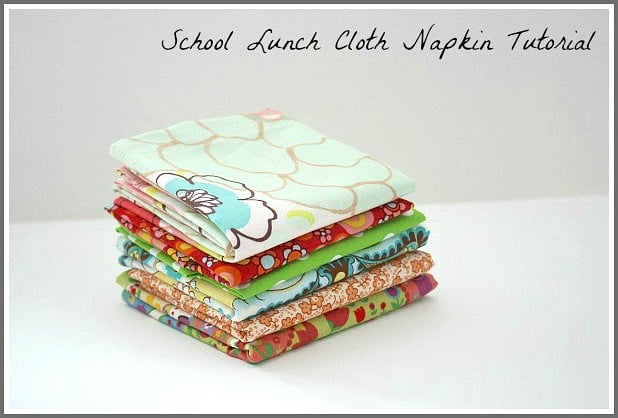
I’m so excited to share a simple cloth napkin tutorial with you, perfect for making cute napkins for your child’s lunch! You can even make special napkins for holidays and seasons and the best part- you’ll be reducing waste! Don’t worry, this tutorial is perfect for the beginner sewer too!
Follow Buggy and Buddy on Pinterest!
This article was originally posted on August 10, 2013.
With Lucy starting Kindergarten in just a few more days, we’ve been doing all kinds of back-to-school preparations. She’s got her first day of school outfit all picked out school supplies and lunch boxes are ready to go! (I’ve even got a fresh box of tissue for myself to wipe away all the tears.)
As I was making my to-do list for the week, I realized Lucy would need some new cloth napkins for her school lunches. (We try our best, although it’s challenging, to reduce the amount of waste we produce. It helps that Lucy’s school encourages the teachers and students to try to use reusable items as much as possible when packing their lunches.)
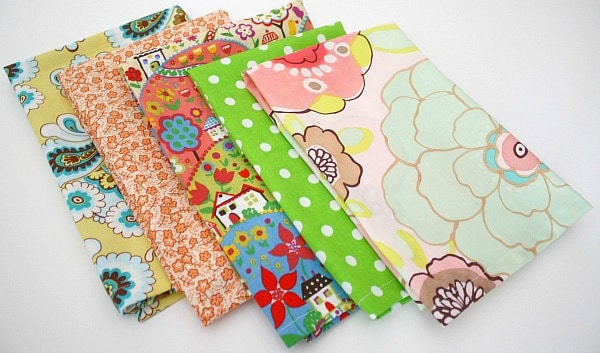
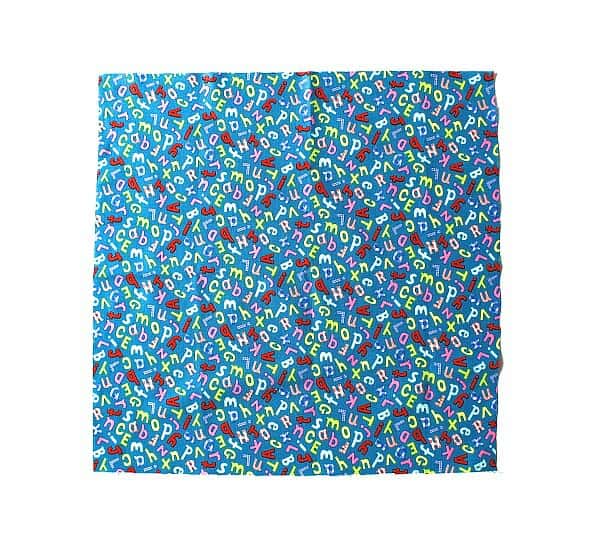
Then I got to thinking how fun it would be to make the cloth napkins myself! That way I could really personalize them for Lucy by using fabric that she likes and even make some special ones for all the holidays throughout the year. I quickly crossed off “cloth napkins” from my shopping list, and instead of heading to the store, headed to my leftover fabric stash. I grabbed all my pieces of leftover fabric that I thought would make cute cloth napkins!
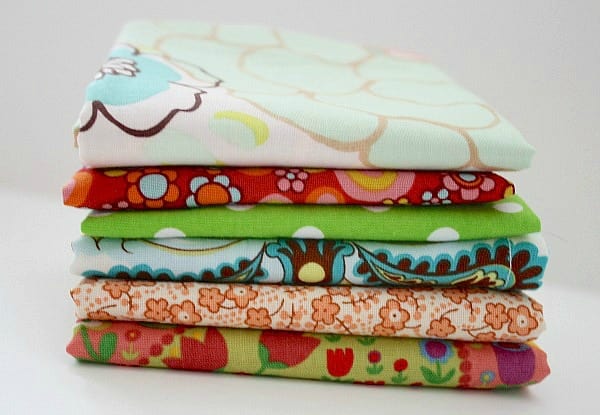
I love how they turned out! I think they’ll make the lunches fun for Lucy to open at school. (She’s already chosen the one she wants for her first day.) And my favorite part was they were free since they were just from leftover scraps!
There’s two different ways to make cloth napkins. I’ll share a tutorial for making mitered corners and just regular corners. (This post contains affiliate links.)
How to Make Cloth Napkins
- Be sure to wash, dry, and iron your fabric before starting.
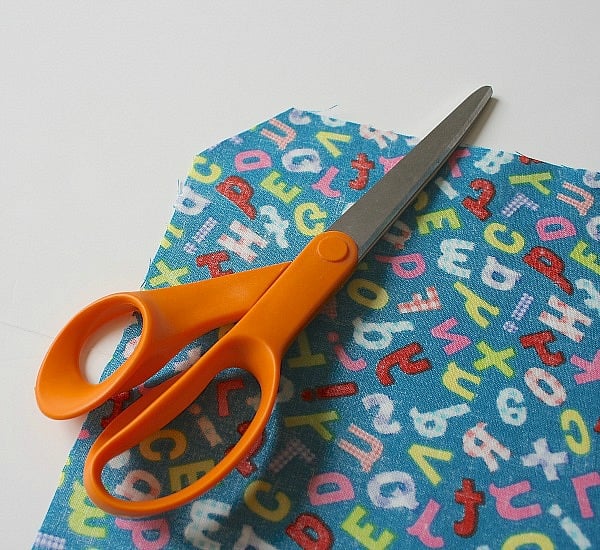
- Cut your fabric into a square about an inch larger than you’d like your finished napkin to be. (For example, if you want your napkin to be 20 inches x 20 inches, cut the fabric 21 inches x 21 inches.) Since my scraps of fabric were all different sizes, my finished cloth napkins all are different sizes too. I basically just cut them into whatever sized square I could get out of them. I would say most are about 18 inches x 18 inches.
For Mitered Corners
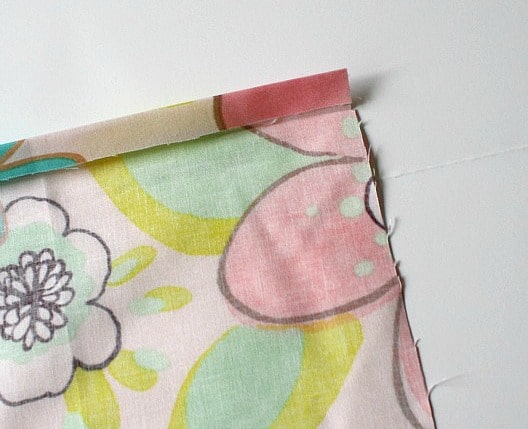
1. Place your fabric with the wrong side facing up. Cut off about 1/2 inch from each corner.
2. Fold down the edge you just cut about 1/2 inch, and press it down with an iron.
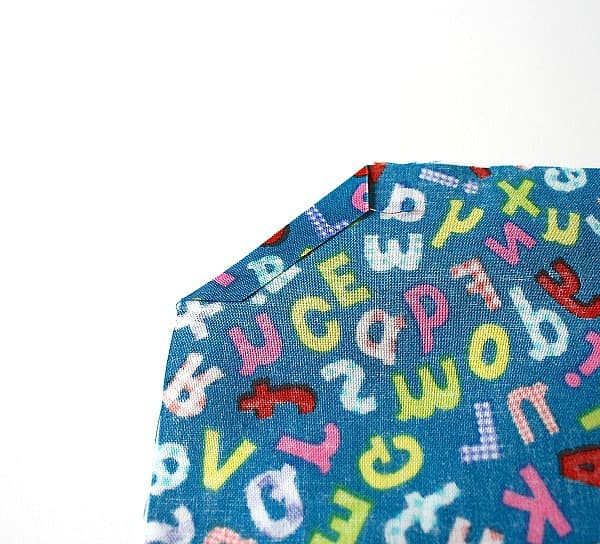
3. Fold one side of your napkin down about 1/2 inch and press. Then fold it about another half inch and press. Pin in place.

4. Do this with the remaining three sides. (If you like things perfect, you’ll really want to take your time making sure each side is folded down the exact same amount. If you’re like me, you will not take your time to measure and just hope for the best. Although the “hope for the best” method is way easier and less stressful, your corners will not always match up.)
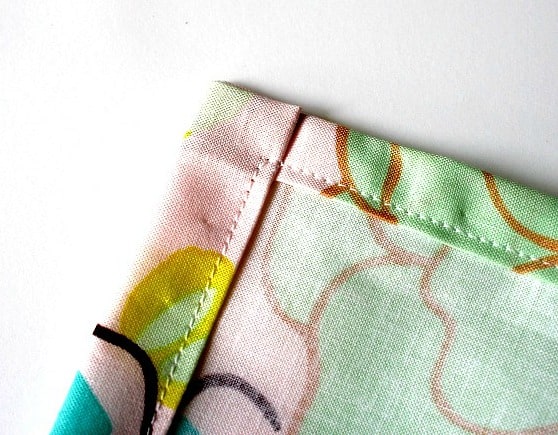
5. Use a sewing machine to sew down each side. Trim off the left over thread and you are done!

For Regular Corners
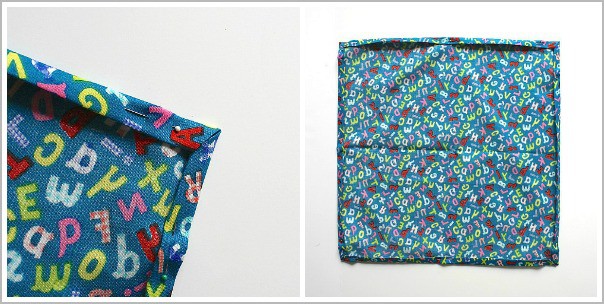
1. Place your fabric down with the wrong side facing you. Fold down one side of the napkin about 1/2 inch and press down.
2. Fold down the same side again about 1/2 inch, press, and pin.
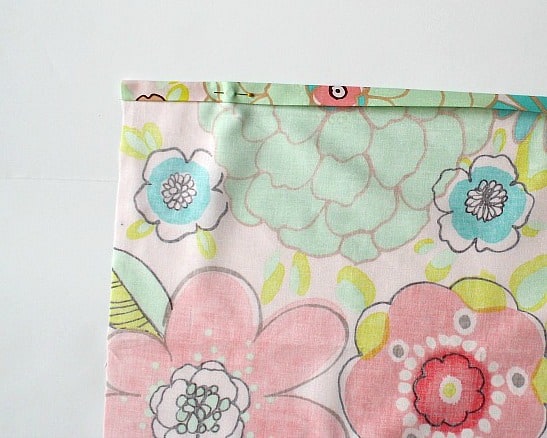
3. Do this for the remaining three sides.

4. Use a sewing machine to sew down each side. Trim off the left over thread and you are done!
So now that I’ve made a little bunch of cute cloth napkins for Lucy to start the school year off with, my next plan is to sew some cloth napkins for special days throughout the year. I’ve already seen some super cute pumpkin fabric at my local fabric store that I’m going to buy next!