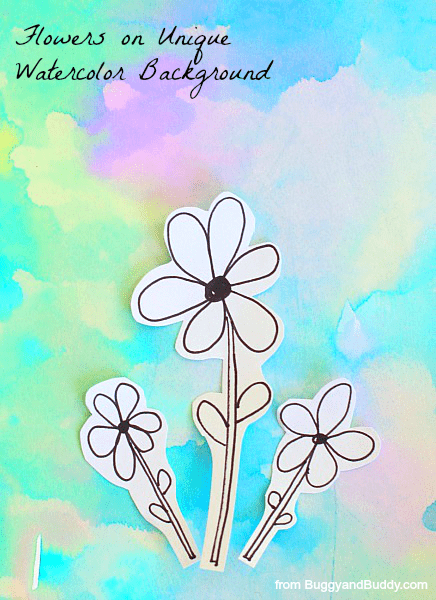
Here’s a colorful spring art project for kids that combines a few different art techniques- black marker drawings on a unique watercolor background. I love how the flowers really pop!
Following our Art for Kids Pinterest board!

We had so much fun with our latest art project! It actually ended up turning into a collaborative art project which I just loved- there’s something so special about creating artwork together.
This spring art project would also be perfect to do in the classroom. Imagine how cheery your classroom would look with a whole set of these hanging on the walls! (This post contains affiliate links.)
Flowers on Watercolor Background
Materials for Spring Art Project
- Watercolor paper
- Watercolors and paintbrush (We used our favorite liquid watercolors.)
- Paper towels
- Fine, black marker or felt tip pen (This is our favorite!)
- Scissors
- Glue
Directions for Spring Art Project
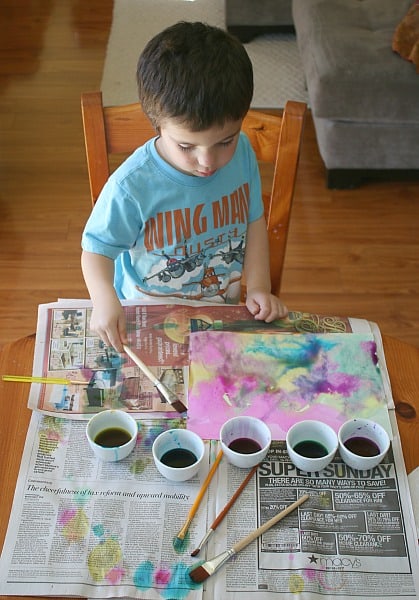
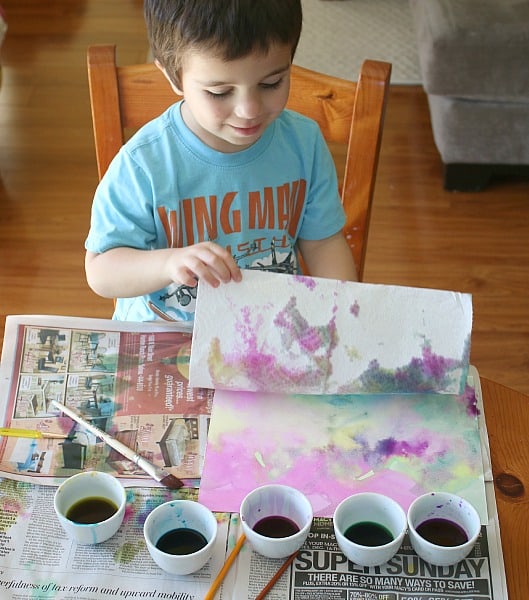
1. Start by creating your watercolor background. Theo used a brush and liquid watercolors to paint designs all over his watercolor paper.
2. When he was done he placed a paper towel over his painting and gently pressed it down….
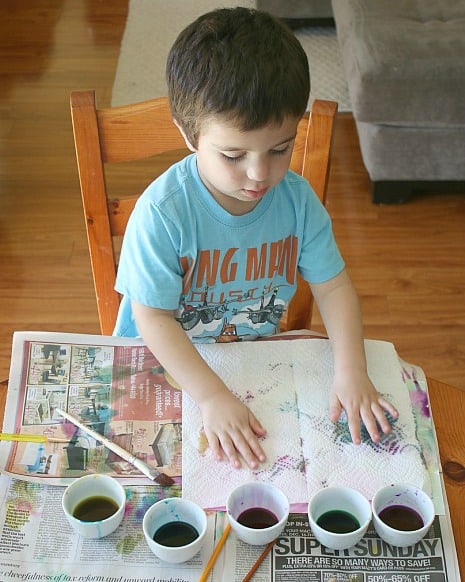
…and when he lifted it up, he discovered some unique texture and patterns on his painting! (He loved this so much that he probably made about 15 more- at least.)
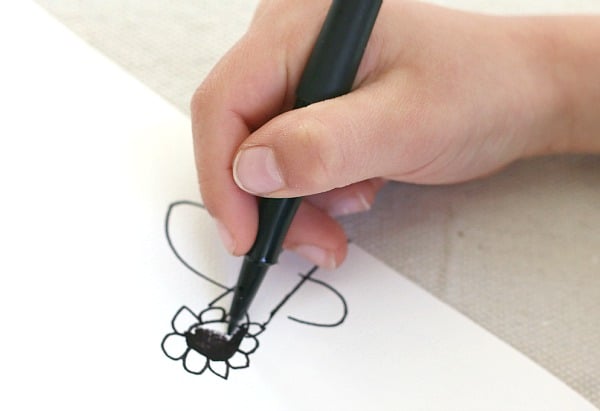
3. While your painting is drying, use your black marker to sketch flowers onto white paper. We looked at flowers around our yard for inspiration. Here’s Lucy drawing her favorite flower!
4. Cut out your flowers. Try out various placements for your flowers on the painting.
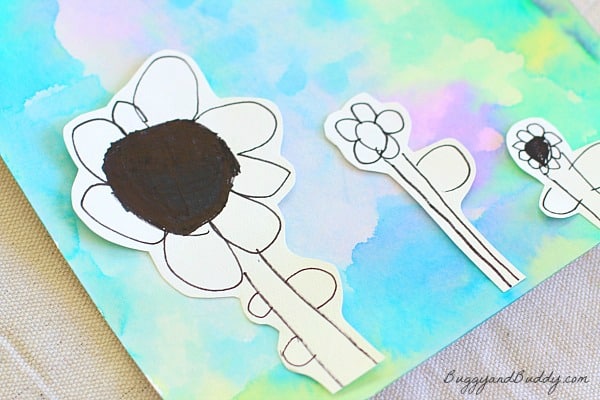
5. Once you’ve settled on one you like, glue the flowers into place.
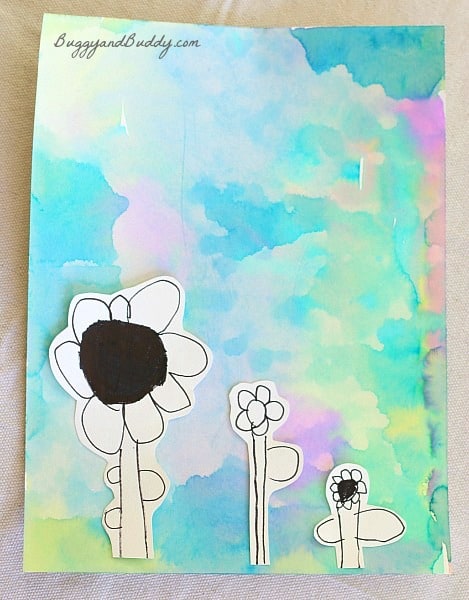
6. Display your spring art!

Tips
- Bring in real flowers for kids to observe before drawing. We did this with our flower exploration center.
- After using the paper towels to soak up the paint, save them for another craft for art project. Let them dry and use them to create flowers or even butterflies!