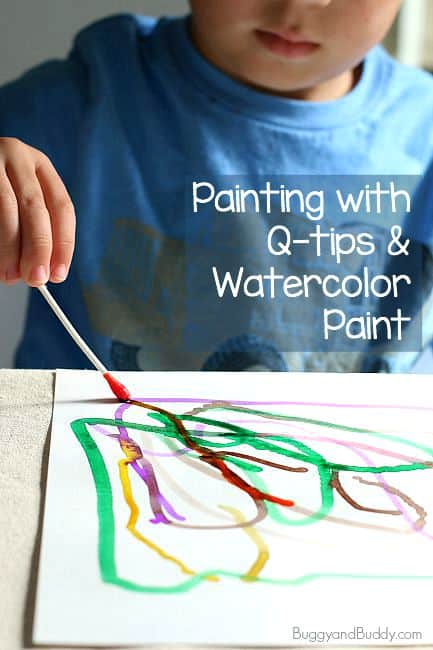
Here’s a classic process art project for kids– painting with Q-tips (cotton swabs) and watercolor paint. This art activity is perfect for toddlers, preschoolers, and on up!
Follow our Art for Kids Pinterest board!
My preschooler’s favorite art activities are always those that use unique materials for creating. (He loved painting with pipettes on felt and sponge painting with tempera paints.)
To build on Theo’s art interests, I decided to whip out another classic process art activity for the kids to explore at home- painting with Q-tips in place of paintbrushes! This post contains affiliate links.
Painting with Q-Tips and Watercolor Paint
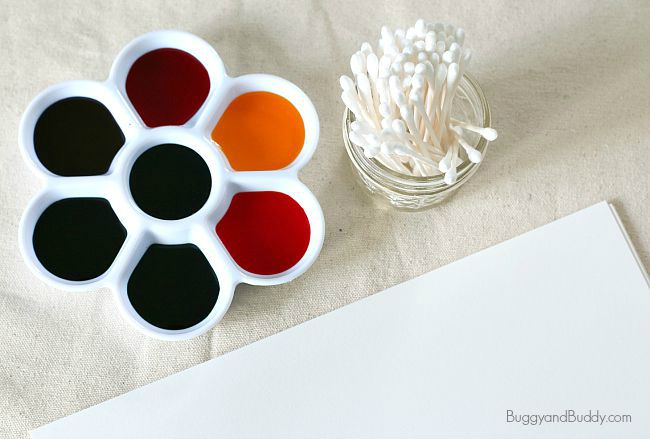
Materials for Q-Tip Painting
- Q-tips or cotton swabs
- Liquid watercolor paints (These are our favorite!)
- Paint tray or other container to hold your paints (An empty ice tray works well.)
- Art paper (This paper is inexpensive and works great with watercolors.)
Directions for Q-Tip Painting
1. Place your watercolor paints in a container that’s easily accessible to the kids. (We used a paint tray, but an ice cube tray works well too.) Add some Q-tips to your work area and some blank art paper.
2. Place some paper towels nearby. The kids can put their used Q-tips on it as they work.

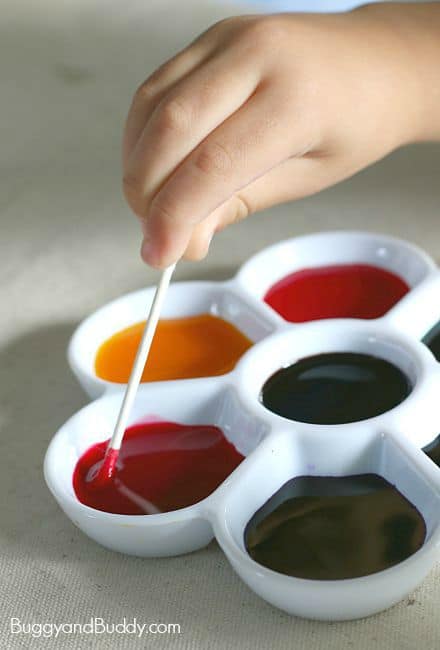
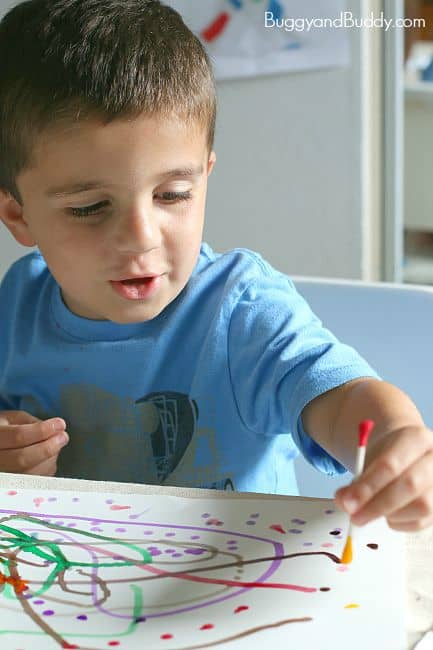
3. Dip your Q-tips in the paints and get busy creating designs and drawings onto the paper! Theo loved watching the Q-tip absorb the paints from the paint tray.
He started out by making all kinds of colorful lines.
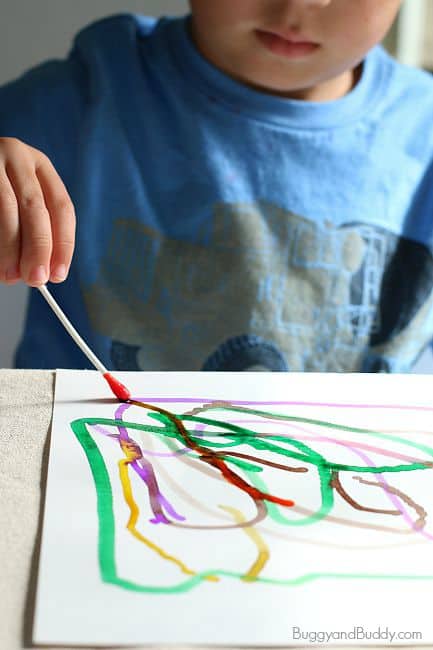
And, he got super excited when he discovered he could also make dots!
This activity is so simple- it’s perfect to whip out on a rainy day!
