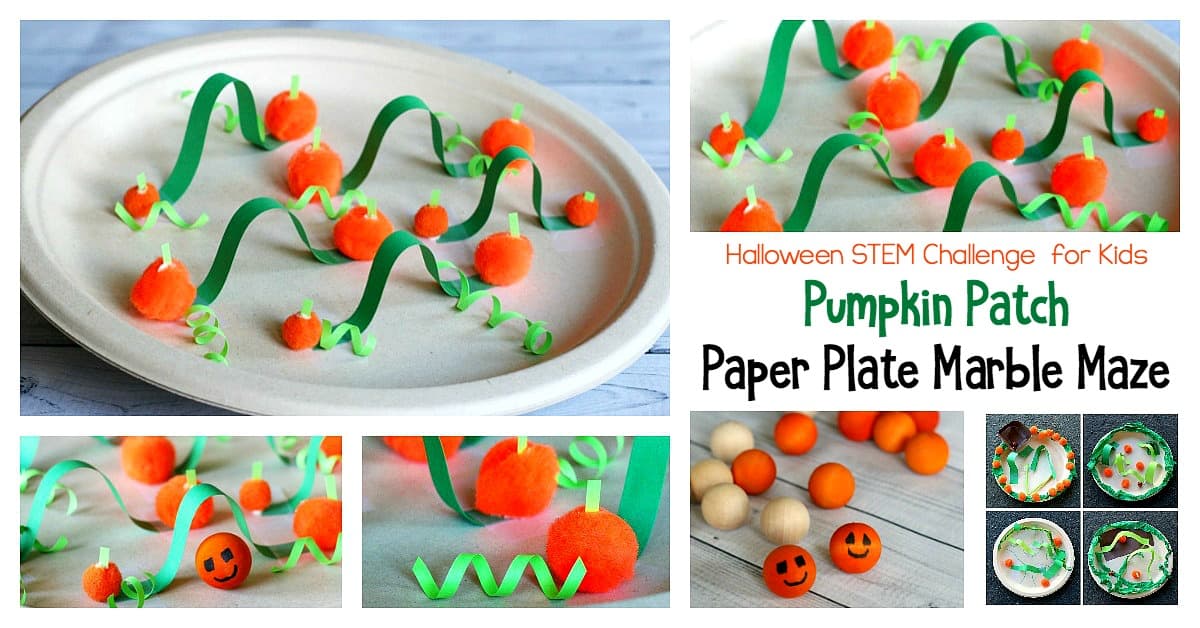
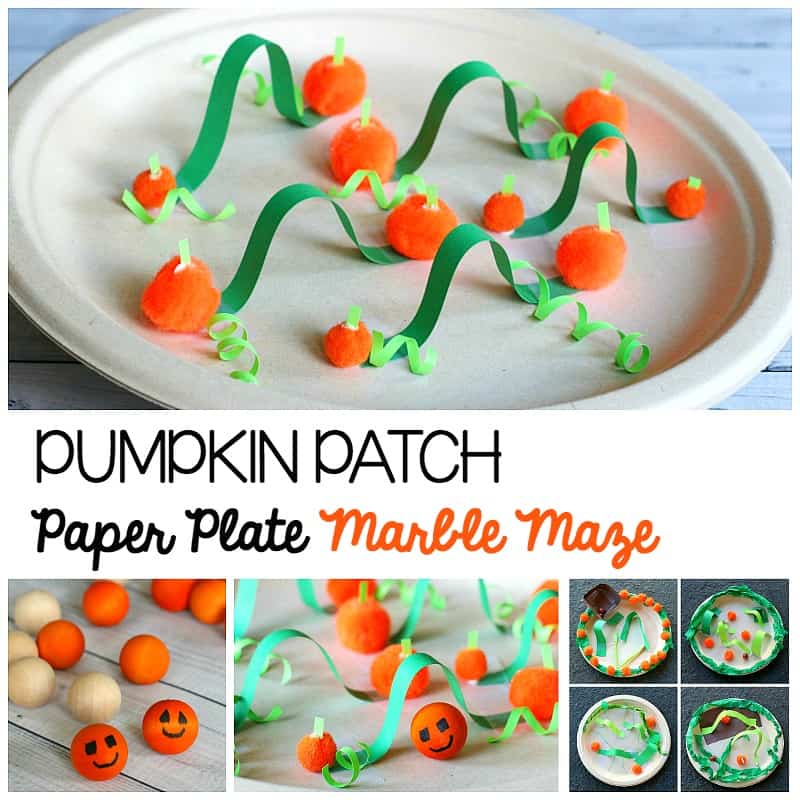
Design a paper plate marble maze that looks just like a pumpkin patch in this Halloween STEM challenge for kids! Children will explore various physics concepts (like balance and gravity) as they create and design mazes and obstacles for marbles to travel through in their pumpkin patch paper plate marble mazes in this fun fall science activity!
Follow our STEM and STEAM Activities for Kids Pinterest board!
This post contains affiliate links.
Our first paper plate marble mazes were such a hit (with kindergarteners up through upper elementary) that we couldn’t wait to try a new take on our popular STEM activity- creating pumpkin patch paper plate marble mazes! In this activity children create loops and paths for their marbles to go through while using their hands to tilt their paper plates various directions.
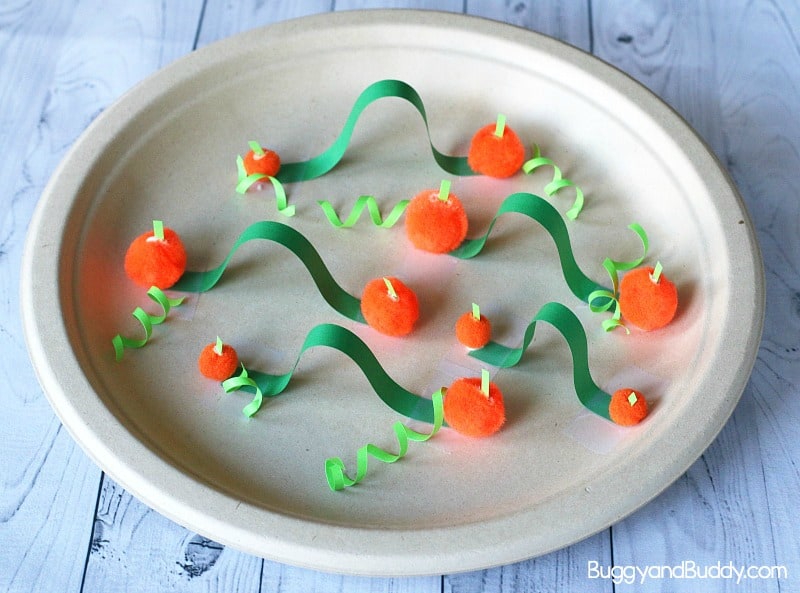
We changed up the supplies used in this STEM challenge a bit in comparison to our regular paper plate marble maze (although I would invite you to try any other materials you think the kids might enjoy). The students had an absolute blast creating pumpkin patches using construction paper strips, tissue paper, and pompoms!
The kids used orange marbles for the challenge, but younger children could use orange pom poms, as they’re easier to control as you try to get your pumpkin or jack-o-lantern to roll through the maze. You can also make your own wooden jack-o’-lantern marbles to use in the project which would be really fun! (See directions for making dyed marbles at the end of the post.)
Pumpkin Patch Paper Plate Marble Maze STEM Challenge
Materials for Pumpkin Patch Paper Plate Marble Maze
- Sturdy paper plates (We used these 10-inch plates made from various plant stalks. I loved the sturdiness and size of them, as well as the color- perfect for a pumpkin patch!)
- Construction paper or card stock in various shades of green cut into strips ranging in size from 1/2 inch to 1 inch
- Scotch tape
- Glue (I like using Tacky glue since it holds well and dries fairly quickly. Just be sure to teach the kids to always put the “hats” (tops) back on the glue bottles so they don’t get lost and dry out. (Younger kids might find these Tacky glue pens much easier to use!)
- Scissors
- Marbles, pompoms, or wooden marbles to roll through your maze
- Optional: Green and orange tissue paper to add details and vines and in your maze
- Optional: Orange pom poms to decorate your paper plate maze
- Optional: Markers to add details to your paper plate maze
Directions for Making Pumpkin Patch Marble Mazes
1. If doing this in a classroom, remind children to write their names on the bottom of the plates before getting started.
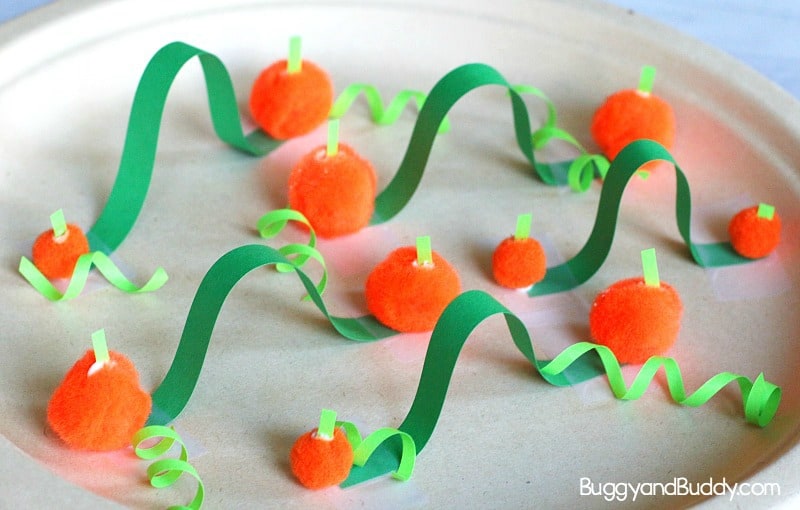
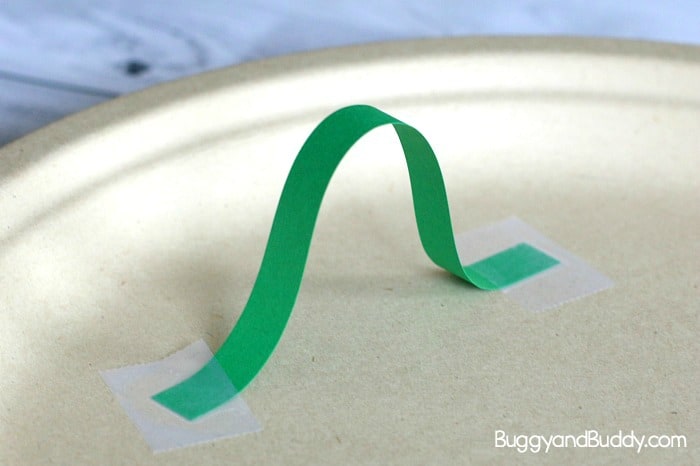
2. Demonstrate how to tape a strip of paper to the paper plate with scotch tape to make a loop for your marble to travel through.
3. Invite students to use this technique, as well as other design ideas to create a maze resembling a pumpkin patch for their marble to travel through. Students can use twisted tissue paper to create vines or orange pom poms to make pumpkins in the pumpkin patch (which turn out to be great obstacles for the marble).
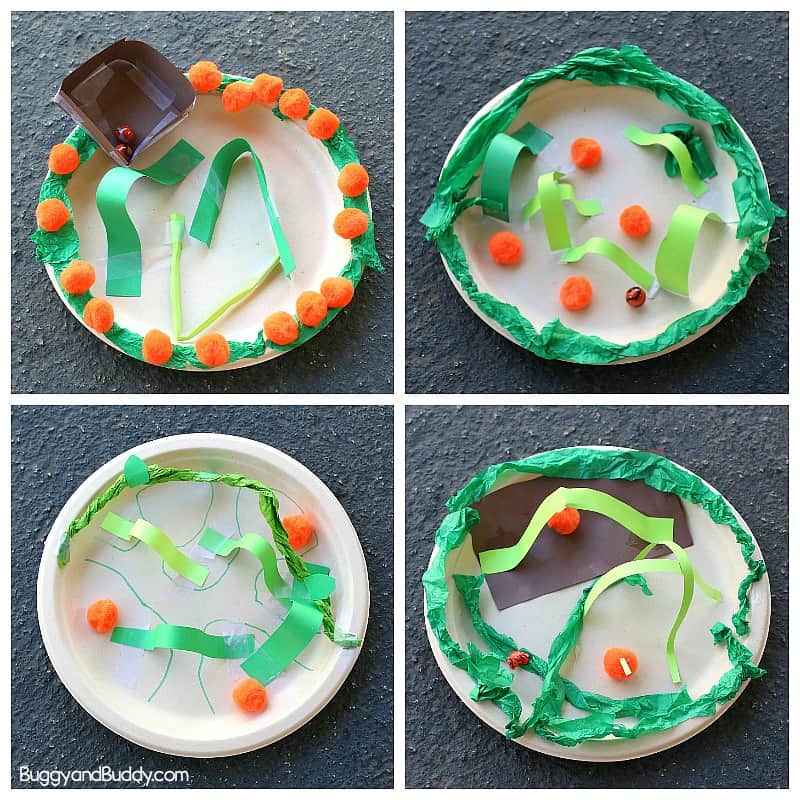
4. Once students are finished with their design, invite them to try it out with a marble. Often after trying it out, kids come up with changes they want to make or additions they want to add.
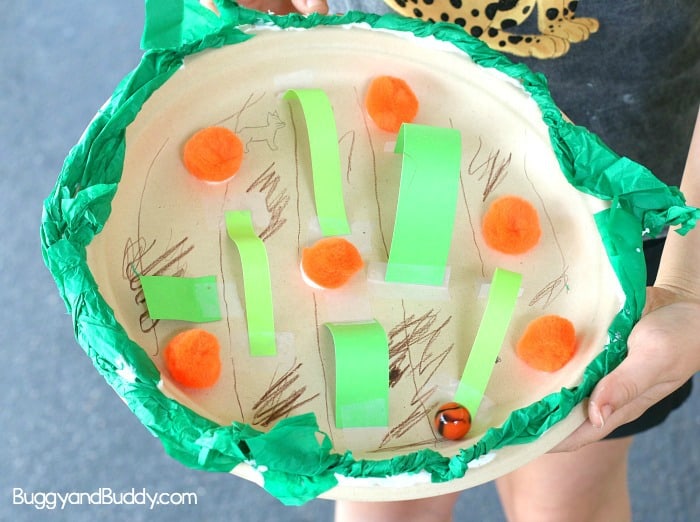
5. Once they’ve mastered getting their marble through the maze, have them exchange marble mazes with other students and try each other’s out!

Making Wooden Jack-O’-Lantern Marbles for the Maze
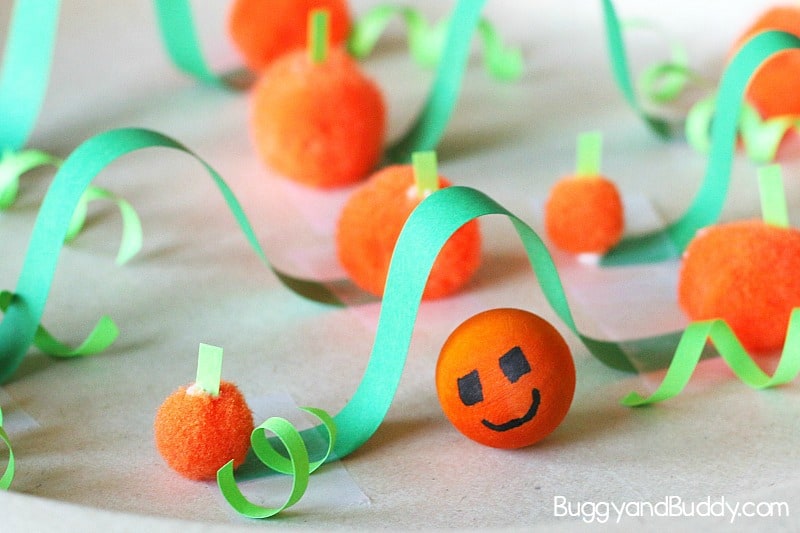
Using wooden balls that actually look like jack-o’-lanterns make this activity even more fun! We bought some wooden balls with a 3/4 inch diameter to use.

To color the balls orange we dyed them with liquid watercolor. (This is our favorite brand! You can buy a whole set or just individual colors.)
- Place the wooden balls in a glass jar (or other container) of orange liquid watercolor diluted with a bit of water.
- Put the top on the jar securely and shake it around for about 30 seconds.
- Strain out the liquid.
- Place the wooden balls on several sheets of newspaper, parchment paper, or wax paper to dry overnight.
Once your wooden balls are dry, you can turn them into jack-o’-lanterns by drawing faces on them using black Sharpies! Don’t have liquid water colors, you can also paint your wooden balls with orange acrylic paint.
Check out all kinds of fun Halloween STEM ideas in our STEAM Kids Halloween Ebook!