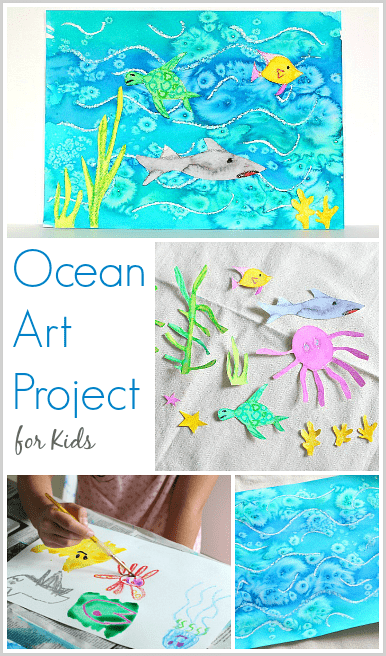
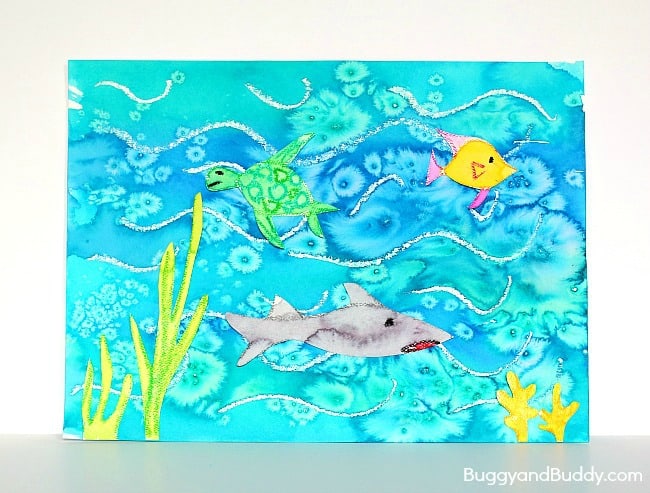
We combined some of our favorite watercolor techniques to make this cool ocean art project for kids. The finished artwork looks so colorful and is perfect for a summer art project or an art activity to accompany an ocean theme!
Follow our Art for Kids Pinterest board!
Disclaimer: Discount School Supply provided many of the materials in this post for me to review. I only post reviews for the items we love and am excited to share them with you!
Painting with Watercolor
Kids always love painting with watercolors, and when you add oil pastels and salt to the mix, it makes the activity even more exciting!
When Discount School Supply sent me some liquid watercolors, oil pastels, and art paper to try, I knew exactly what we were going to use them for- ocean scenes! This summer Lucy and Theo have been very interested in ocean animals and learning about the tides and waves in the ocean. What better way to extend their learning than by creating an art project inspired by their interests!
In the past we’ve used oil pastels and watercolor paint to create flowers and rainbow art, and we’ve also used watercolor paint and salt to make an art scene inspired by the story, How to Catch a Star. I decided to combine all three art materials for this project! This post contains affiliate links.
Ocean Art Project for Kids Using Oil Pastels, Watercolor, and Salt
Materials for Ocean Art Project for Kids
- Liquid watercolors (We used Colorations Liquid Watercolor– our absolute favorite!)
- Paintbrush
- Oil Pastels (We used Colorations Oil Pastels.)
- Salt (Any kind of salt will work, but our favorite results are when we use Epsom salt.)
- Art paper (We used The Ultimate Art Paper.)
- Scissors
- Glue
How to Make Ocean Art for Kids
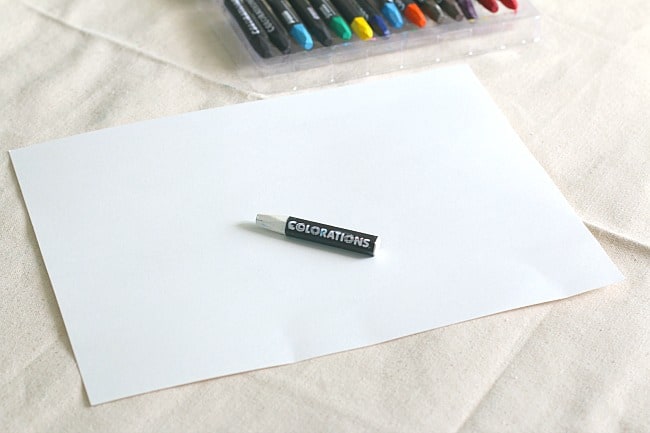
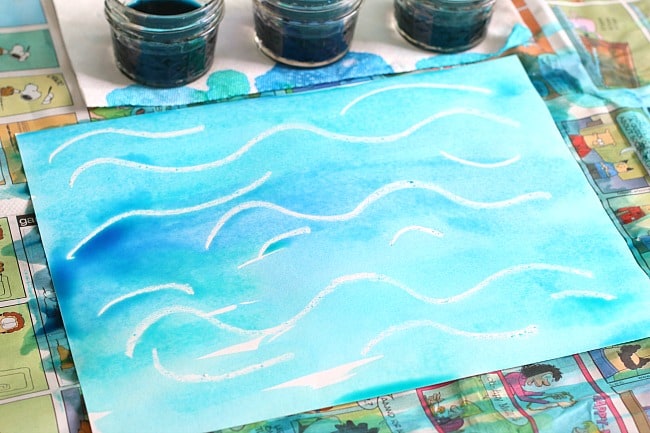
1. Draw lots of white, wavy lines across your art paper using a white oil pastel. (The set from Discount School Supply actually came with three white oil pastels, which I loved since we use those most often with the watercolors.)
2. Set out some liquid watercolor paint in different shades of blue. We used blue, teal, and turquoise. (The Colorations brand of liquid watercolors from Discount School Supply has always remained our favorite- even after trying other brands.)
3. Paint a blue watercolor wash over your sheet of art paper using any shades of blue you’d like.
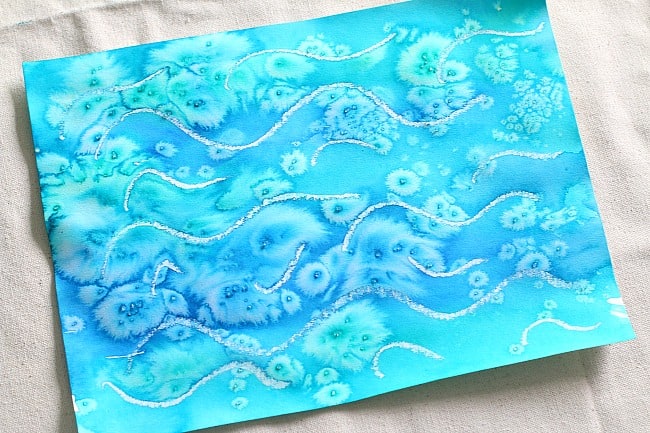
4. Before your paint dries, sprinkle some salt over the paper. As the paint dries, really cool designs will appear in your paint.
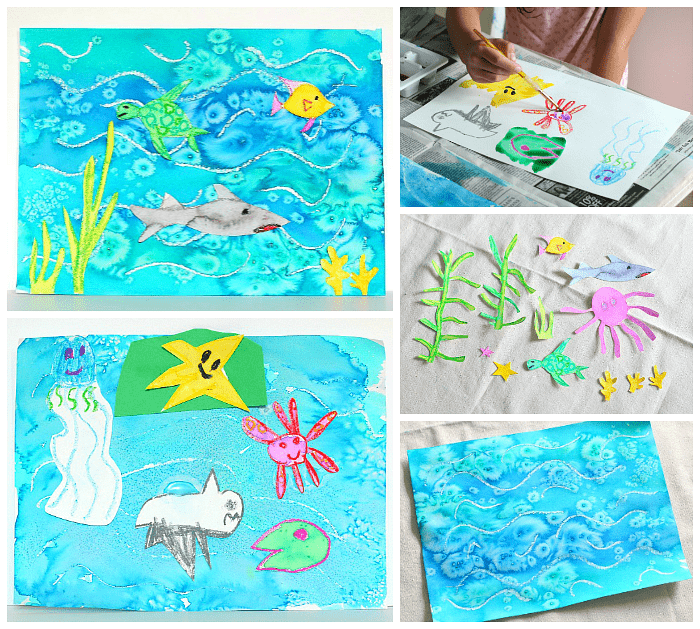
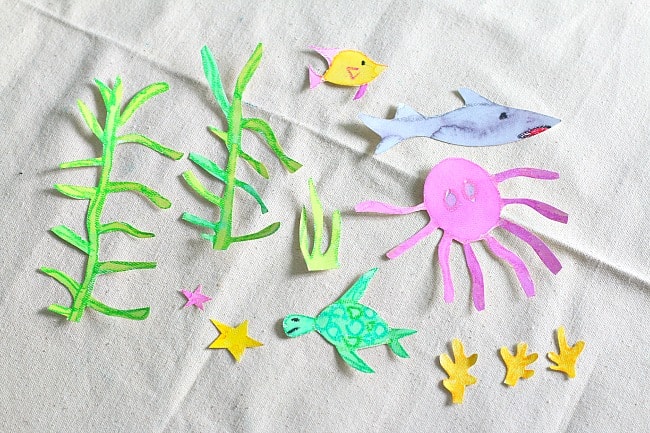
5. Set your ocean water paper aside to dry and begin making your ocean animals. Use another sheet of art paper and oil pastels to draw any sea creatures you’d like.
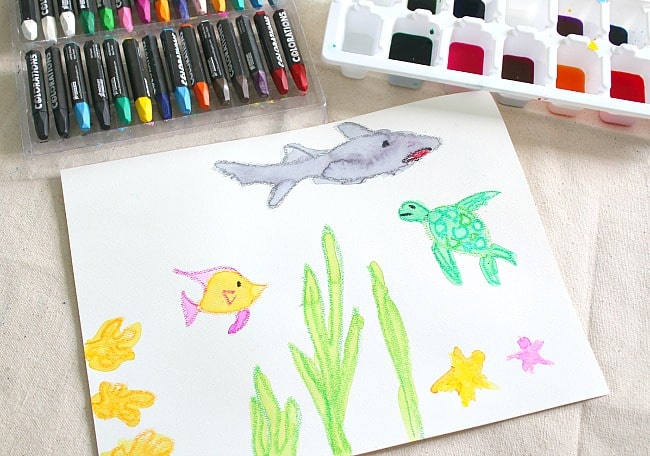
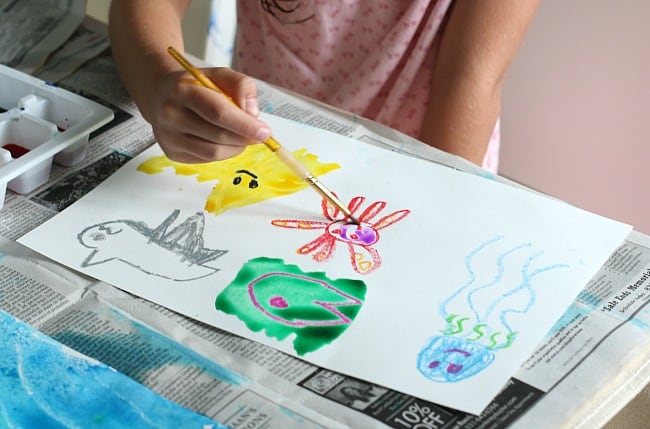
6. Paint your drawings with liquid watercolor paint. The kids always love seeing how the oil pastel drawings resist the watercolor paint!
7. Once your sea animals are dry, cut them out.
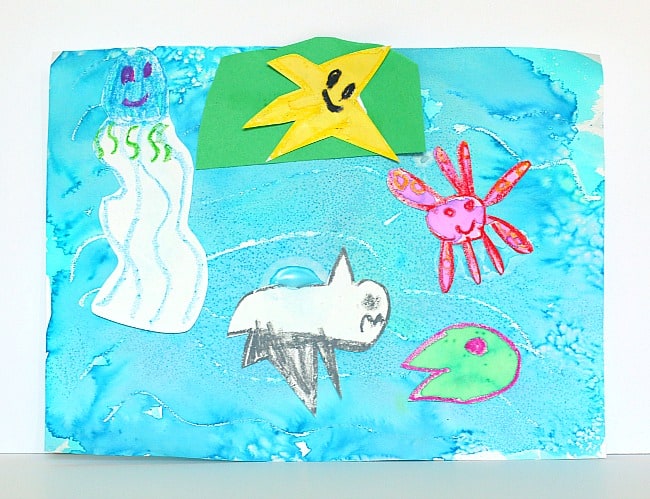
8. Glue them onto your salt ocean artwork, and let it dry.

Display your finished creation!
Tips
- When sprinkling the salt onto your ocean painting, don’t do huge piles of salt or put the salt on dry sections of your paper- designs will be less likely to appear.
- When we’re using lots of different colors of liquid watercolor paint at once, we put the different colors in an ice cube tray. It makes for easy cleanup and can be used again and again!
- The liquid watercolor paint is very brilliantly colored straight from the bottle. You can lighten the colors by adding water to the paints you’ll be using.
- Don’t leave younger children out of this activity. Theo (age 4) loved making his salty ocean painting. Although he is not quite ready to draw ocean animals, he drew his own designs which were ocean animals in his eyes!
- When choosing art paper for this project, be sure to use a paper that is meant for watercolors. Construction paper will tear easily as it gets wet. I was very happy with The Ultimate Art Paper from Discount School Supply. It’s very inexpensive so I know I’ll be buying it in the future, and it even dried without curling which is a huge plus!