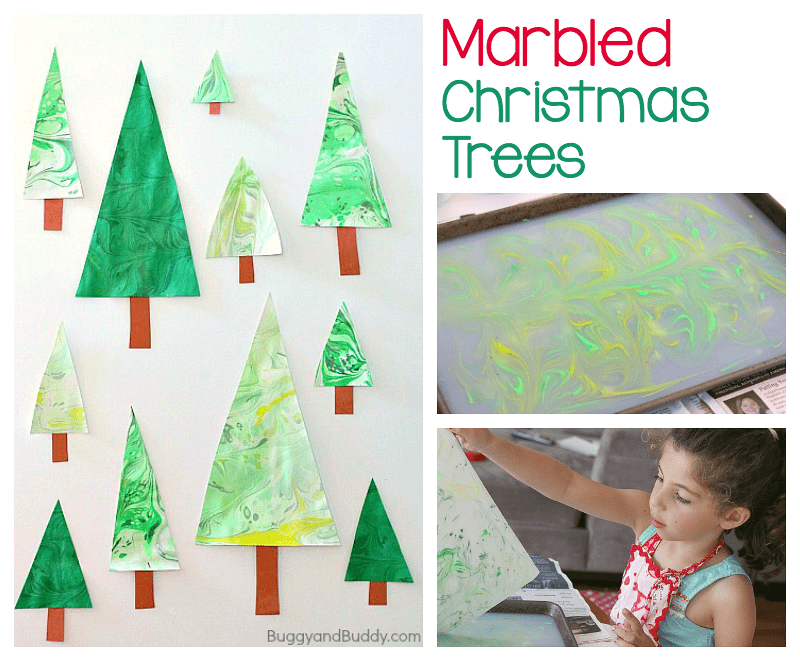
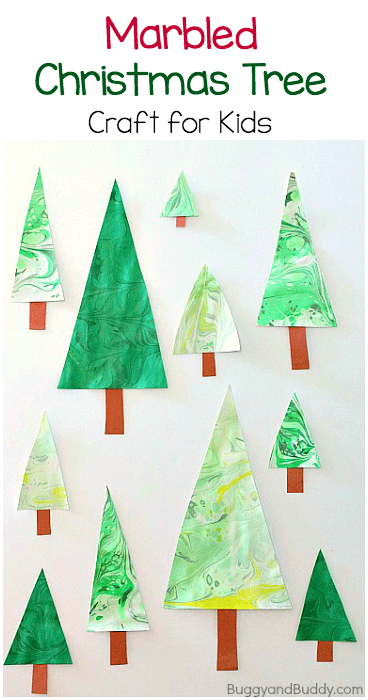
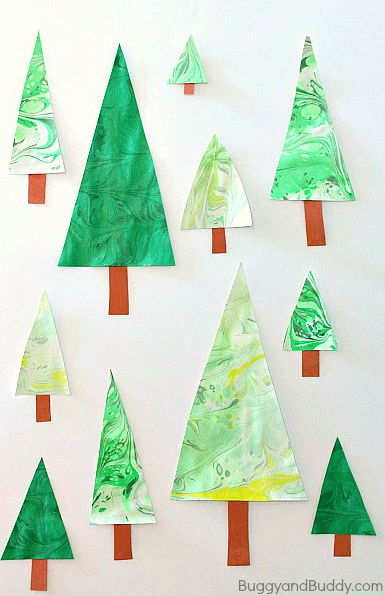
This marbled Christmas tree craft for kids was a huge hit with my six-year-old daughter! We started by marbling paper and then used the results to create our own marbled Christmas trees. It’s a fun and easy art project perfect for the holidays!
Follow our Christmas for Kids and Family Pinterest board!
This was our first experience marbling paper, and we will for sure be doing it again. I think this is the most absorbed I’ve seen Lucy in an art project in a long time, and it was so easy to do! (This post contains affiliate links.)
Marbled Christmas Tree Craft for Kids
Materials for Christmas Tree Craft
- Liquid starch
- Acrylic paints (in various shades of green)
- Container for paints and paintbrush
- Cookie sheet
- Construction paper
- Old newspaper
- Wax paper
- Scissors
- Glue
Directions for Christmas Tree Craft
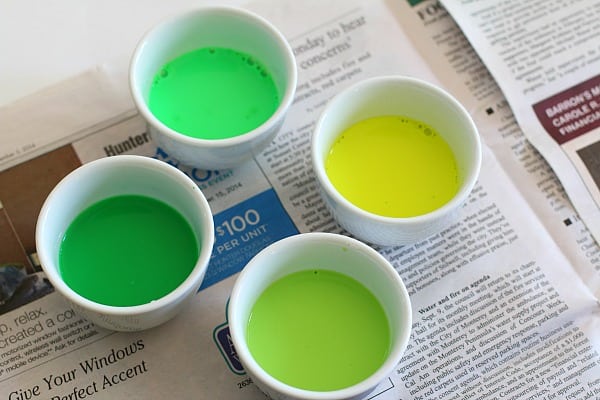
1. Start by preparing your paints. Place some acrylic paint into a small container and add about a tablespoon of water and mix. (We used different shades of green for our trees.)
2. Next you’ll want to set up your work area. This project can get a bit messy so we covered our table with our art mat and some newspaper.
To create our drying area, we placed an old tablecloth onto the floor, placed old newspaper on top, and then some sheets of wax paper. (The wax paper is important because once the starch dries you can peel it off. If you let your paper dry on just newspaper, the starch will adhere to it, and you won’t be able to get it off. It’s like glue.)
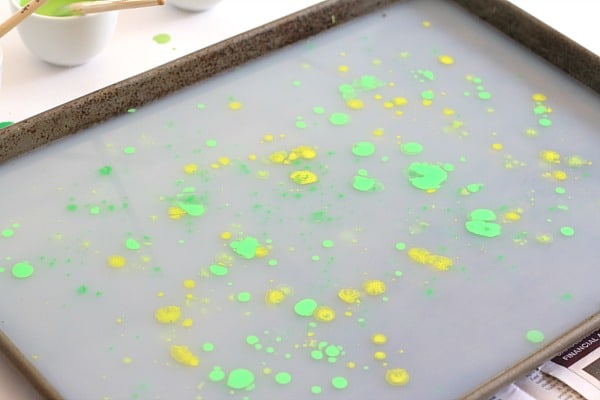
3. Pour a layer of liquid starch into your cookie sheet. (Our layer was about 1/4 inch deep.)

4. Use your paintbrush to drop paint drops all over your liquid starch layer.
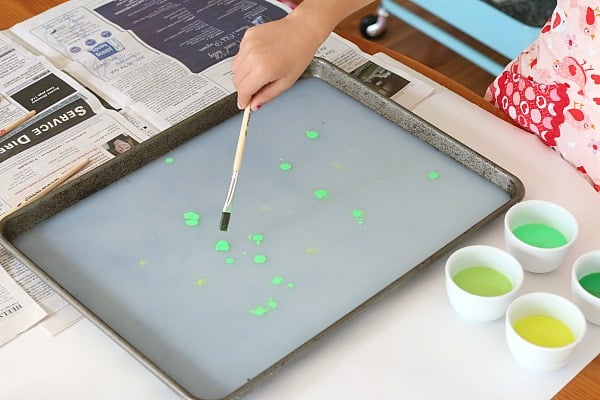
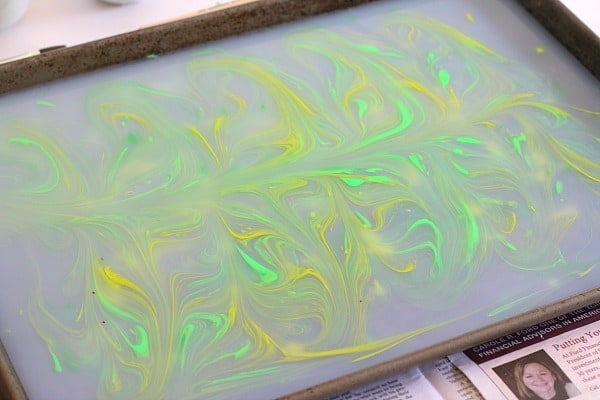
5. Drag the pointy end of your paintbrush through the layer of starch and paint. (We went up and down and then from left to right.)
6. Set your brush aside and pick up your piece of paper. Place it gently on top of the paint layer in your tray.
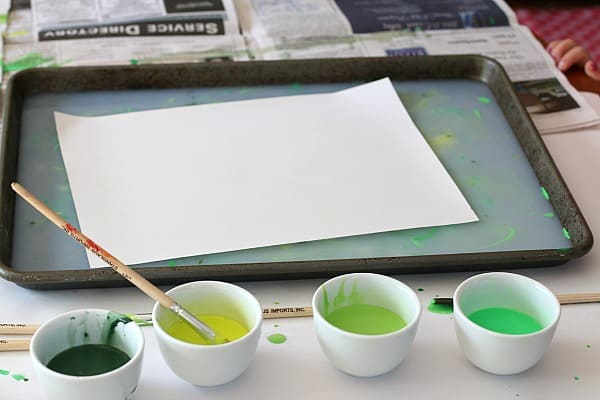
7. Carefully remove the paper and place it on your wax paper to dry.

8. You can leave the same starch in the tray for each additional sheet of paper you marble. Just add more drops of paint and drag your brush through them to create the marbling pattern like before.
9. After you paper has completely dried, you can cut it into a triangle shape to make your Christmas tree.
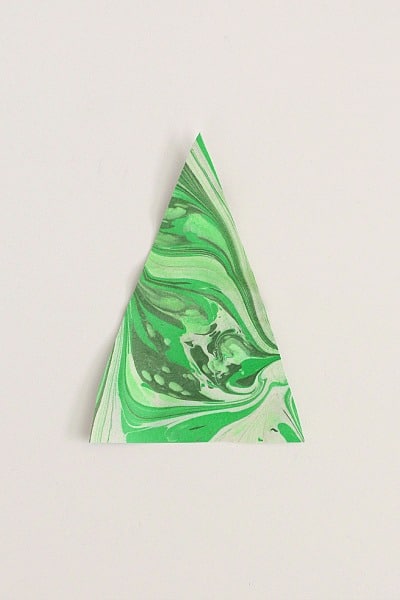
10. Add a brown trunk and you’re done! You could also add embellishments to it like sequins, paper circles, or balled up tissue paper squares.
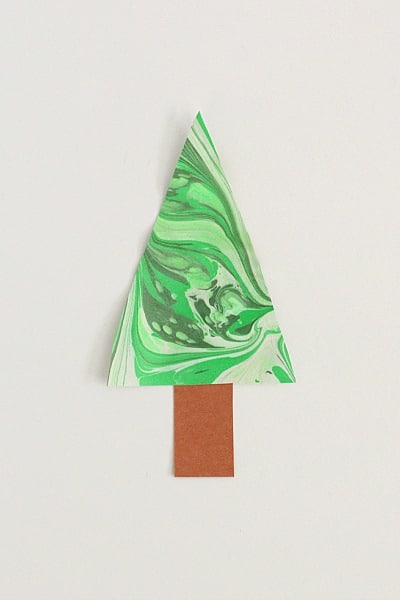
I love how the starch really stiffens the paper. We hung our trees around the house, but because they’re so stiff, you could also punch a hole through the top, tie some string through the hole, and use them as ornaments!
Tips
– We started out marbling white paper, but then loved experimenting with how paint looked on green construction paper. Try out different combinations of paint colors and paper colors and see what results you get!
– To help our papers dry more quickly, we put them outside in the sun.