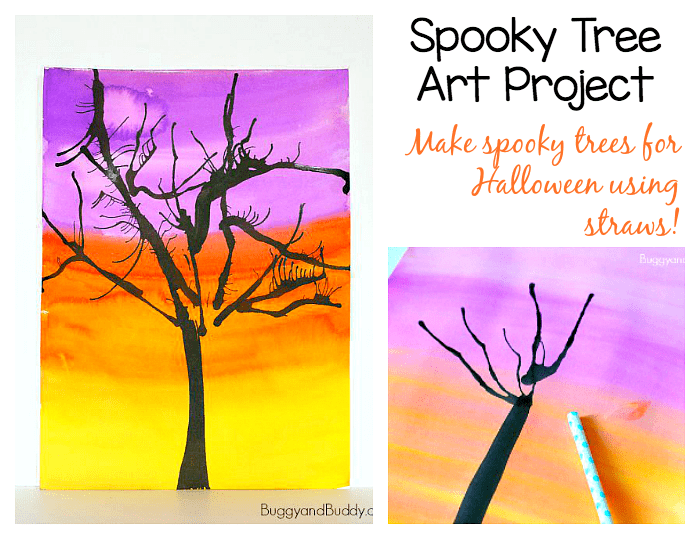
Here’s a super fun and easy art project for kids to make this Halloween- straw blown spooky trees! Children will love creating these unique looking trees by blowing through a straw.
Follow our Halloween for Kids Pinterest board!

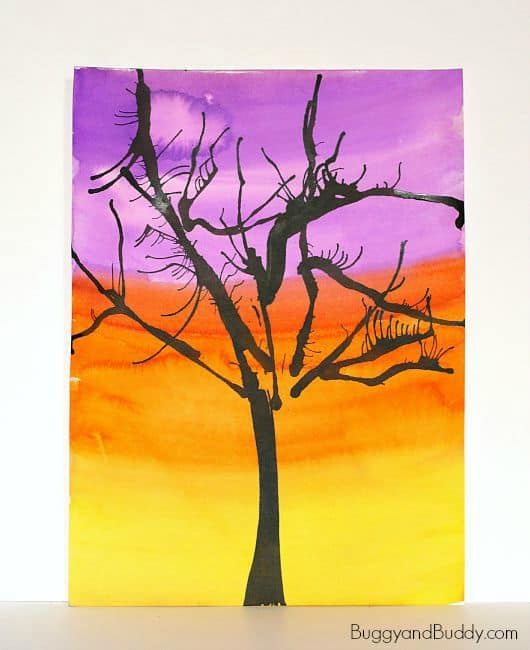
Have you ever tried blow art using straws and paint? It’s such a fun art technique that kids always love, and Halloween is the perfect time to give it a try- the result of the blown paint makes the perfect spooky trees!
Straw Blown Spooky Tree Art Project for Halloween
Materials for Straw Blown Spooky Trees
- Art paper (I love this art paper– inexpensive and doesn’t curl when it dries!)
- Watercolor paints and paintbrush
- Straw
- Pipette or dropper
- India ink or black liquid watercolor paint
Directions for Straw Blown Spooky Trees
1. Paint your entire sheet of art paper with watercolor paint to make your background. We tried different backgrounds and mixtures of colors!
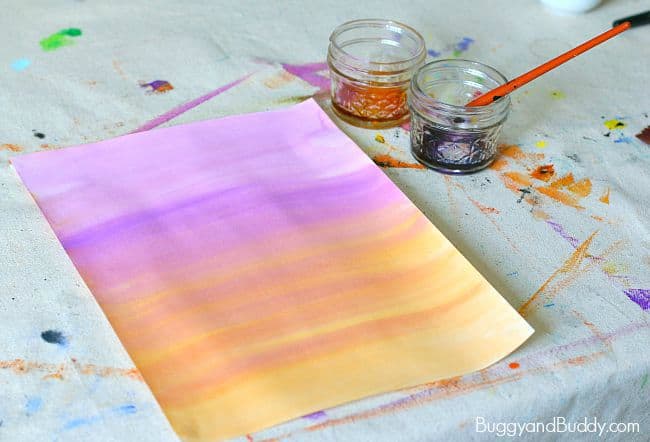
2. Let your background paint dry.
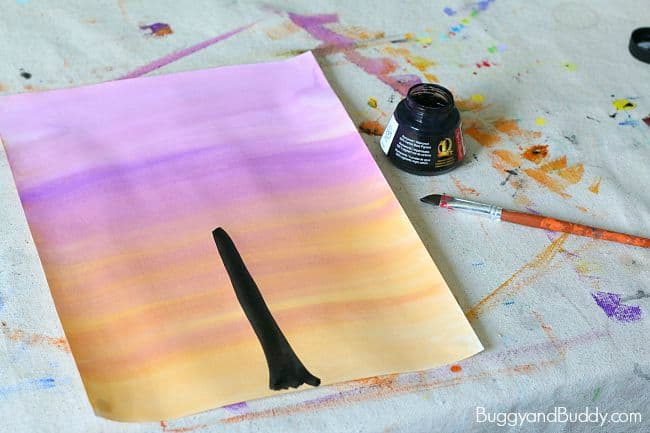
3. Use black liquid watercolor paint or india ink to paint a tree trunk. (The india ink shows up much more boldly than the water color paint and is super fun to use, but can stain. If you’re using it with a group of kids, make sure you have some extra hands to help!)
4. Now for the fun part- blowing the paint to make the spooky looking tree boughs and branches! Use a pipette or dropper to place a few drops of ink near the top of your tree trunk. (These pipettes are super cheap and have lasted me forever.)

5. Use a straw to blow the drops around your paper. They’ll create all kinds of spooky looking branches.
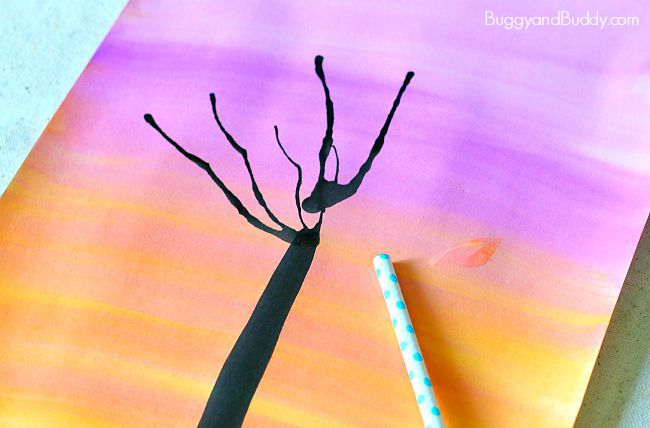
6. Add more drops and blow those around. Continue until you like the look of your spooky tree.
7. Let it dry and hang it up for Halloween!
Extension Ideas
- Older children can use a black Sharpie to write a Halloween poem directly onto their paper.
- Cut out pumpkins, ghosts, and other Halloween creatures from construction paper and glue them onto your artwork.