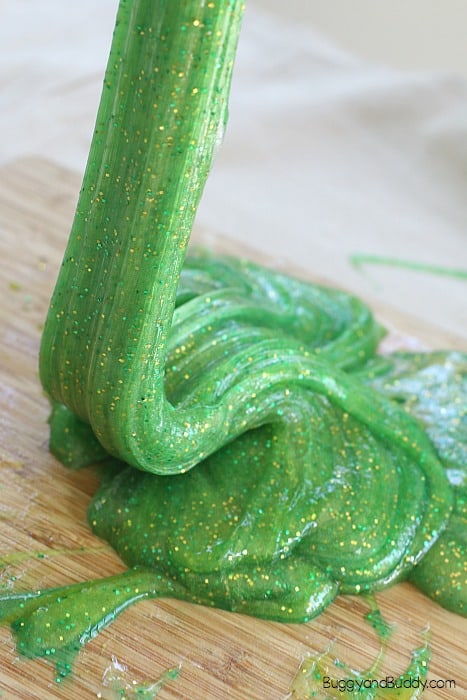
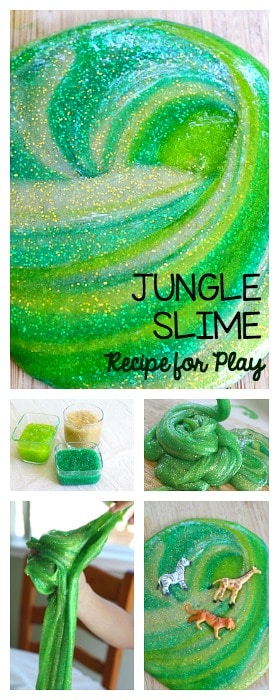
Here’s a simple slime recipe you can use for just about any theme. We used it to make jungle slime! (It also works for rainforest slime or African savanna slime.)
Follow our Recipes for Play and Creating Pinterest board!

In my most recent after school kindergarten class, the kids and I made jungle slime! They loved mixing their own ingredients and playing with their slimy, gooey, messy jungles. This slime recipe makes a great sensory and imaginative play activity for a rainforest unit or African savanna theme.

If you’ve never made or played with homemade slime before, it is messy (but totally worth it)! Just be sure you’re away from carpet, furniture, and that you’re wearing play clothes. Our favorite place to play with slime is outside so there’s no worry about any messes. (This post contains affiliate links.)
Reminder: This slime recipe is NOT taste-safe.
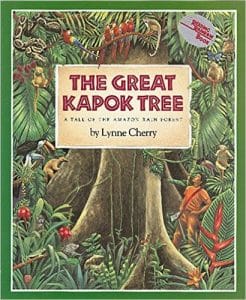
Be sure to check out one of our favorite children’s picture books about the rainforest- The Great Kapok Tree!
How to Make Jungle Slime
Materials for Jungle Slime
- Liquid starch
- Water
- Clear school glue (You can also use white school glue. Your slime will just be more opaque.)
- Washable liquid watercolors (We used green, yellow, and gold.)
- Green and gold glitter
- Plastic jungle animals for play (optional)
- Container or tray for playing with slime (I love these plastic art trays!)
Directions for Making Jungle Slime
For pictures of each step, check out our ocean slime post!
To make our jungle slime, the students and I gathered outside on the the back patio and got ready for some messy fun. I had the kids sit in a circle and we got together all our ingredients. Each child got their own plastic container with a lid, so when they were done making and playing with their jungle slime, they could take it home.
1. Each student first added about 1/4 cup of water to their containers.
2. They then added one individual bottle of clear school glue to the water and mixed with a plastic spoon until it was smooth.
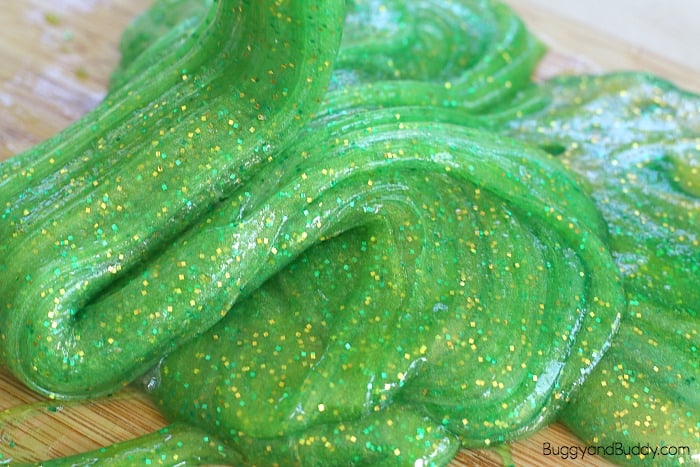
3. I passed around the washable liquid water colors and let them add the paint to create the color they wanted. (To create the color of my jungle slime in the photographs on this post, I made three separate batches of slime: one green, one yellow/green, and one gold. I then swirled them together.)
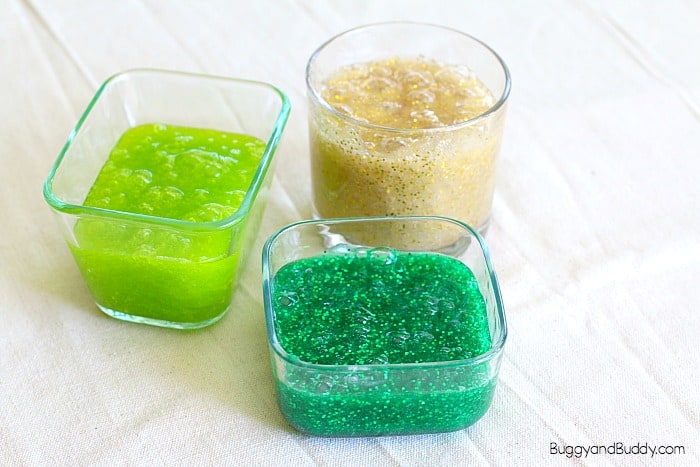
4. Next the kids added either green or gold glitter to their slime and mixed.
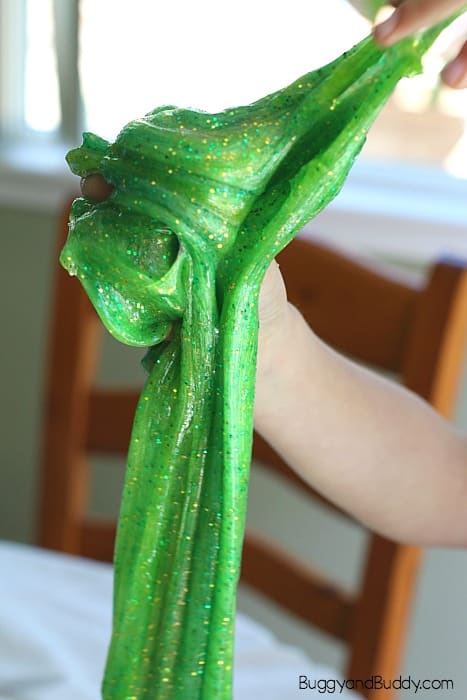
5. Finally, I came around with the bottle of liquid starch and poured about 1/2 cup into their mixture. The kids stirred until in began to thicken and climb up their spoon. Once that happened, we used our hands to play with it a bit to help it to mix and come together. If it was still too sticky, we added a bit more liquid starch. (Be sure to check out How to Fix Slime that Didn’t Work for tips on solving any slime issues.)
6. Once we were happy with our slime, we added some plastic animals and had fun playing!
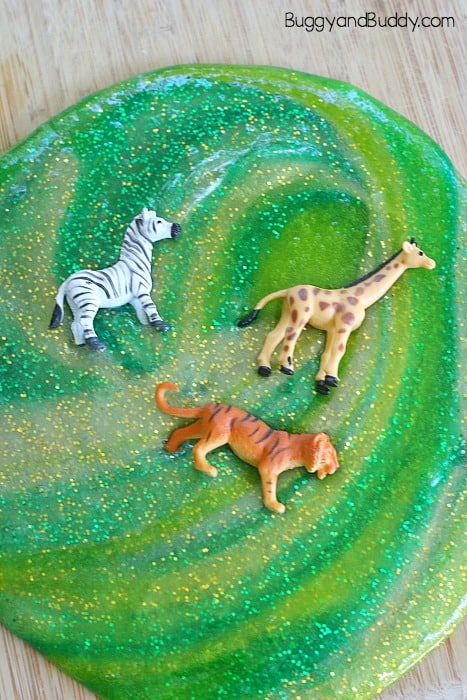
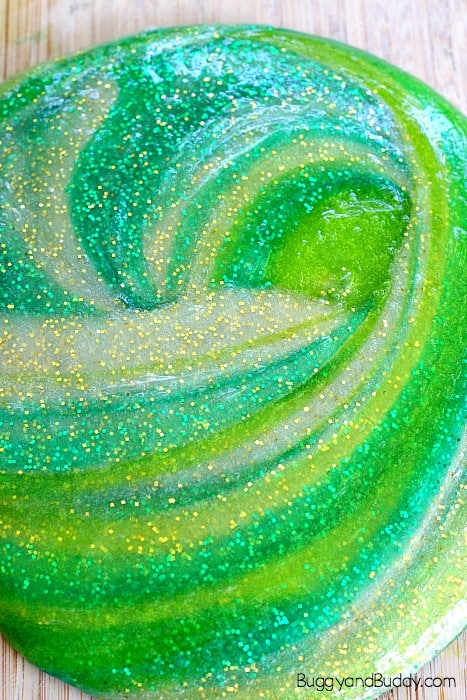
The kids loved stretching out their slime and hiding the animals inside. A few of the kids traded portions of their slime with one another to make swirly slime!
This slime should last at least a couple weeks, if not more, when stored in an airtight container.
Be sure to check out STEAM Kids book and ebook for even more creative STEM and STEAM ideas!
