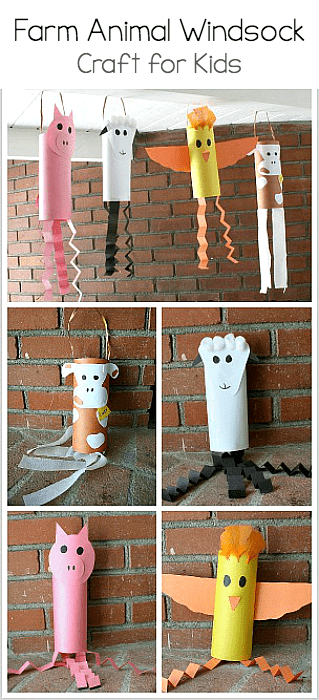
Farm animal crafts are always a favorite in preschool and Kindergarten. These farm animal windsocks (including a pig, sheep, chicken and cow) are perfect for practicing cutting and gluing skills and turn out adorable!
Follow our Crafts for Kids Pinterest board!
(This post contains affiliate links.)
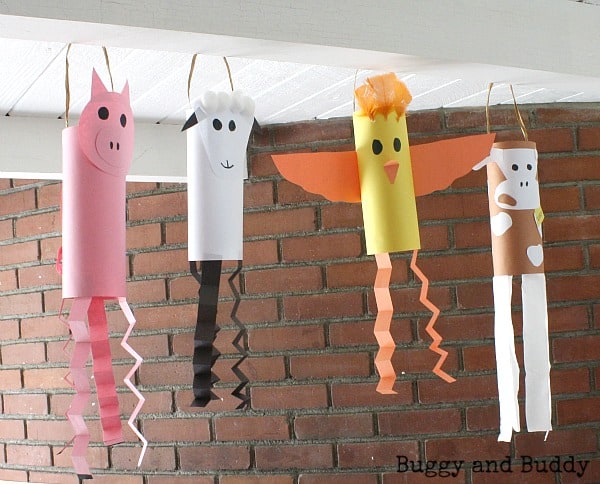
I’m excited to share another craft for kids from my Kindergarten teaching days- farm animal windsocks! These ended up being the perfect craft for us to make since Lucy is eager to practice cutting and gluing, and Theo is in love with farm animals. He was so excited to wake up from his nap and see four farm animals hanging in the playroom. (Especially after reading one of our favorite children’s books, Big Red Barn. It’s almost as if the story had come to life!)

I’ve outlined the directions below for the cow, sheep, pig, and chicken windsocks. The construction is very similar to these cows I shared earlier. Please keep in mind these are just suggestions as to how to create the windsock farm animals. There’s a lot of room to add your own creative touch to each one, and I’m sure your children will have their own ideas on how to make them their very own!
Farm Animal Crafts: Windsocks
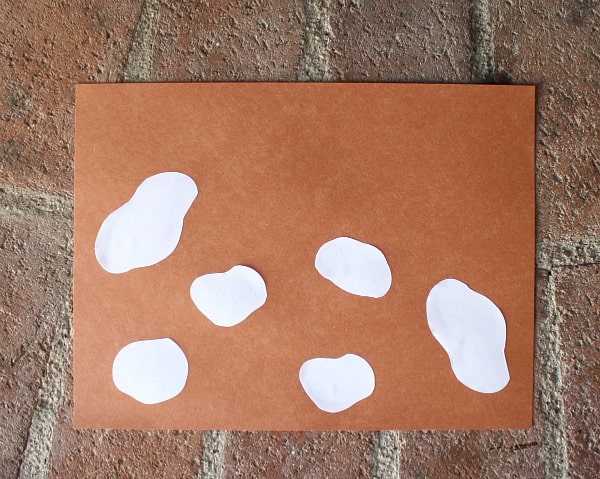
Cow Windsock
1. Cut out some spots from white construction paper and glue onto a sheet of brown construction paper.
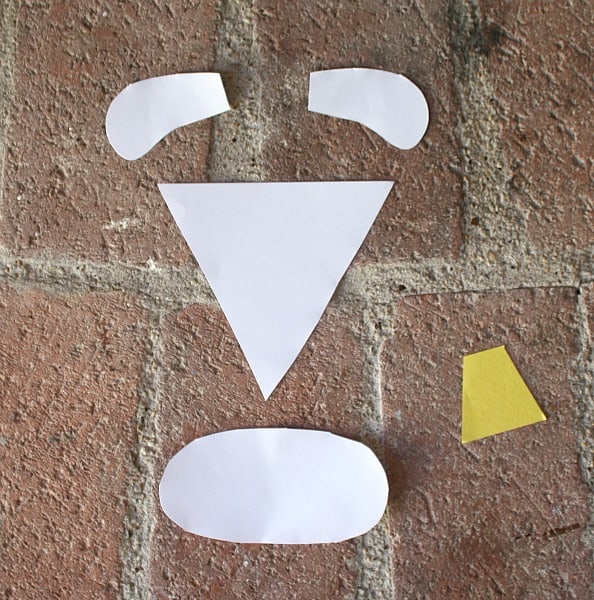
2. Cut out the pieces for the cow’s head: 2 white ears, 1 triangular white face, 1 white oval mouth, 1 yellow cowbell.
3. Glue the head and cowbell onto your brown paper. Draw in eyes and a nose.
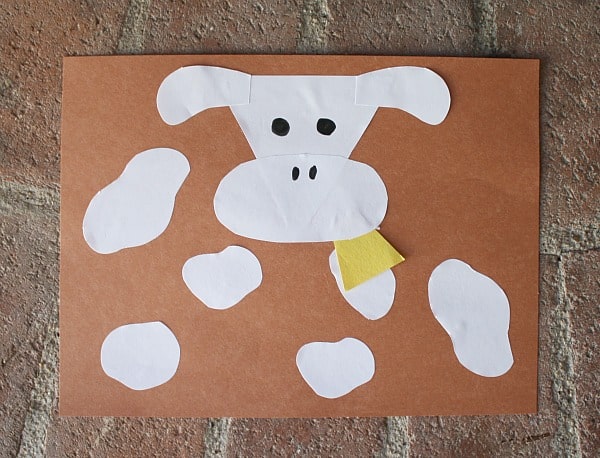
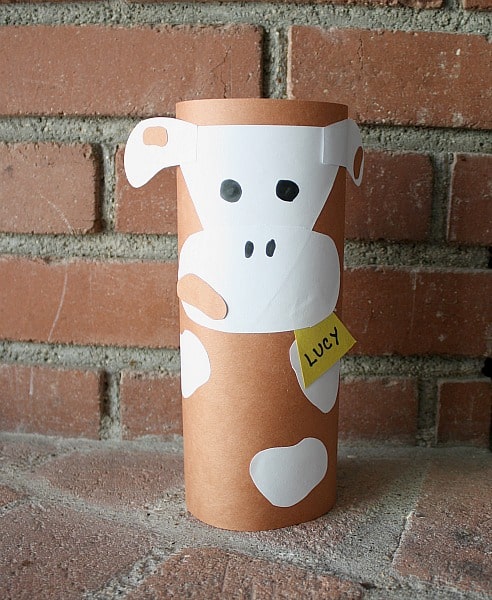
4. Add some little brown spots onto the cow’s face and ears. Write your name on the cowbell.

5. Roll the paper into a cylinder and staple in place.
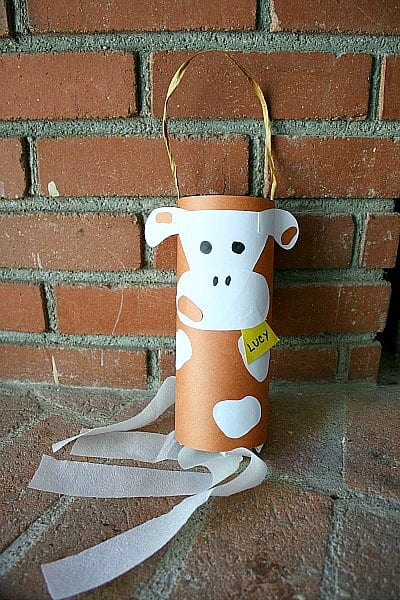
6. Add some streamers on the bottom and string on the top to hang. You’re finished!
Sheep Windsock
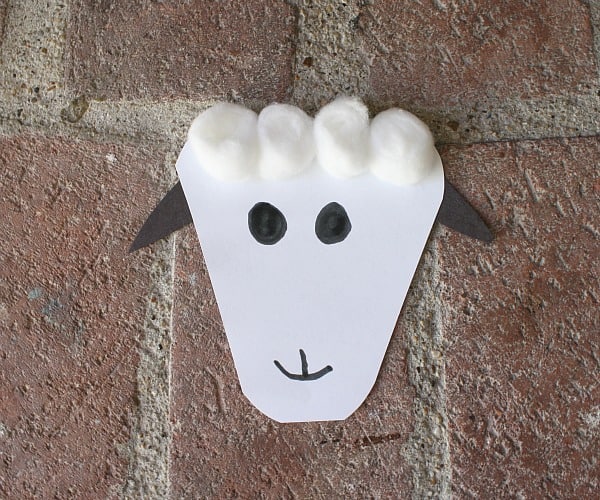
1. Cut out a white triangle for the sheep’s head. Round off the corners. Glue two black ears onto the head. Draw some eyes and a mouth. Glue some cotton balls on top.
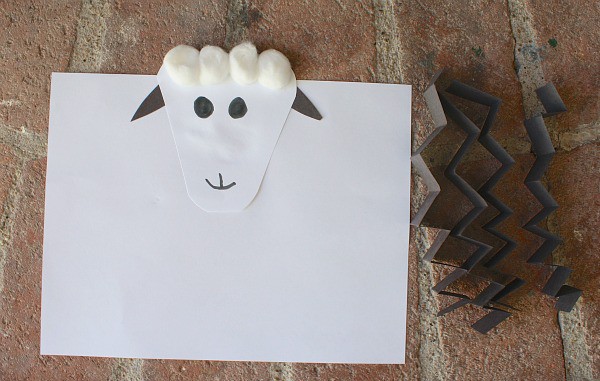
2.Glue the completed head onto a sheet of white paper. Cut out four black strips of paper for the legs. Accordion fold the legs.
3. Roll up the paper and staple into a cylinder shape. Glue the legs in place. Add string to the top for hanging. You’re finished!

Pig Windsock
1. Cut out the shapes for the pig’s head from pink construction paper: 1 large circle, 1 smaller circle, 2 triangular ears.

2. Glue the pieces together. Use a marker or crayon to add the eyes and nose.

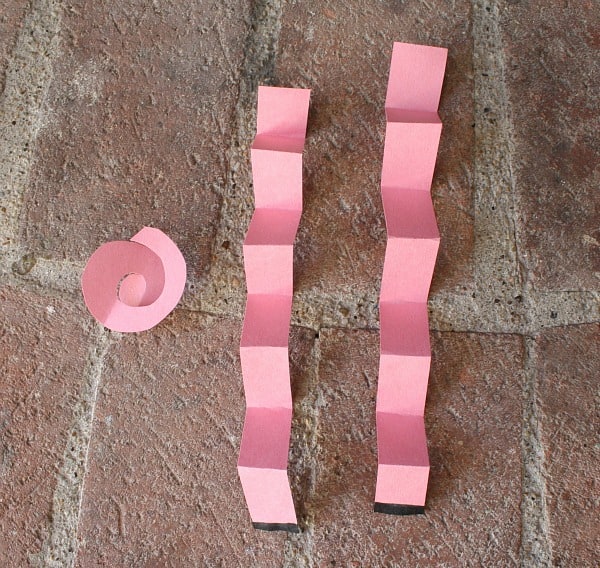
3. Cut out 4 strips of pink paper for the legs. Accordion fold the legs. Cut out a little tail.
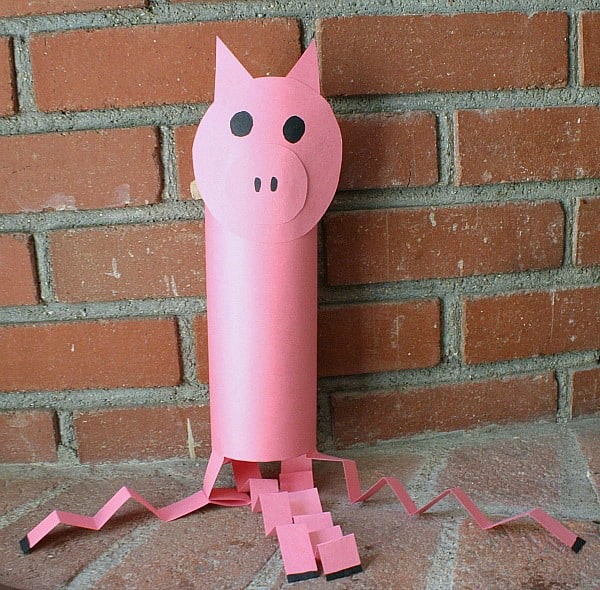
4. Glue the finished head onto a sheet of pink construction paper. Roll the paper into a cylinder shape and staple in place. Glue the 4 legs at the bottom, glue the tail on the back, and attach a string for hanging at the top. You’re finished!
Chicken Windsock
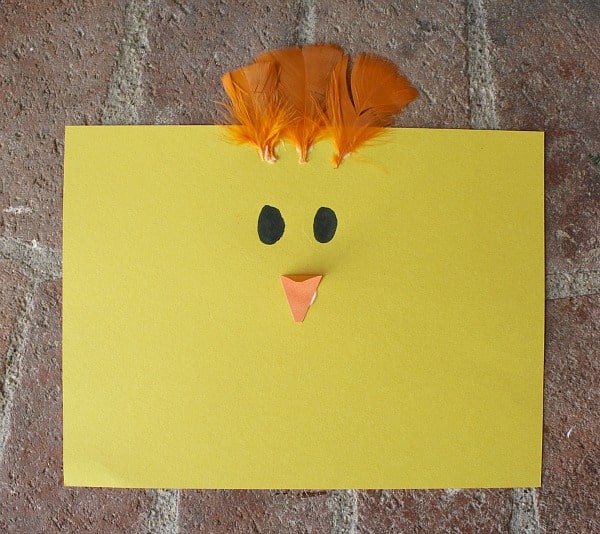
1.Draw two eyes on a piece of yellow construction paper. Cut out a beak and glue it on the paper. Glue some orange feathers on the top.
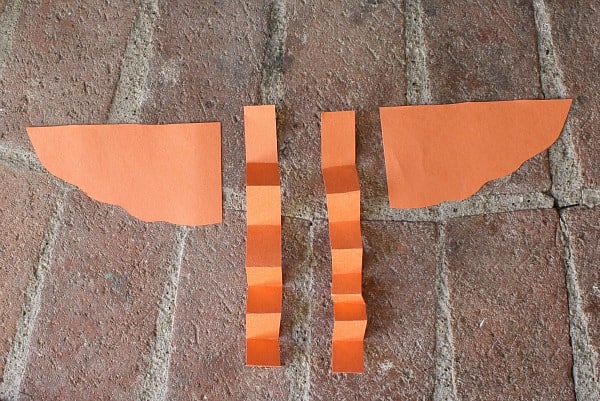
2. Cut out two orange wings. Cut out two strips of orange paper and accordion fold them to make the legs.
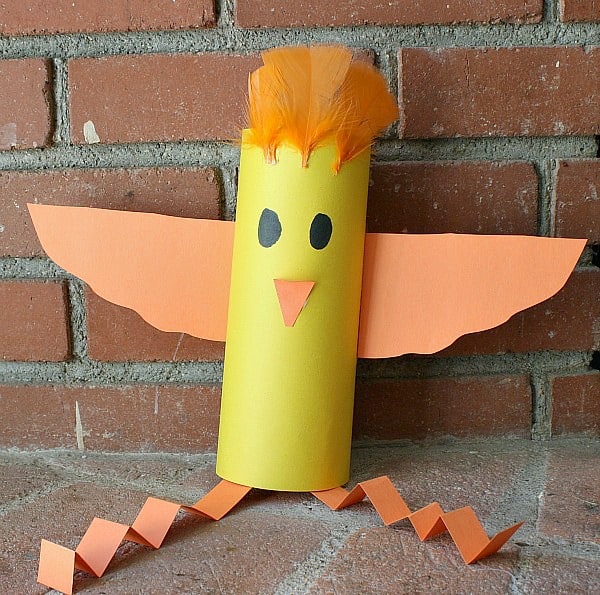
3. Roll the yellow paper up to form a cylinder and staple into place. Glue on the wings and legs. Add some string to the top for hanging. You’re finished!
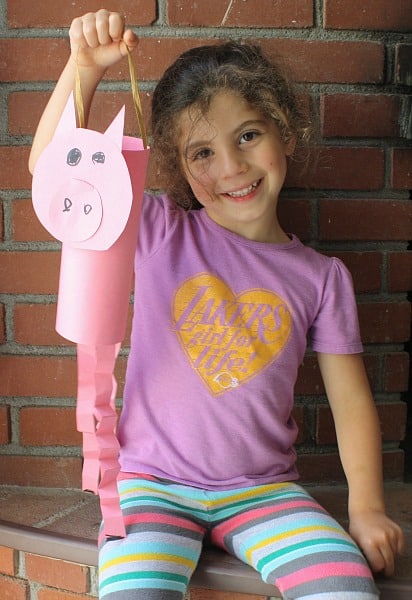
Lucy’s favorite part of making her own windsock was learning to accordion fold the legs. She was so proud to learn something new! Here’s her completed pig windsock. After I took the picture, she immediately went to hang it on her bedroom door handle. Proud girl!