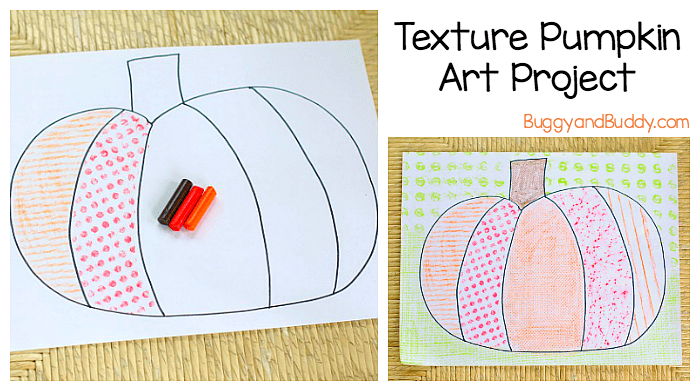
These textured pumpkins are one of the easiest fall art projects for kids! This fall activity provides a great way for kids to explore textures while creating pumpkin art!
Follow our Fall Crafts and Learning for Kids Pinterest board!
Recently Lucy came home so excited about an art project she had done at school. Her art teacher had shown the kids how to use crayons to find different textures around the playground and use those textures to create a picture.
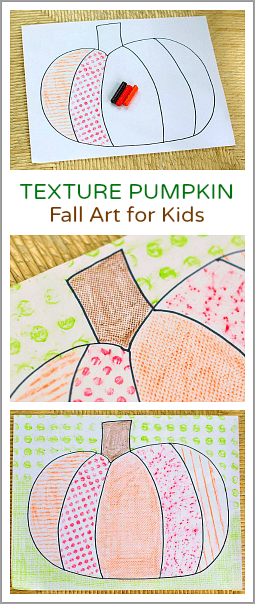
I decided to build off her excitement by putting an autumn spin onto the project! We used crayon rubbings to created these textured pumpkins! This post contains affiliate links.
Textured Pumpkins
Materials for Textured Pumpkins
Directions for Textured Pumpkins
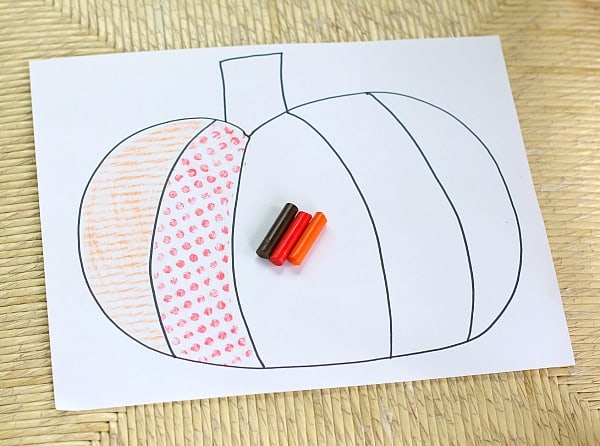
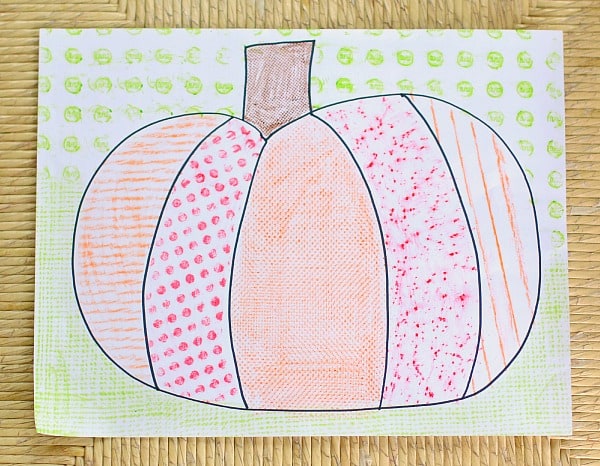
Use your black marker to draw a large pumpkin onto your paper. Divide the pumpkin into sections.
Select some crayons to use in your picture. We found different shades of orange for our pumpkin, brown for our stem, and greens for our background.
Here’s the fun part! Walk around looking for interesting textures. Once you’ve found one, place your picture over the texture and rub your crayon onto your paper, coloring in a portion of your picture. The texture will leave an interesting design on your paper! Try to find a different texture for each section of your picture!
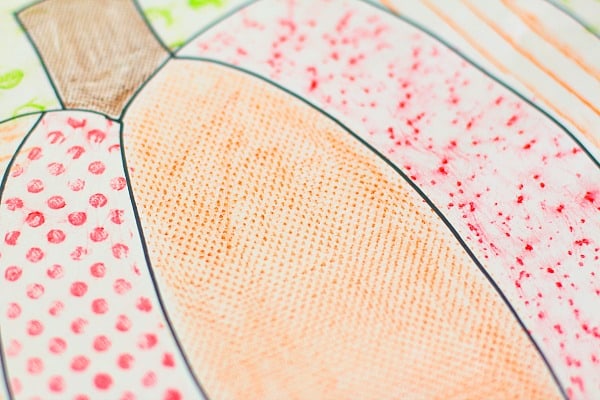
We looked both inside and outdoors for our textures. Inside we found interesting textures on Lego building plates, a placemat, and our walls. There were all kinds of unusual textures outside too- on the patio, screen doors, tree stumps, and leaves!
I love how simple this fall art project is- really no prep involved at all, and it’s such a great sensory experience for the kids!
*This post was originally published on September 14, 2014 and has since been updated.