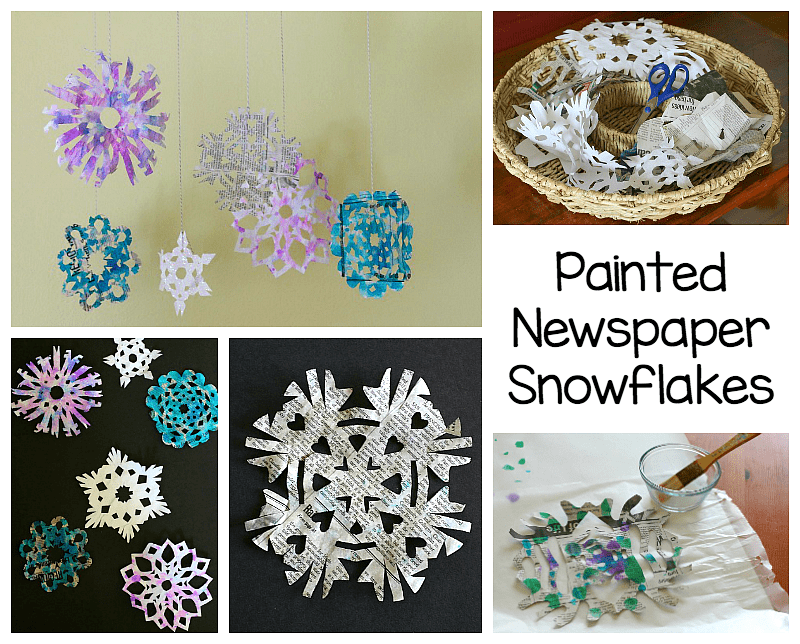
Here’s how to cut out a paper snowflake and turn it into a simple winter art project. We recently made snowflakes from newspaper and added some watercolors, starch, and glitter to some to really make them stand out!
Follow our Winter Crafts and Activities Pinterest board!

Do you remember making snowflakes from paper as a child? It was always so fun to see how the paper snowflakes looked when unfolding them! Recently, the kids and I had so much fun creating our own unique snowflakes from newspaper. (This post contains affiliate links.)
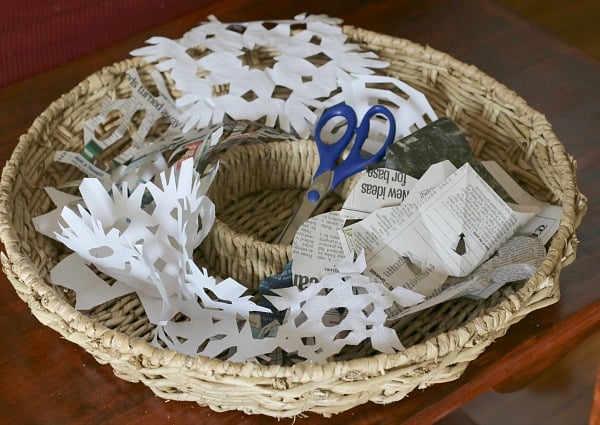
I started by setting up a simple snowflake cutting area in our home. I grabbed a large basket from our kitchen and put some scissors and paper in it. Whenever any of us were in the mood, we’d sit and cut out snowflakes. We actually still have the basket sitting out since it’s been a favorite activity for Lucy (and me) lately!
There’s tons of ways to fold paper for cutting snowflakes. Here’s the way I learned as a child. I taught this method to Lucy, but she also had fun trying out her own different ways to fold paper!
How to Cut Out Snowflakes from Paper
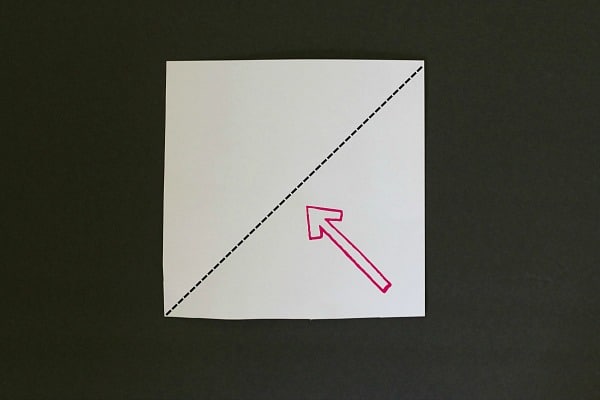
1. Start with a perfect square. Fold it in half to create a triangle.
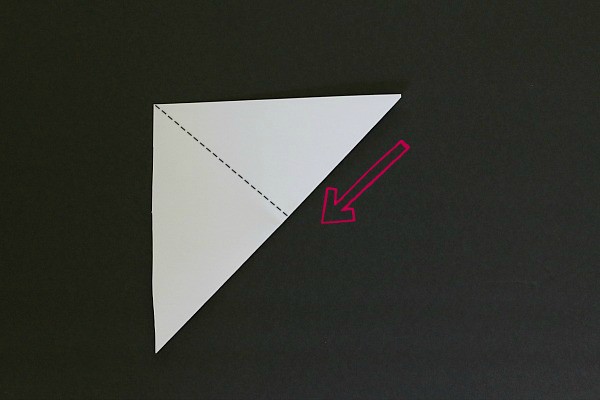
2. Fold the triangle in half again.
3. Next, place the resulting triangle on a flat surface with the center point facing down. Imagine dividing it into thirds. Fold the right third over.
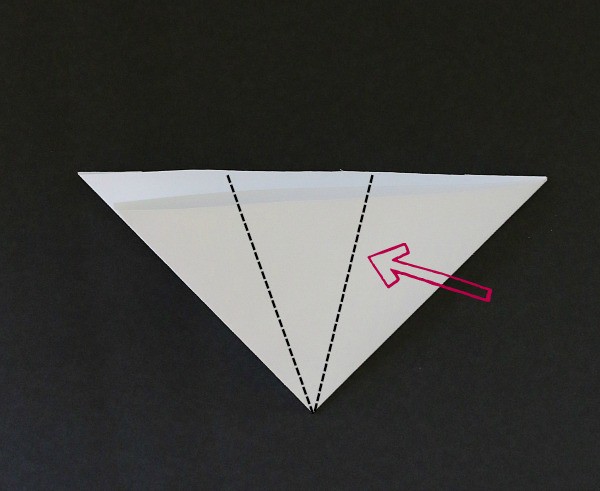
4. Now fold the left third over.
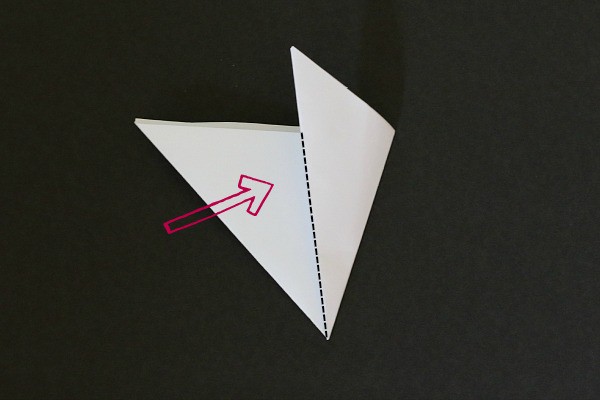
5. You can trim off the top or round it if you’d like. Now you’re ready to begin cutting your own snowflake!

Decorating & Displaying Paper Snowflakes
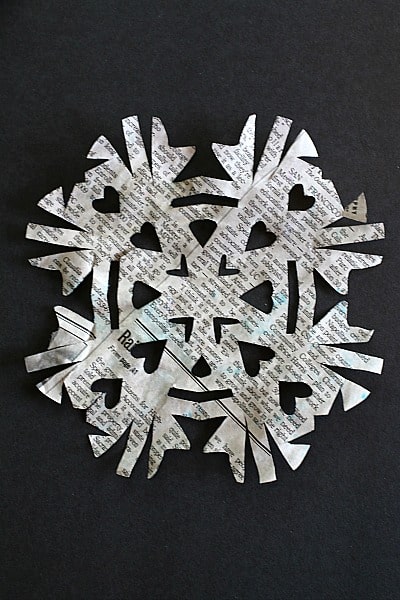
Once we built up quite a few snowflakes in our basket, we decided it would be fun to display them. The plain snowflakes cut out from newspaper look really neat mounted on black paper!
You can also add some color to your paper snowflakes. I set up some watercolors on the table for Theo to use to decorate our paper snowflakes. We used Colorations Liquid Watercolors (which I LOVE), but you could also use regular watercolor cakes.
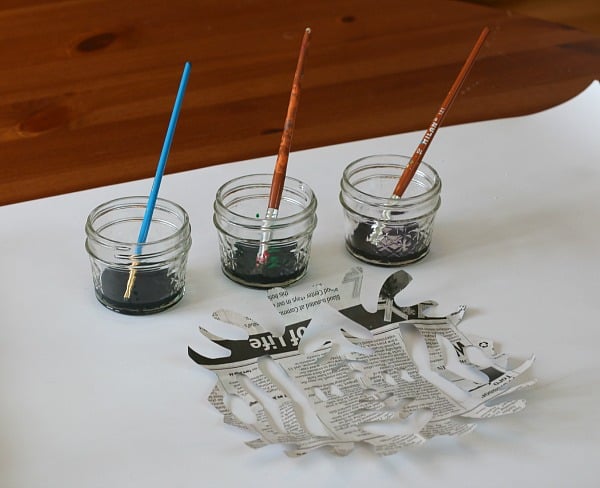
The best way to paint the snowflakes is by dabbing or dotting the color onto them with a paintbrush. If you try painting strokes, the snowflakes might tear. You could also use some plastic pipettes to apply the paint. Theo LOVED this method of painting, and it looked really neat as the colors started to bleed together!

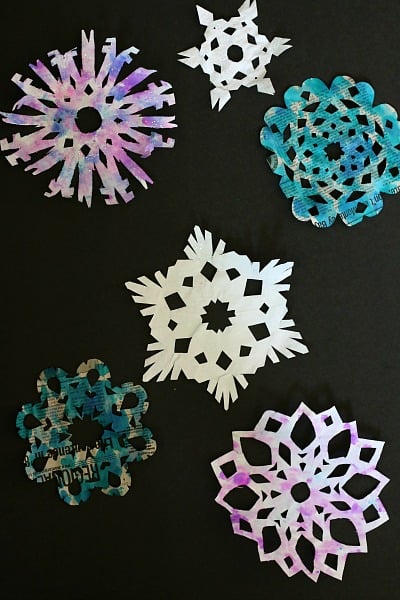
Don’t all these colorful snowflakes look gorgeous against the black background? Making a colorful paper snowflake collage is such a fun winter craft for kids!
If you’re interested in hanging the snowflakes, you might want to paint them with liquid starch to stiffen them. We placed the snowflakes on wax paper and then painted them with a nice layer of the starch.
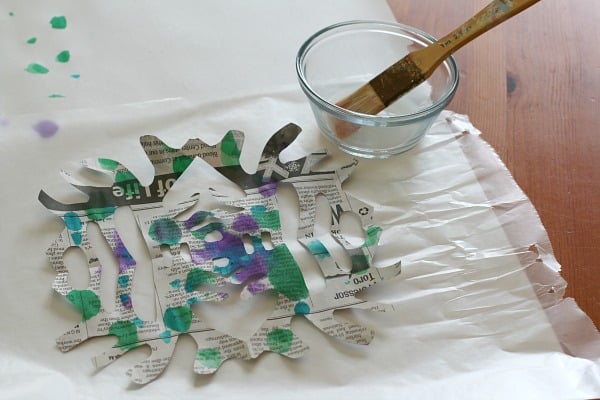
Before the starch dries, you can also sprinkle them with glitter!

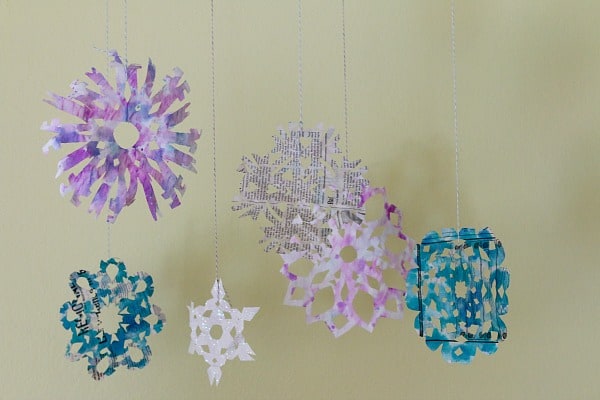
After the starch dries, slowly peel the snowflake off the wax paper. You’re ready to decorate! We hung all our starched paper snowflakes up to decorate the house!
I’m sure we’ll be making more paper snowflakes throughout the season. It never seems to get old!
Looking for the perfect gift? Be sure to check out all our gift guides for kids!
