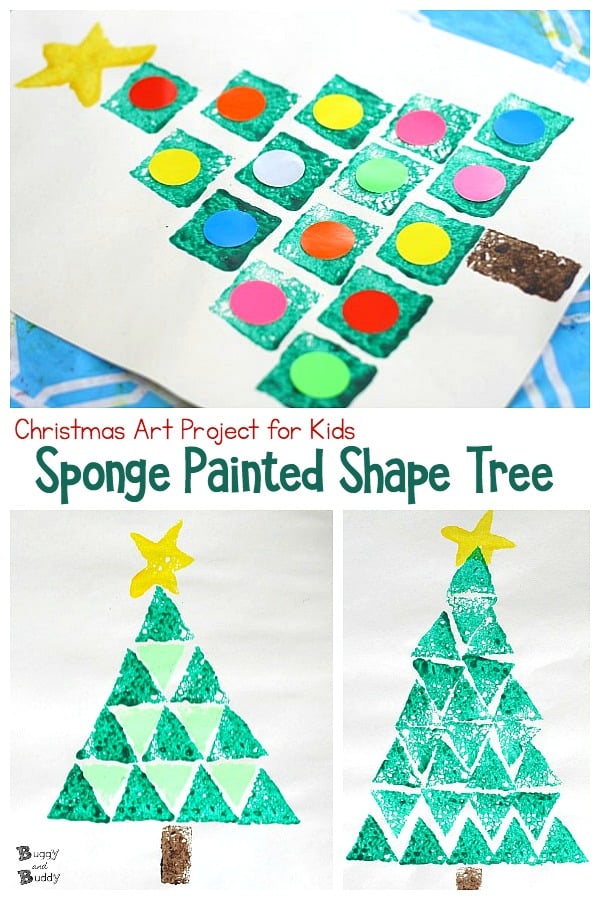
Here’s an easy Christmas tree craft for kids that also incorporates math- a shape Christmas tree! Grab your sponges and paints, and let’s get stamping with this fun art project for children.
Follow Buggy and Buddy on Pinterest!
*This post was originally published on December 15, 2013. This post contains affiliate links.
This Shape Christmas Tree is such a simple way to combine creativity and math into a beautiful Christmas decoration. It involves stamping with sponges (which both my kids go CRAZY for) and allows for all kinds of creativity.
Shape Christmas Tree Sponge Painting
Materials for Christmas Tree Craft
- White construction paper (12 in. x 18 in. works best)
- Green, brown, and yellow paint
- Sponges
- Scissors
- Paper plates or other surface for your paints
- Optional: Circle punch, assortment of colored paper, glue
Set-Up
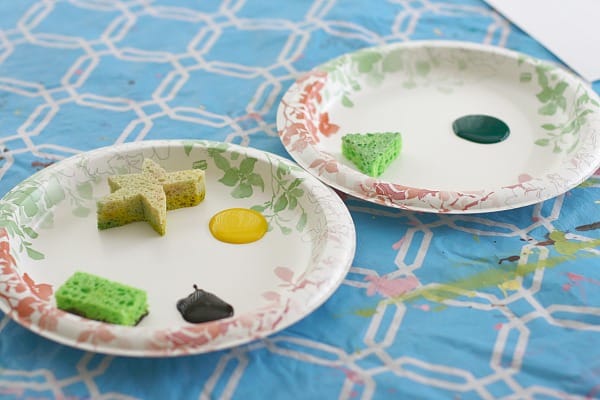
Cut your sponges into various shapes. I cut out a circle, triangle, square, rectangle and star. My shapes were about 1.5 to 2 inches tall.
For sponge painting, I usually use paper plates. Squirt your green paint onto one plate, and your yellow and brown paint onto a second plate.
Place your white construction paper vertically onto the table.
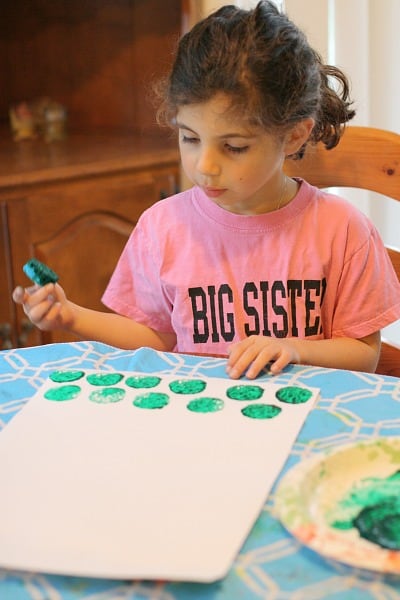
You’re ready to begin! (It might help your child if you create along with them. When stamping the tree, I would do the step before Lucy and verbalize what I was doing.)
Directions for Shape Christmas Tree Craft
1. Help your child decide which shape they’d like to use to create their tree. (The square and circle are a bit easier than the triangle.)
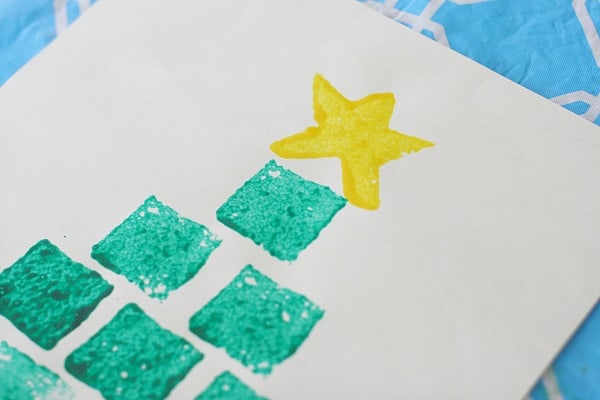
2. Begin stamping your Christmas tree starting at the bottom of the paper. (Be sure to leave room for your trunk!) We were able to fit five stamps across the bottom.
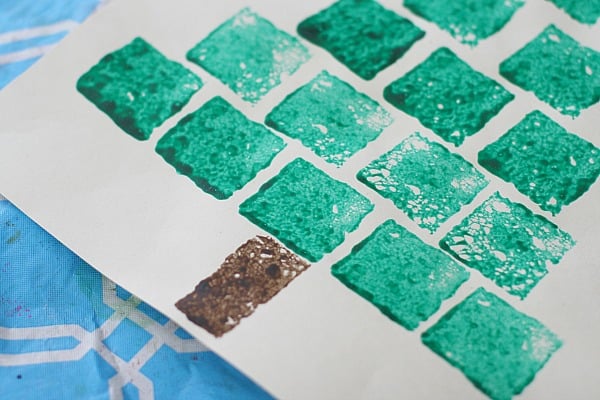
3. For the next row I showed Lucy how we’d stamp right above the spaces between the shapes stamped in the first row. Continue this for each row ending with one shape at the top. (Lucy loved that she could figure out how many shapes would be in each upcoming row!)
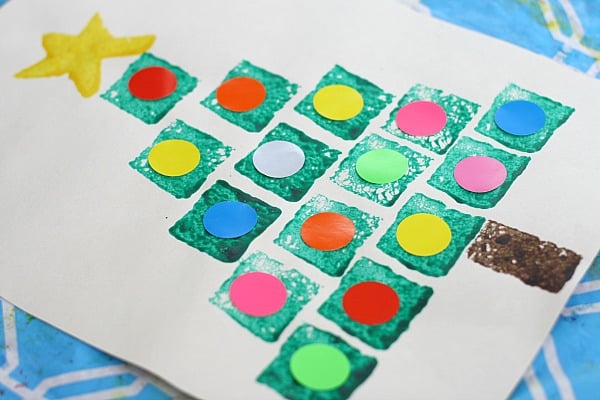
4. Now it’s time to add the star and trunk. Use your rectangular sponge shape to stamp a brown tree trunk.
Use your star shaped sponge to stamp a yellow star on top.
5. Optional: After it dries you can even decorate your tree! We punched out circles from different colors of paper and glued them onto our tree as ornaments. There’s so many possibilities! You could draw or paint presents below the tree, glue sequins, little balls of tissue paper, or pom poms onto the tree.
Tips
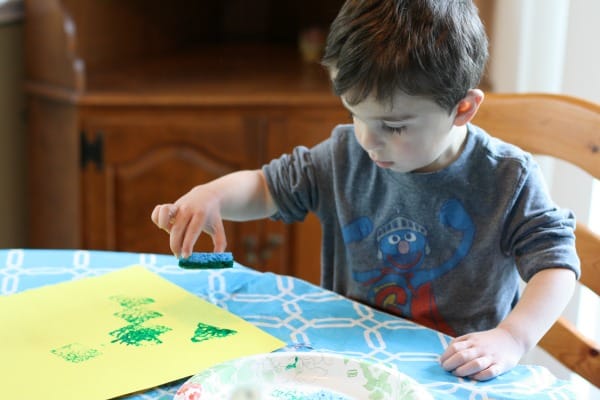
- Don’t leave little siblings out. Creating rows of shapes was a bit too challenging for Theo, but he loved stamping shapes all over his paper! He would ask Lucy to pass him each sponge he wanted to use. What great practice for identifying shapes!
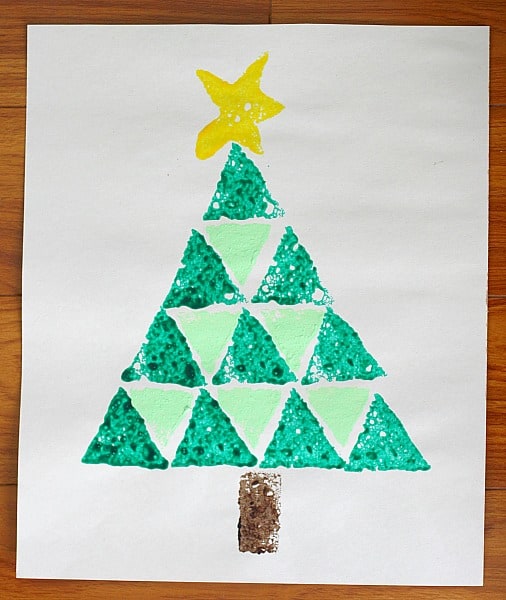
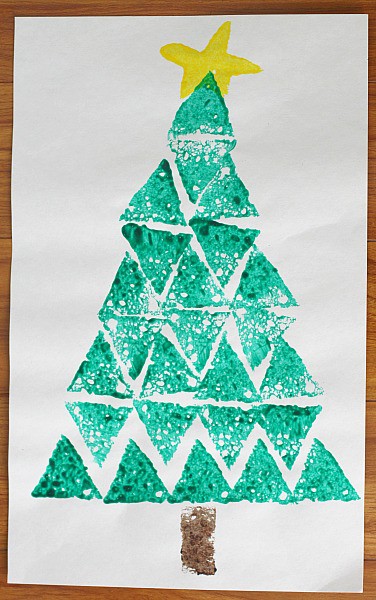
- Try experimenting with all the different shapes to see what kinds of trees you can come up with. We made a few fun ones using the triangles!
Looking for the perfect gift? Be sure to check out all our gift guides for kids!

Looking for some fun STEM / STEAM activities for Christmas? Check out our STEAM Kids Christmas Ebook!
Countdown to Christmas with captivating STEAM (Science, Technology, Engineering, Art & Math) activities that will wow the boredom right out of kids!
Inside the book you’ll find:
— 25 days of holiday projects for kids
— Printable, buildable advent calendar
— Christmas STEAM Challenge Cards
— Shopping lists to make prep easy
— And more…