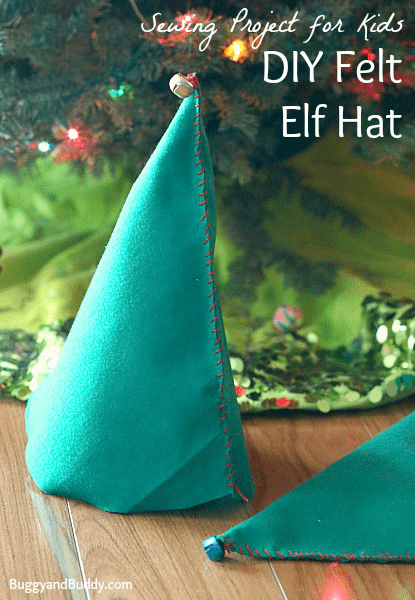
With Christmas right around the corner, this DIY felt elf hat is one of our favorite beginner sewing projects for kids! This simple sewing project allows kids to practice sewing by hand, resulting in a completed project they can wear and enjoy!
Follow our Crafts for Kids Pinterest board!

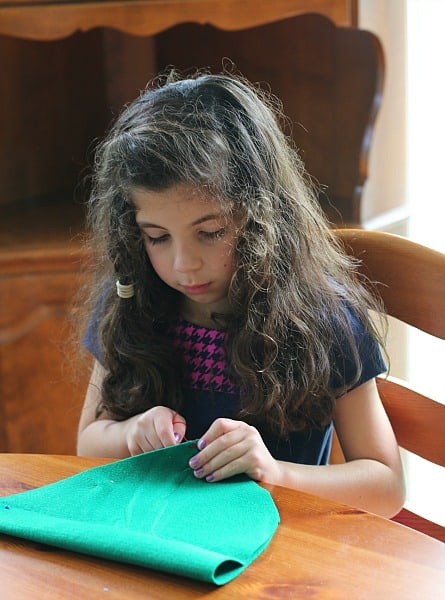
Lucy, my 6 year old, has been showing quite an interest in sewing over the last few months, so I thought it was the perfect time to give her the opportunity to sew something she could do mostly on her own!
With Christmas being so close, it seemed like the perfect time of year to make an elf hat. An elf hat is super simple to make and provides the perfect opportunity to practice simple hand stitching. And the best part- kids can wear their elf hats for Christmas and for pretend play all throughout the year!
Because a child’s own stitching just looks so adorable, I designed this pattern so that the stitches are very visible- giving the hat a unique and homemade look! (This post contains affiliate links.)

Beginner Sewing Projects for Kids: DIY Elf Hat
Materials for DIY Felt Elf Hat
- Large piece of green felt
- White paper, ruler, and pencil to create your pattern
- Pins
- Red embroidery thread (or any color of your choice)
- Embroidery needle (We used the smallest yarn darner in this pack. It was easy for Lucy to hold.)
- Good scissors
- Jingle bell
- (Optional) Glitter glue or felt pieces to embellish your hat
Directions for DIY Felt Elf Hat
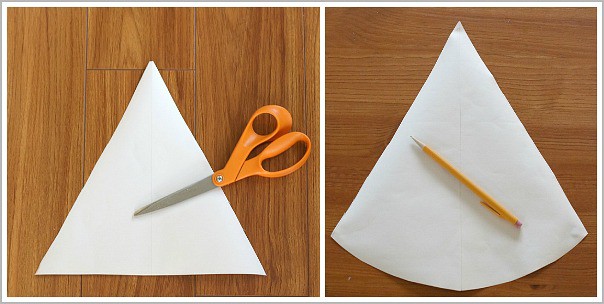
1. Start by making a paper pattern for your hat. With a ruler (I like clear rulers like this) and pencil, draw a triangle on your white paper. (For my 6 year old, my triangle was 13 inches tall and 13 inches wide at the base. For my 3 year old, I drew a triangle with a 12 inch base and 12 inches high.)
2. Cut out your triangle.
3. Use scissors to round off the bottom of your triangle.
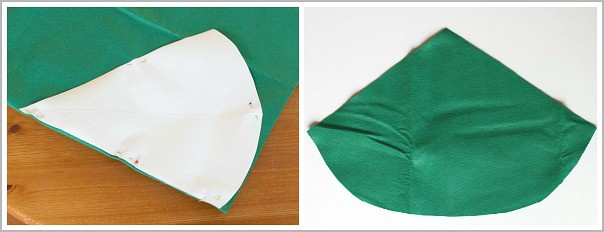
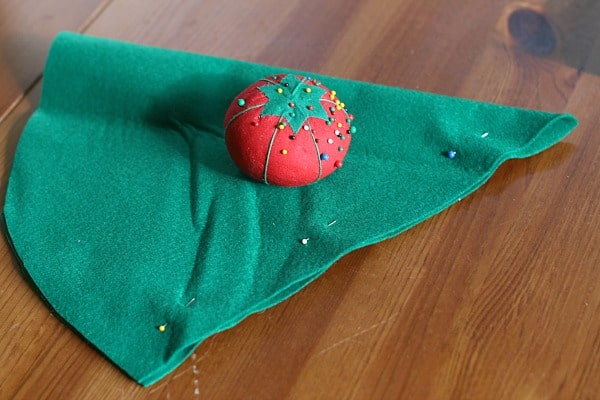
4. Fold your large piece of green felt in half. Place one edge of your triangle pattern along the folded edge and pin in place.
5. Cut around your pattern. Remove the pins and paper pattern. (If you unfold your green felt, it should look like the photo on the right.)
6. Fold your green felt again (if you unfolded it to check the shape). Place pins along the open edge of your felt hat.
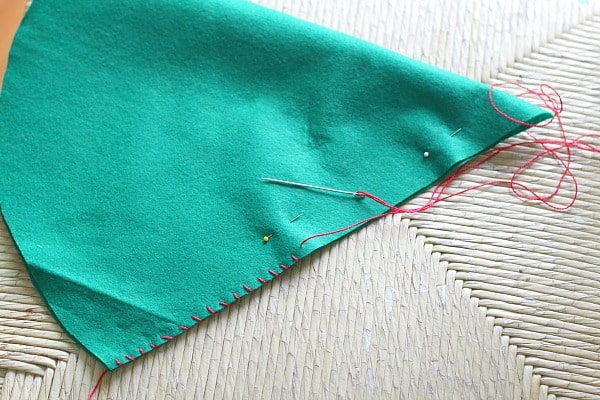
7. Thread your needle with red embroidery thread. Tie a knot on the end. (We wanted the stitches to stand out, but if you want them to blend in, you can choose a color of thread that matches your felt.)

8. Starting at the base of your hat, use a whip stitch to sew up the side. (Here’s a great tutorial for doing the whip stitch.)
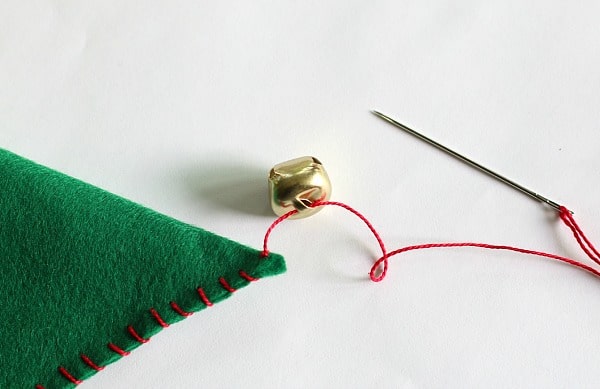
9. Once you get to the top of your hat, slide a jingle bell onto your thread. Sew it in place. Tie off your thread and cut. That’s it!
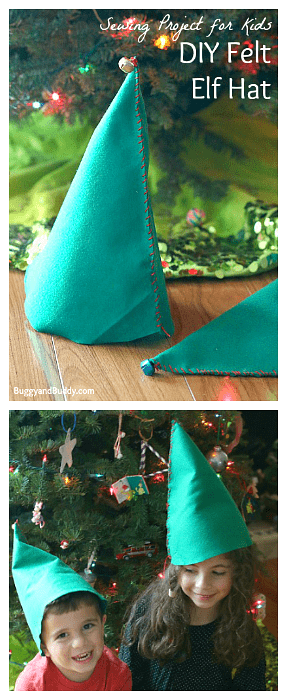
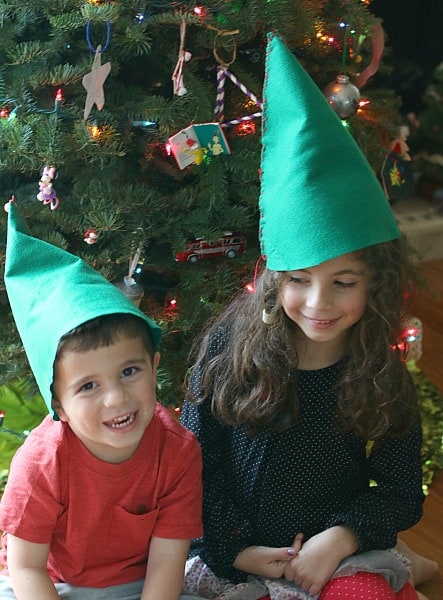
Lucy was so proud of her finished elf hat! And she was even more proud to have mastered a new skill. I loved sitting with her and teaching her how to sew. We actually had so much fun, we made one for Theo too! I love hearing the jingling sound as they walk around the house in their elf hats. It almost sounds like there’s real elves right at home!
These felt elf hats would be perfect for embellishing! The kids could decorate them with red glitter glue or glue felt shapes onto their hats. There’s so many possibilities!