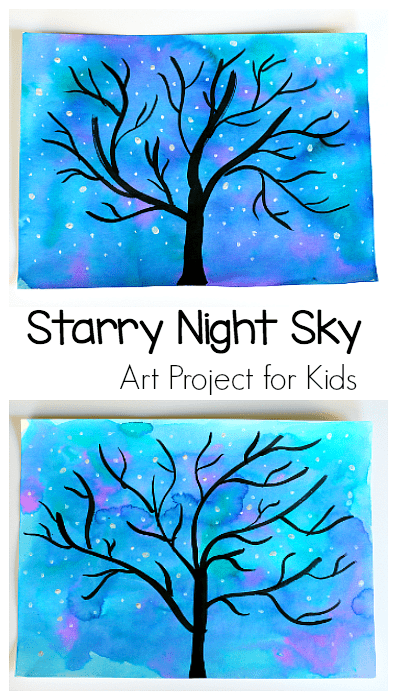
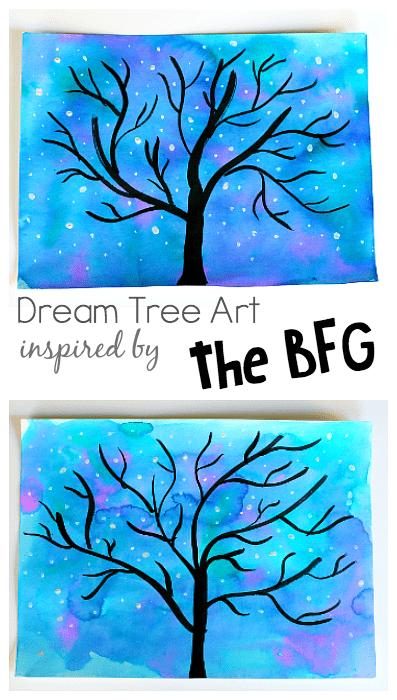
We were inspired by the dream tree in The BFG Disney movie to create this starry night sky art project. This art activity uses all kinds of fun art techniques and would be perfect for any unit related to The BFG by Roald Dahl, the night sky, and can even be transformed into a winter sky!
Follow our Art for Kids Pinterest board!

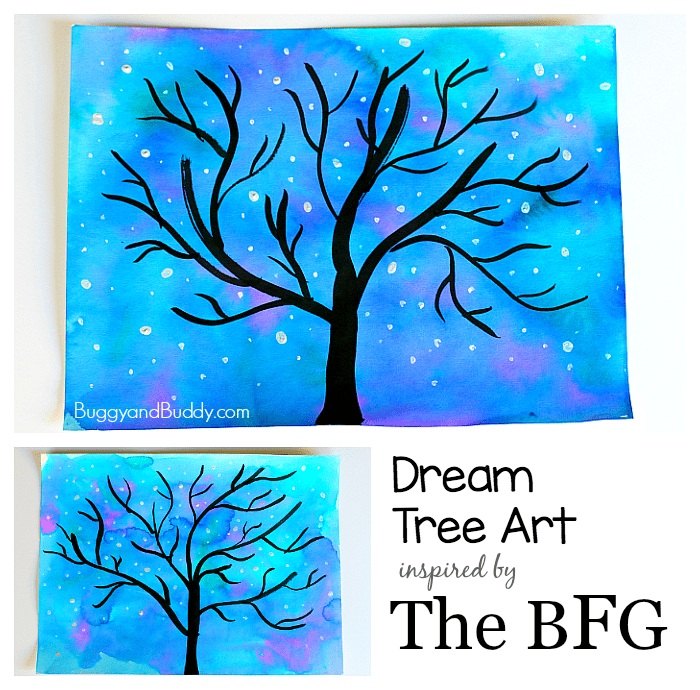
We recently saw Disney’s version of the story The BFG (written by Roald Dahl), and I fell in love with the dream tree scene- so many beautiful colors floating and zooming around the night sky. We decided to create our own starry night sky artwork using colors from the scene in the movie. (Check out the movie here or the book here!)
This art project uses lots of fun art techniques and is appropriate for preschool, kindergarten, and up!
This post contains affiliate links.
Starry Night Sky Art Project for Kids
Materials for Starry Night Sky Art Project
- Art paper (This is my favorite art paper for kids. It’s super affordable and handles paints well.)
- Liquid watercolor paint (You can get the brand we used here on Amazon or this brand on Amazon) or use watercolor cakes
- Paintbrush assortment
- Black tempera paint or blank india ink
- White acrylic or tempera paint
Directions for Starry Night Sky Art Project
This art project will need to be done in two sessions to give time for the watercolor background to dry.
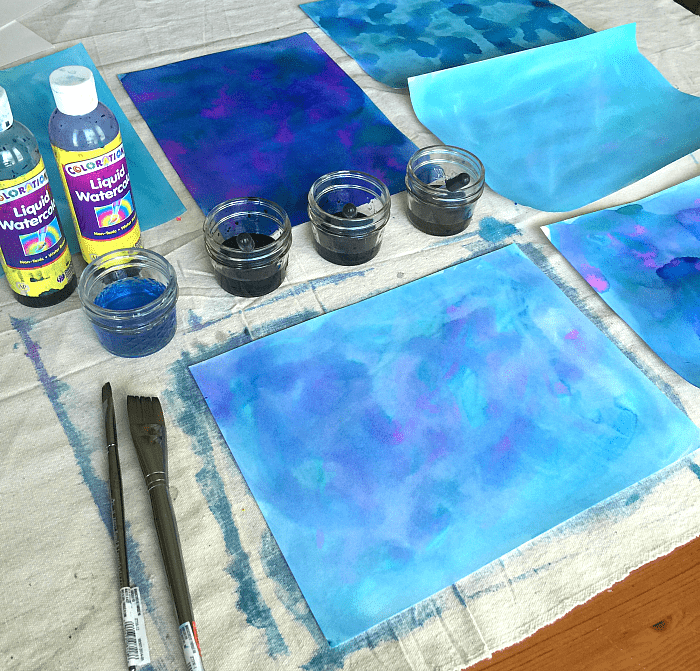
1. Set up some small containers of watercolor paint in blues and violets. (You can also use a regular set of watercolor cakes.) Also, set out a small cup of water and a thick paintbrush.
2. Paint your art paper with just water and a brush until the entire sheet is wet.
3. Add different blue and violet shades of watercolor paint to your paper- brushing it in different directions or swirling it so the colors blend together. (This part is super fun, and the kids LOVE it!) Set the paper aside to dry completely.
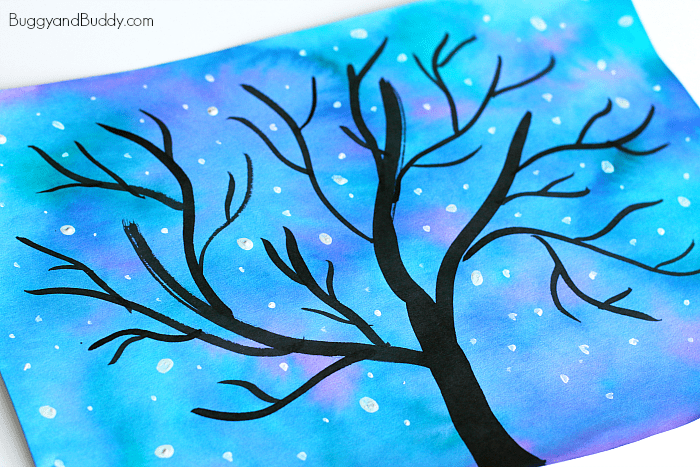
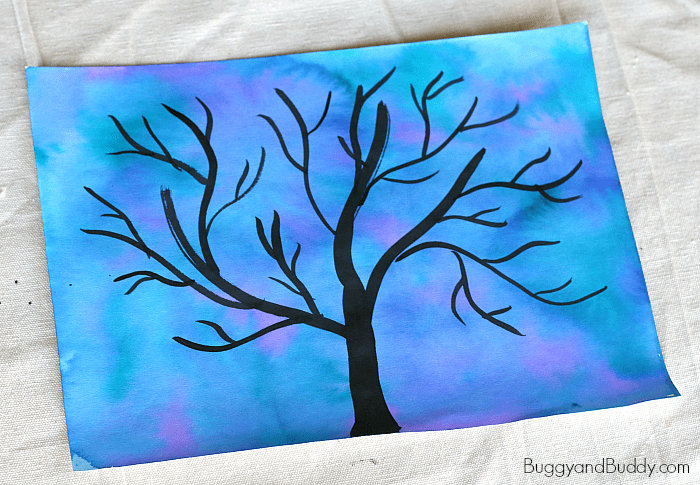
4. After the painted background has completely dried, it’s time to paint your tree. I love using black india ink– it’s so smooth to paint with and gives the tree a really solid, dark look. BUT, it stains! If you’re doing this with a large class and don’t have a lot of parent help, it would be safer to use black tempera paint (which works just fine). Paint your tree silhouette right over your watercolor background.
5. Take out your white paint. (Acrylic paint will stand out more, but white tempera paint will work too.) Use a really fine brush to place small dots all over the sky. Use a thicker brush to add a few larger dots in the sky. These are your stars (or your dreams if you’re basing this on The BFG. ) If you want the white dots to look like snow, you can paint some on the tree and some white along the ground.
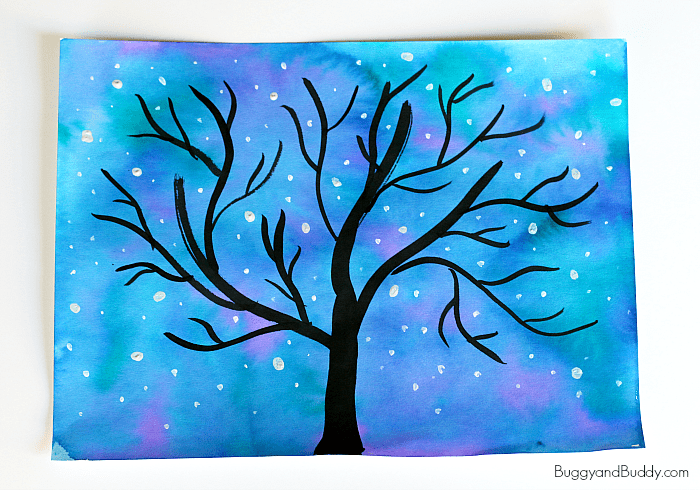
Let your artwork dry and display it proudly!