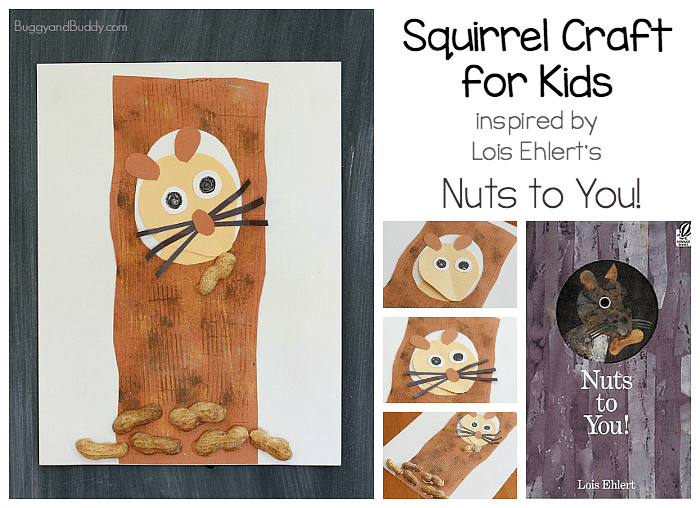
Nuts to You! by Lois Ehlert is one of our favorite children’s books for fall! We created this squirrel craft complete with real peanut shells to go with the story. This project uses all kinds of fun art techniques and is perfect for kindergarten and on up.
Follow our Fall Crafts & Learning for Kids Pinterest board!
(This post contains affiliate links.)
Have you read Nuts to You! by Lois Ehlert? It is definitely a book worth owning! In this story a cute, little squirrel finds his way into a boy’s bedroom through a tear in his window screen. The boy lures him out with some peanuts, shouting, “Nuts to You!”. (Now we find ourselves yelling “Nuts to You!” whenever we see a squirrel!)
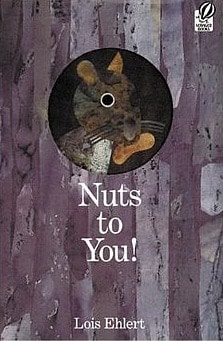
And just like all of Lois Ehlert’s books (like Leaf Man and Red Leaf, Yellow Leaf), the illustrations in Nuts to You! are so fun to look at. They’re so colorful and full of labeled plants and insects throughout the story. The text is also full of rhymes making it great for young children.
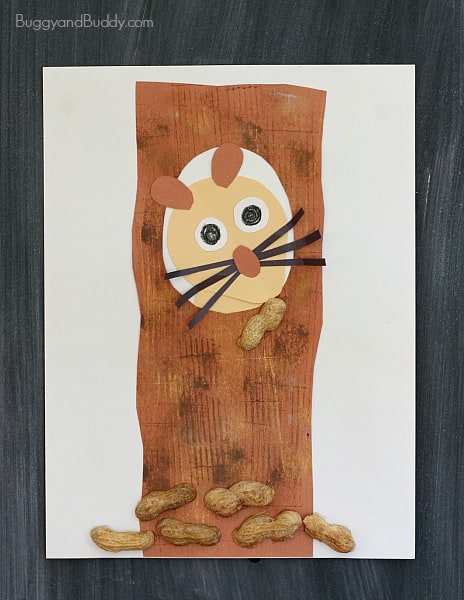
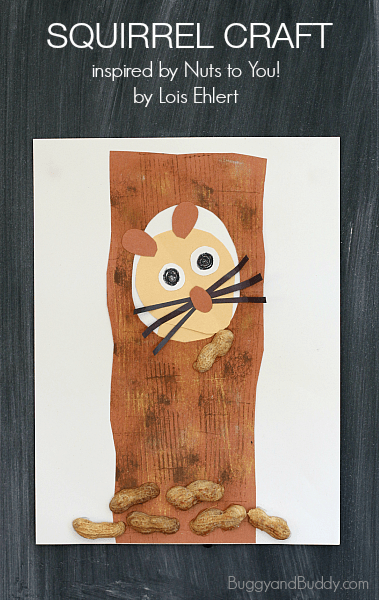
Because we just love this children’s book so much, we wanted to create our own little squirrel peeking out of a tree trunk just like on the front cover of the book!
Nuts to You! Squirrel Craft for Kids
Materials for Squirrel Craft
- White construction paper
- Brown construction paper
- Black construction paper
- Manilla drawing paper
- Black crayon or marker
- Scissors
- Liquid glue
- Brown stamp pad or brown tempera paint
- Corrugated cardboard (similar to this), sponges, or other items with a neat texture for stamping
- Peanuts in shells
Directions for Squirrel Craft
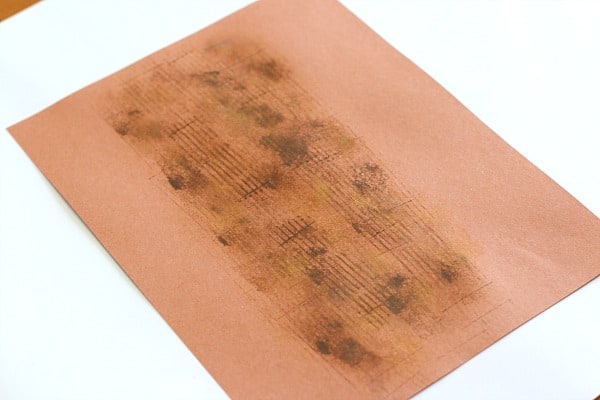
1. Start by creating the trunk of the tree. We had some corrugated cardboard sheets of scrapbooking paper to use for making stamps. (You could use any kind of textured material to do this.) I cut them into small pieces and rubber banded them to some blocks we had to use as stamps. I also cut up some plain sponges for stamping.

2. Use stamp pads in different shades of brown and your homemade texture stamps to stamp patterns all over the brown construction paper. (You could also do this with brown tempera paint and homemade stamps using yarn.)
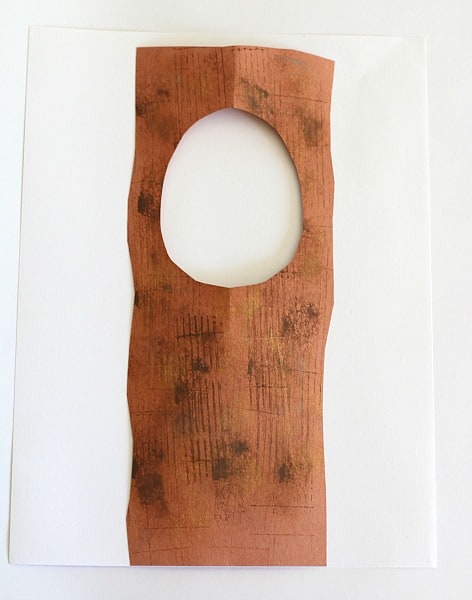
3. Once the brown paper has dried, cut it into the shape of a tree trunk. Then cut out a circle in the center of the trunk for the squirrel to peek out of. Glue the trunk onto your white paper. (Don’t put glue around the hole in the trunk. You’ll need to be able to put your squirrel in there.)
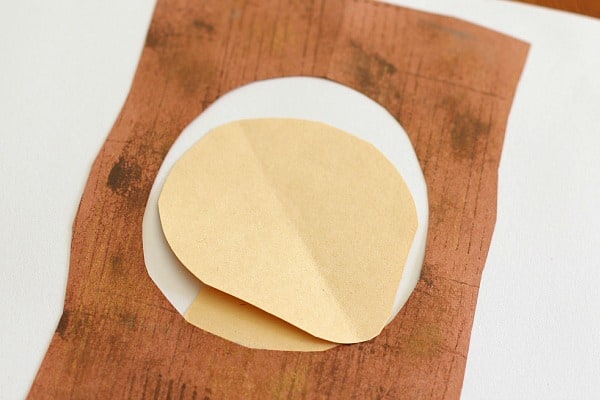
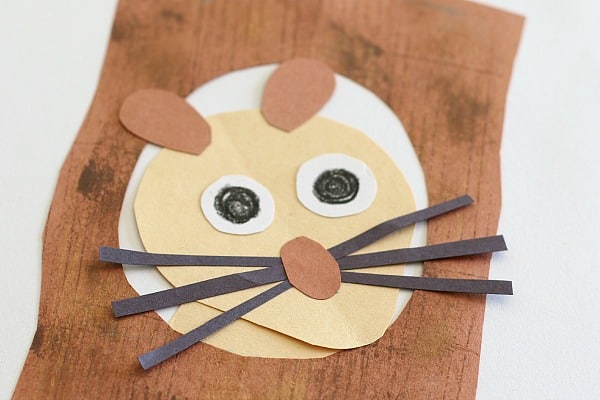
4. Now it’s time to make your squirrel. Cut out a head and neck from the manilla drawing paper. Glue them into the hole in your trunk.
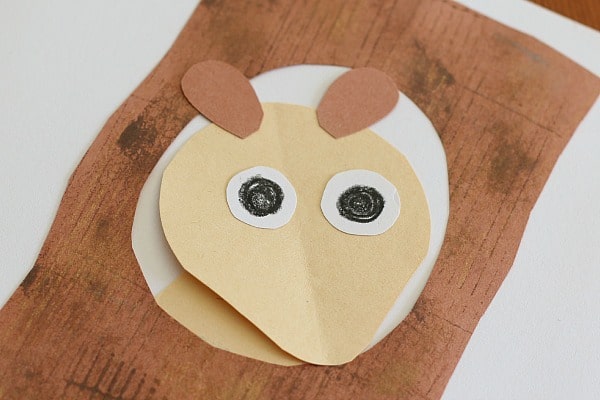
5. Cut out two white circles and color black dots in the center to make eyes. Cut out two ears from your brown construction paper. Glue all the pieces onto your squirrel.
6. Use brown paper to make a nose and add some black construction paper whiskers.
7. Now for the fun part- adding the peanut shells! The kids LOVED breaking open the peanut shells and eating the peanuts before gluing the shells around the base of the tree and near the squirrel!
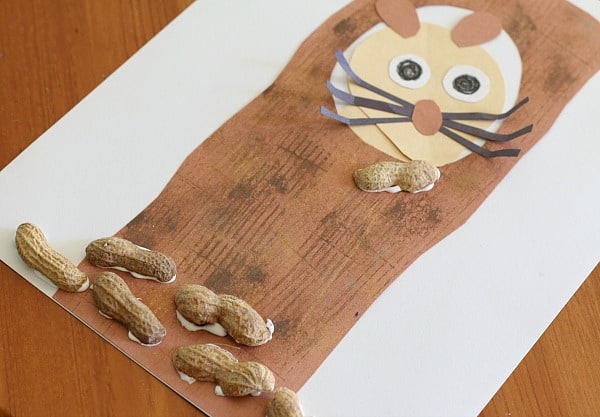
Let your picture dry, and you’re done!