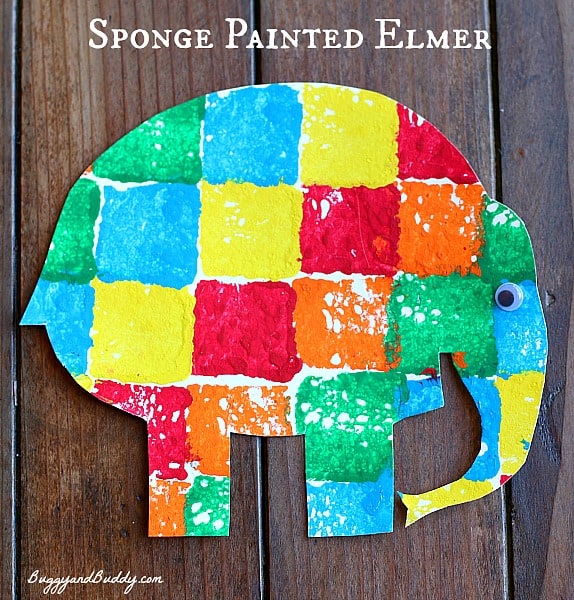
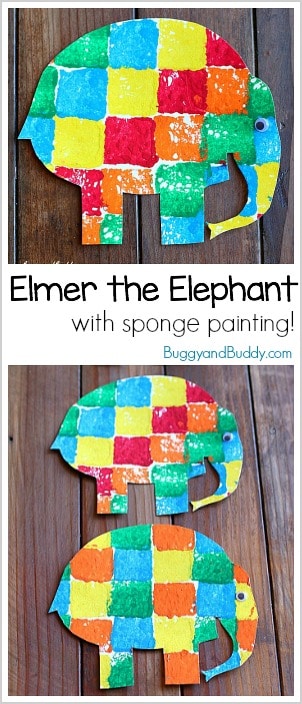
Our latest art project for kids is inspired by Elmer the Elephant! Kids will use sponges to stamp patterns and colors and then turn their artwork into an elephant!
Follow our Art for Kids Pinterest board!
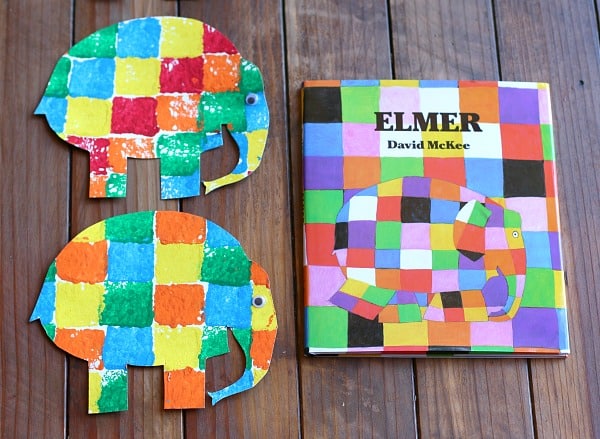
We’re back again this week with our final post in the Preschool Book Club Series. This week’s book is Elmer by David McKee! After reading about our colorful art project inspired by the story, be sure to check out all the other creative activities to go with this book linked up at the end of this post! (This post contains affiliate links.)
Sponge Painted Elmer the Elephant
Have you been introduced to the world of Elmer yet? We just started reading Elmer books this year and have really enjoyed them! This week’s book is the first written and is titled Elmer.
In this story the main character, Elmer, is a patchwork elephant, not gray like all the others. He doesn’t like being different so he decides to hide his colors and blend in with the herd. As the story progresses, Elmer learns to appreciate his uniqueness and discovers he’s happy just being himself!
We loved the message of the story and all the colorful and fun illustrations. I was so inspired by the beautiful patchwork design that I created this art project for kids using one of Theo’s favorite art methods- stamping with sponges! (We used sponges to stamp our Very Hungry Caterpillar, our Easter Egg Art and our Shape Christmas Tree in past posts. Be sure to check them out!)
Materials for Sponge Painted Elmer the Elephant
- Art paper
- Regular kitchen sponges
- Scissors
- Tempera paint
- Paper plates
- Pencil
- Googly eyes and liquid glue
- Free Elmer the Elephant Pattern Printable
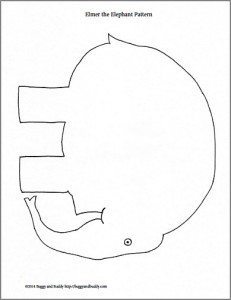
(The Elmer the Elephant pattern can also be used as a coloring sheet!)
Directions for Creating Sponge Painted Elmer
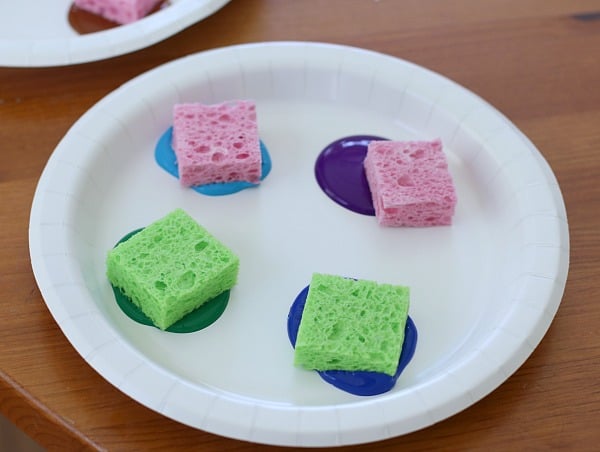
1. Cut your sponges into squares. You’ll need one for each color of paint you’ll be using.
2. Place some tempera paint onto your paper plates.
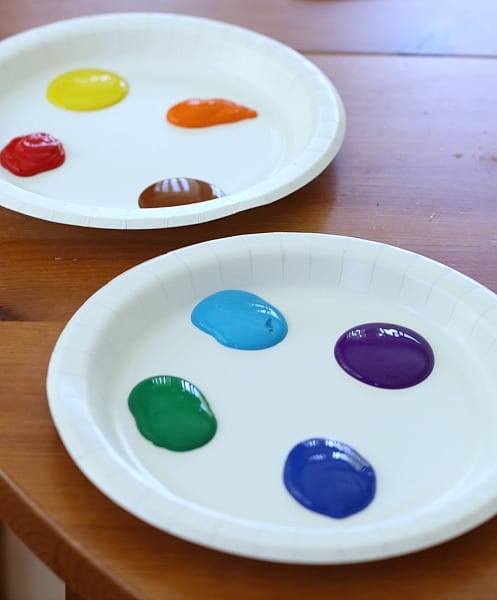
Place a square sponge with each color.
3. Dip the sponges into the paint and use them to stamp rows of squares on your paper.
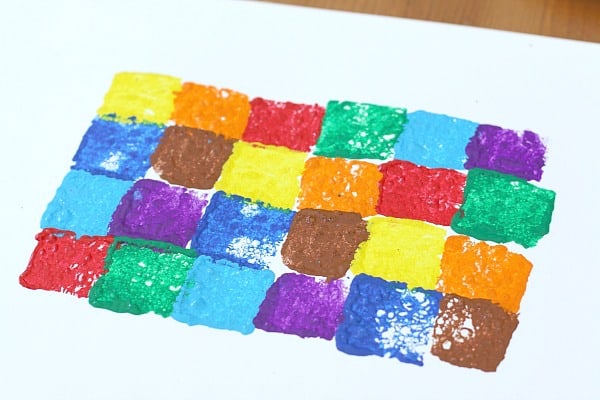
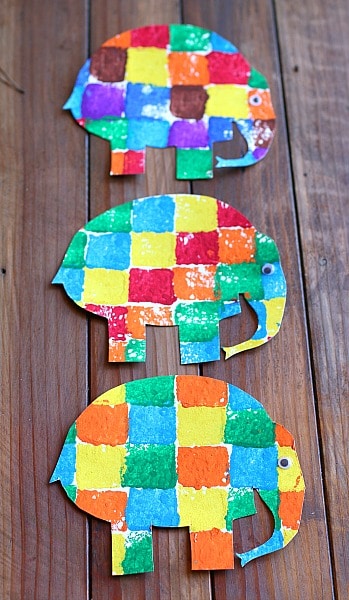
Children can create all kinds of patterns and use various color combinations!
4. Let the paint dry.
5. Once the paint has dried, it’s time to make your elephant. Print out the Elmer the Elephant pattern on a sheet of thick paper like card stock. Cut him out.
6. Turn your painting over and trace Elmer onto the back.
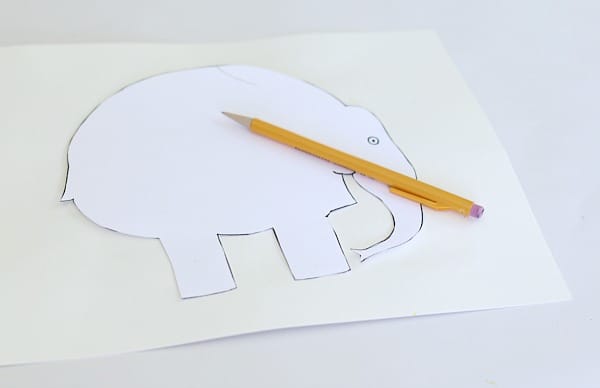
7. Cut out your elephant shape.

8. Glue an eye onto your elephant.
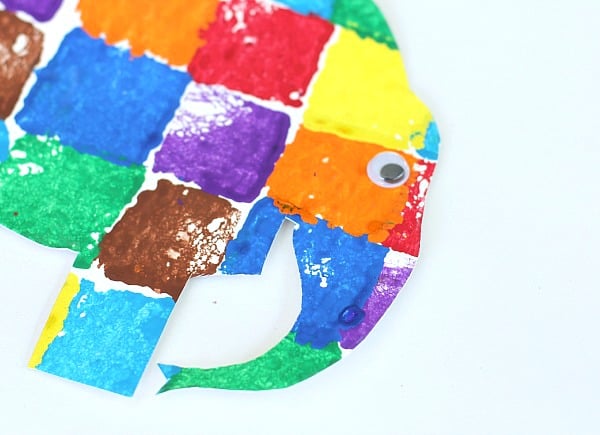
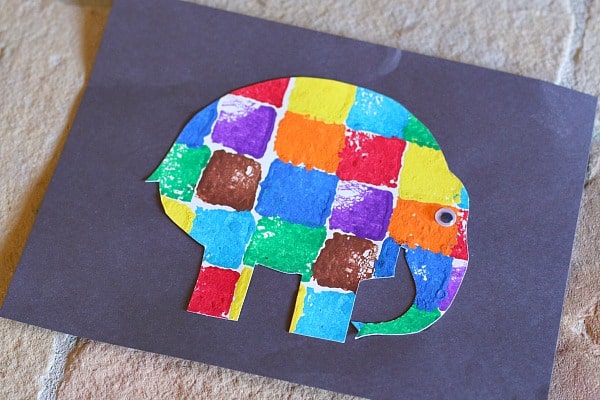
You’re done! You can leave him as is, or mount him onto some construction paper to display!
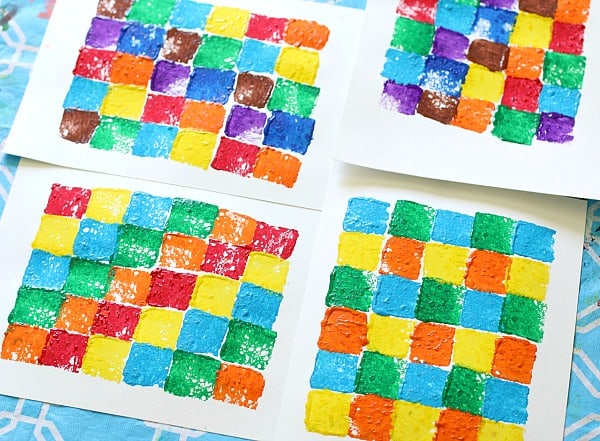
This was such a fun art project to make! I love how all the different variations turned out~ so fun and colorful!
More Elmer the Elephant Activities
Be sure to check out all the creative Elmer activities created by the other members of The Preschool Book Club Series:
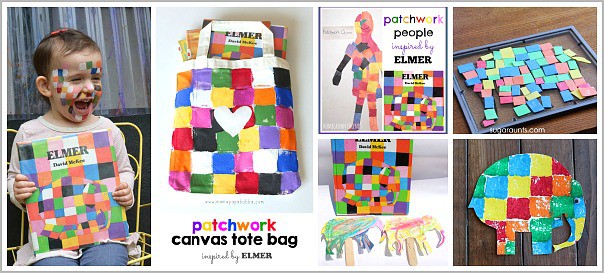
Elmer Face Painting Party from Meri Cherry
Patchwork People Inspired by Elmer from Homegrown Friends
Color Learning Visual Perception Activity from Sugar Aunts
Elephant Stick Puppets from Frogs and Snails and Puppy Dog Tails
Patchwork Canvas Tote Bag from Mama Papa Bubba

Love using children’s books to encourage a love of learning and creating? Be sure to check out our book, Exploring Books Through Play!
