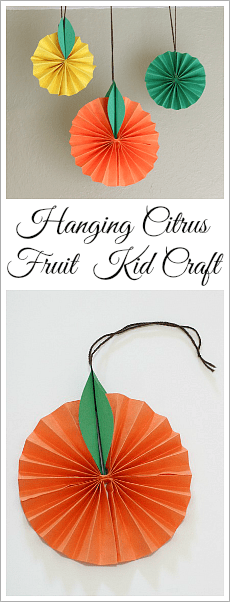
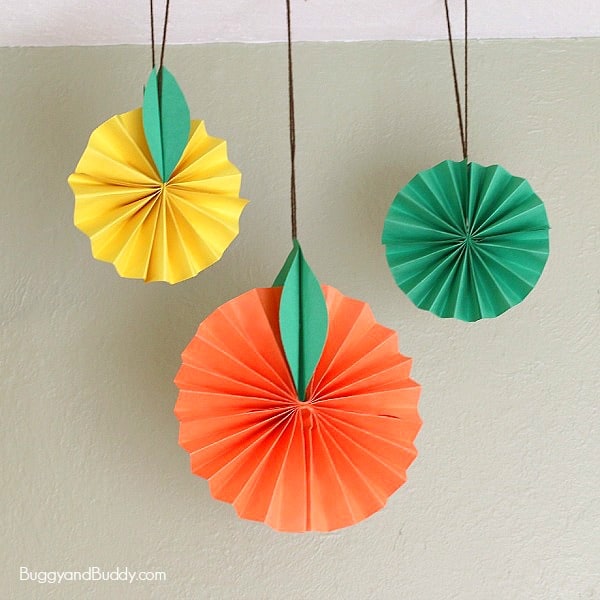
Grab some construction paper and make these orange, lime, and lemon decorations! This easy paper craft for kids will brighten any home or classroom and also make a great addition to a unit on Chinese New year!
Follow our Crafts for Kids Pinterest board!
(This post contains affiliate links.)
As much as I wish my children had the experience of sledding and building snowmen during the winter like I did as a child, it’s just not in the cards for us where we now live. (Although we did have a few days recently where the temperature dropped below freezing. Fingers were crossed we might see a few snowflakes, but no luck!) But, happily, Lucy and Theo are forming their own winter memories to always cherish.
We still occasionally need to bundle up here in winter to go outside, and often the kids will head out with an orange to snack on while they play. (Since most citrus here ripens during the winter months, you’ll often find oranges at snack time and grapefruits on the table for breakfast.)

Each winter we read An Orange in January by Diana Aston from our winter book collection. It’s a great children’s book describing the path an orange takes from starting out as an orange blossom to arriving at a local grocery store. After reading this book, we were inspired to make our own citrus fruit out of paper to decorate our home for winter!
Hanging Citrus Fruit Paper Craft for Kids
Materials for Citrus Fruit Paper Craft
- Construction paper (orange, green, and yellow)
- Brown yarn for hanging
- Scissors
- Stapler
- Glue (We used glue dots. You could also use liquid glue.)
Directions for Citrus Fruit Paper Craft
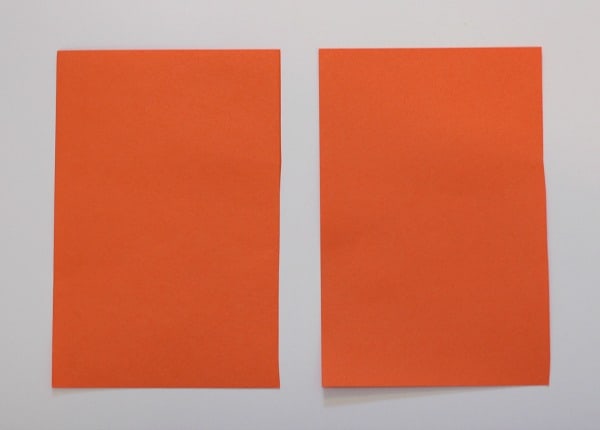
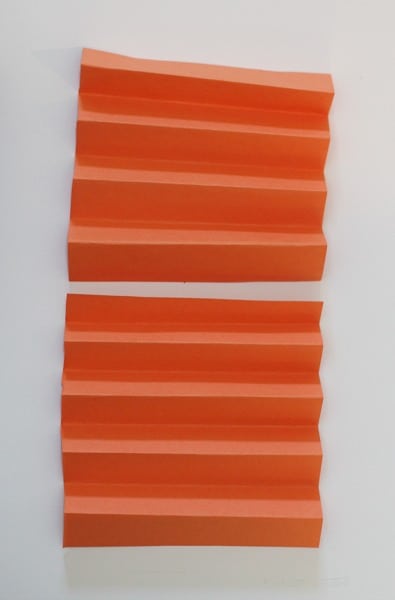
1. Cut a piece of orange construction paper in half. (We’re making an orange in these directions. Switch the main color depending on the fruit you are making.)
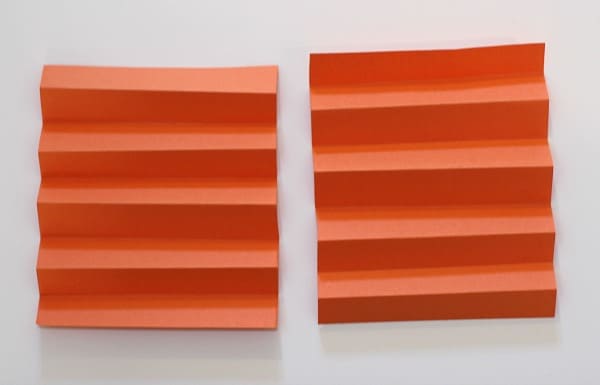
2. Accordion fold each half.
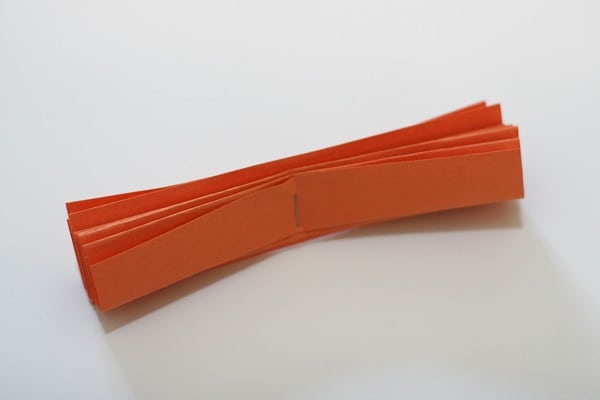
3. Line up the folded halves like this.
4. Press them together and staple them right in the middle.
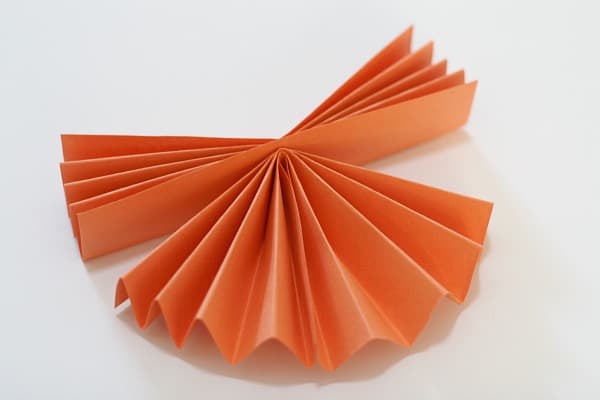
5. Pull down the bottom of each side so it fans out and glue the sides together where they meet at the bottom. (We used glue dots so we wouldn’t have to wait for the glue to dry. If you use liquid glue, you can paperclip the sides together after applying the glue so it will stay in place as it dries.)
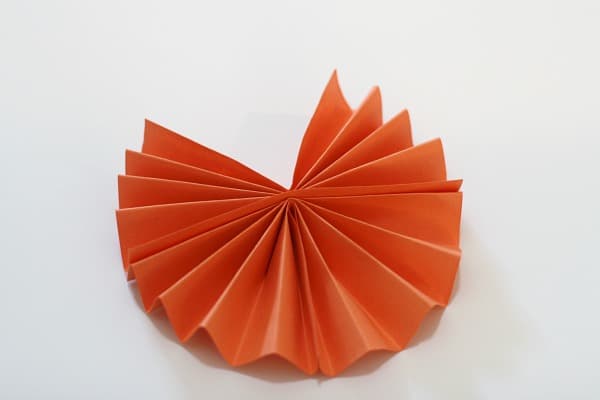
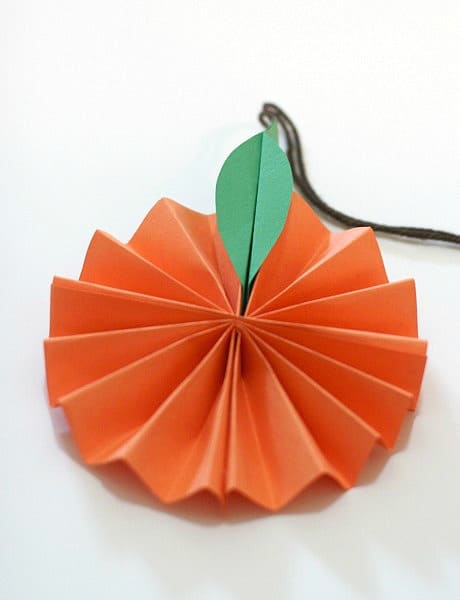
6. Do the same with the top of your orange.

7. Now you almost have a circle except there are two spaces are either side. Glue one side together, but leave the other side open to add leaves.
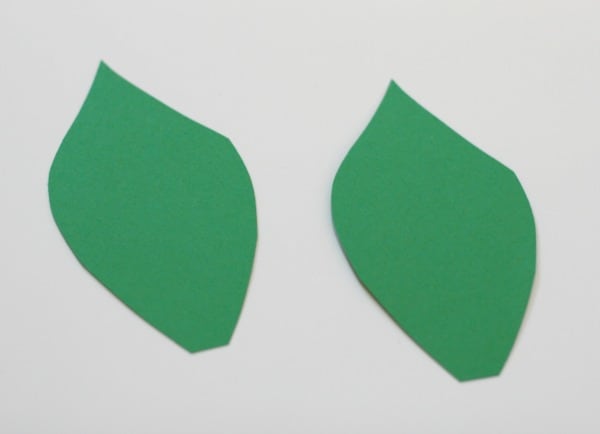
8. Cut out two green leaves. (Make sure to stack two pieces of green paper on top of each other and cut them out together so they will match up.)
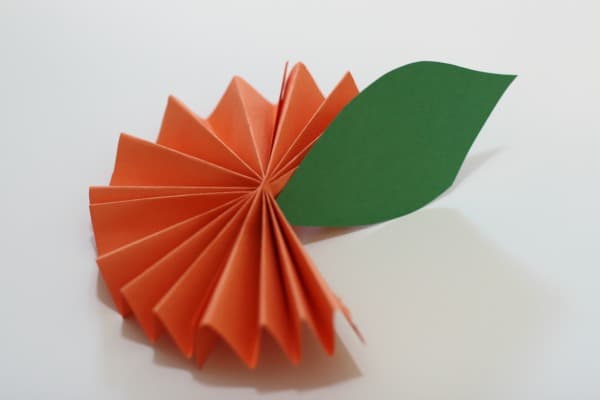
9. Glue one leaf onto the open side of the orange.
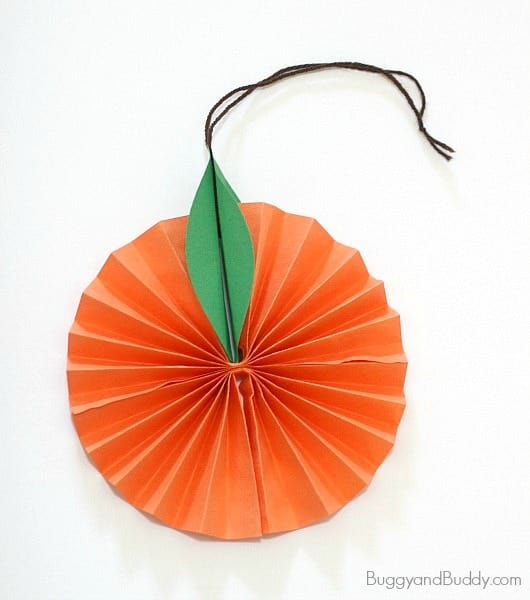
10. Cut a piece of brown yarn for hanging your orange. Tie it into a loop. Glue the bottom of the loop onto the glued leaf.
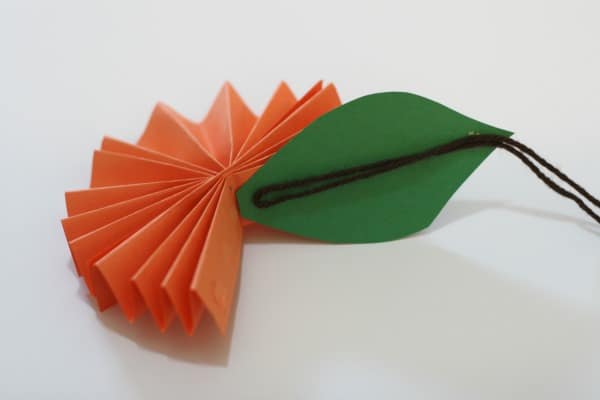
11. Glue the second green leaf on top of the yarn.
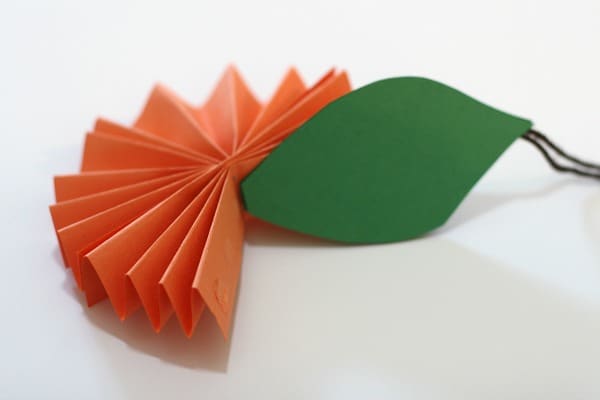
12. Now glue the back of the second leaf to the orange side to complete your circle.

13. Fold the sides of your green leaves down so they are more visible.
14. Hang up your winter decoration!
You can make your fruit various sizes depending on the size of the paper you use. The orange on the left is made from 12 in. x 18 in. construction paper. The one on the right is made with 9 in. x 12. paper.
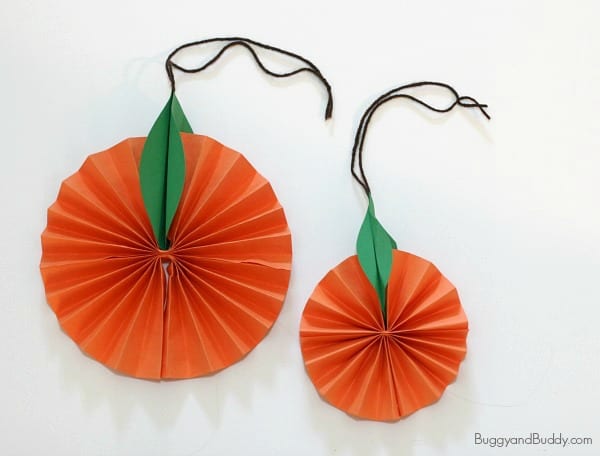
Have fun making your bright and colorful citrus fruit!