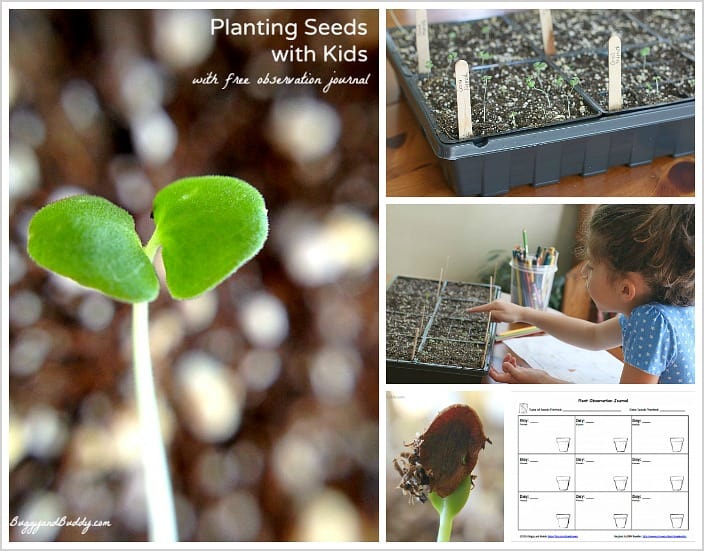
Gardening with kids is one of my favorite activities to do year round! In the cold winter months you can even start seeds indoors. Children can then observe changes as the seeds begin to sprout and grow over time and record their observations on the free printable recording sheet!
NGSS: Disciplinary Core Idea LS1.C
Follow our Outdoor Play and Learning Pinterest board!
Kids always love anything to do with seeds and plants. Not only is it super fun to plant your own seeds and watch them grow, but it provides all kinds of learning opportunities. Besides learning about plants, children also gain knowledge in using various scientific skills like making observations and predictions. Planting seeds also teaches children about responsibility as they learn to care for their plants daily.
I think any lesson on nature is absolutely memorable for children. There’s just something so special about caring for and nurturing a little piece of life on our planet! (This post contains affiliate links.)
Materials for Starting Seeds Indoors
- A container to plant your seeds (We used a tray similar to this one we found at our local gardening center. Be sure whatever you decide to use has holes for draining.)
- Seed-starter soil
- Seeds (Here’s a good assortment of vegetable seeds.)
- Popsicle sticks
- Water
How to Start Seeds with Kids
My kids had fun helping me choose which seeds to plant. We went to our local gardening store and looked at all our choices together.
1. Place your soil into your seed starting containers. Moisten the soil before you plant your seeds. (If you water the soil after planting your seeds, the water can shift the seeds around.)
2. Look at your seed packet for directions on how deep to plant your seeds. Plant 2-3 seeds per compartment. (Our seeds were so tiny I’m sure a few extra escaped our hands!)
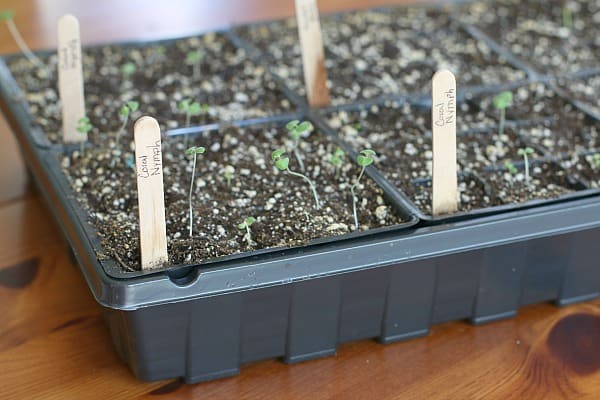
3. To keep track of which seeds are planted, write the names of the seeds on popsicle sticks and place them in the soil.
4. Cover you tray loosely with plastic (our container came with a lid) to help keep the air humid.
5. Watch and wait! Some of our seeds sprouted after almost two weeks, but others took even longer. It all depends on the seeds you’ve chosen. (If you want to plant seeds that will grow quickly, try bean seeds, pumpkin seeds or tomato seeds.)
6. Once your seeds begin to sprout, remove the plastic cover and get them in some light. We are just using regular old sunlight, but you can also use grow lights if you have them.
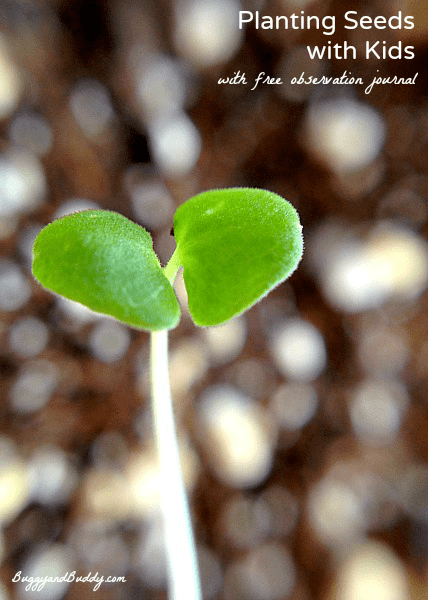
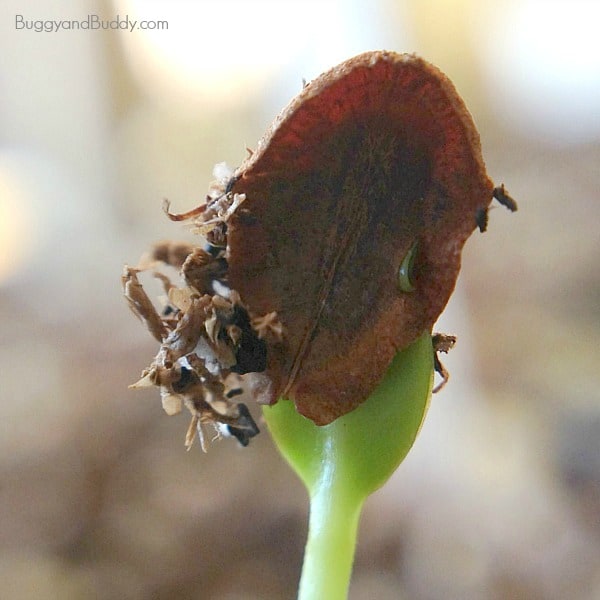
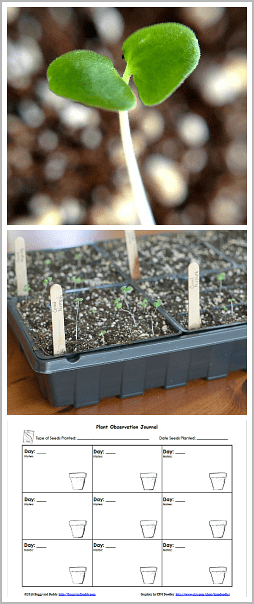
You will see the seed leaves develop first, but later your sprout will grow leaves that look different than the first. These are the plant’s true leaves.

The kids loved how this milkweed sprout still had the seed covering on it!
7. Be sure to water your sprouts as needed.
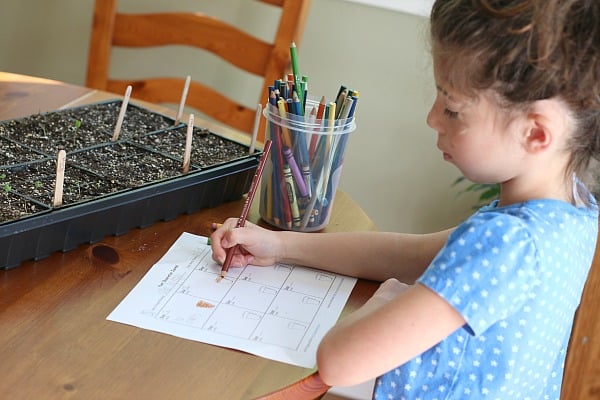
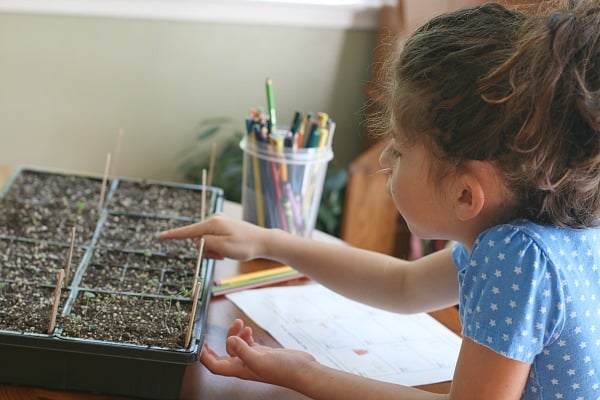
8. Keep caring for your sprouts. You can keep track of how they’re progressing in the free printable journal page.
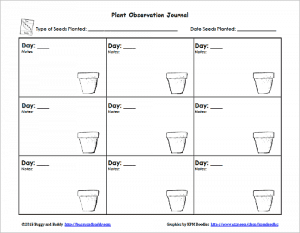 Free Plant Observation Journal
Lucy used her observation sheet to draw pictures of the plants and to record how many sprouts she counted each day.
9. Once the plants are large enough and the weather is right, transplant your plants outside!
Be sure to check out STEAM Kids book and ebook for even more creative STEM and STEAM ideas!
